Our Renovation Design Process
Wait, What Is Actually Happening In The Guest Cottage?
Apparently I’m a “need a deadline” type of person, which tracks in every aspect of my life (I mean, who doesn’t?). You may have seen in some of our holiday posts or gift guide content that it looks like the guest cottage is done. The beadboard is up, paint is finished, floor is stained, etc. It may seem like we skipped over so much of the design process, and in a way we did (it’s still coming – kinda), but instead of turning my family’s house into a holiday wonderland in early October, we literally painted half a room at a time to shoot what we needed to in front of it, rushing the process in the name of creating some new, exciting images in a new world. It’s been gloriously fun, and I can’t wait to show you it all (today you’ll get an iPhone sneak peek). Usually in October, I set up multiple holiday corners to shoot campaigns or big fun openers for our gift guides. As you can imagine, this creates a level of chaos in my house that can only be felt by my fam, not shown – IT’S WILD. Three months of holiday is an occupational reality, handled best by extreme holiday enthusiasts (me!). We have to work at least 6 weeks in advance to meet publishing deadlines, so this is our accepted reality (and I’m so grateful for the work). I know how atypical it is, and I’m not really going to address it much on social because it’s just so weird, but I wanted to give you loyal daily blog readers more context and transparency. We aren’t done with this house, I promise, but we did make progress in the name of hitting some deadlines, and it’s an extremely fun house to be in right now. I LOVE how it’s turning out, you guys. There are still a lot of unknowns, but here’s what we do know:
The Game Room (A Few Weeks Ago)
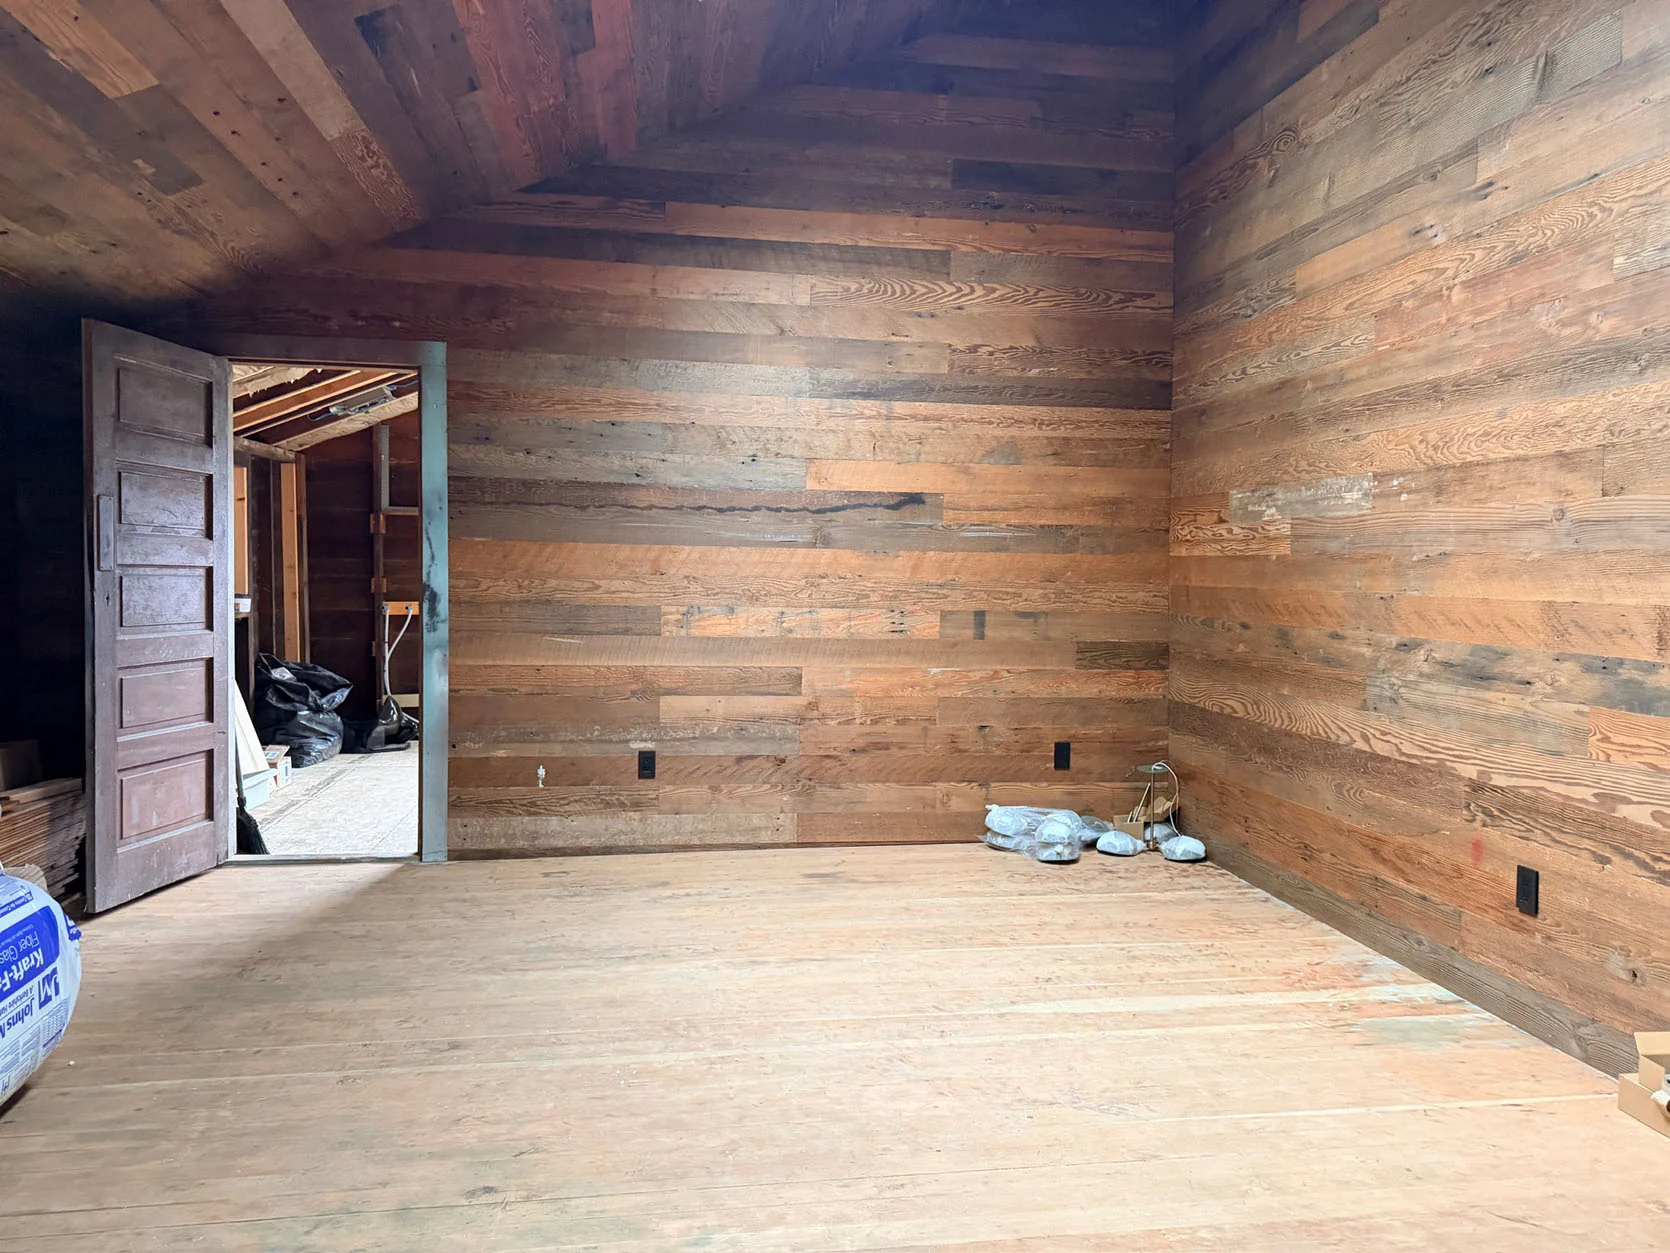
Here’s where we were in early October. Just so close to being done, but the floor needed to be stained, the lights needed to be installed, and the door/trim painted. I was super excited to shoot a holiday job in here with a big tree in the corner, so literally the weekend before, I chose a dark stain and then had the floor stained the next day.
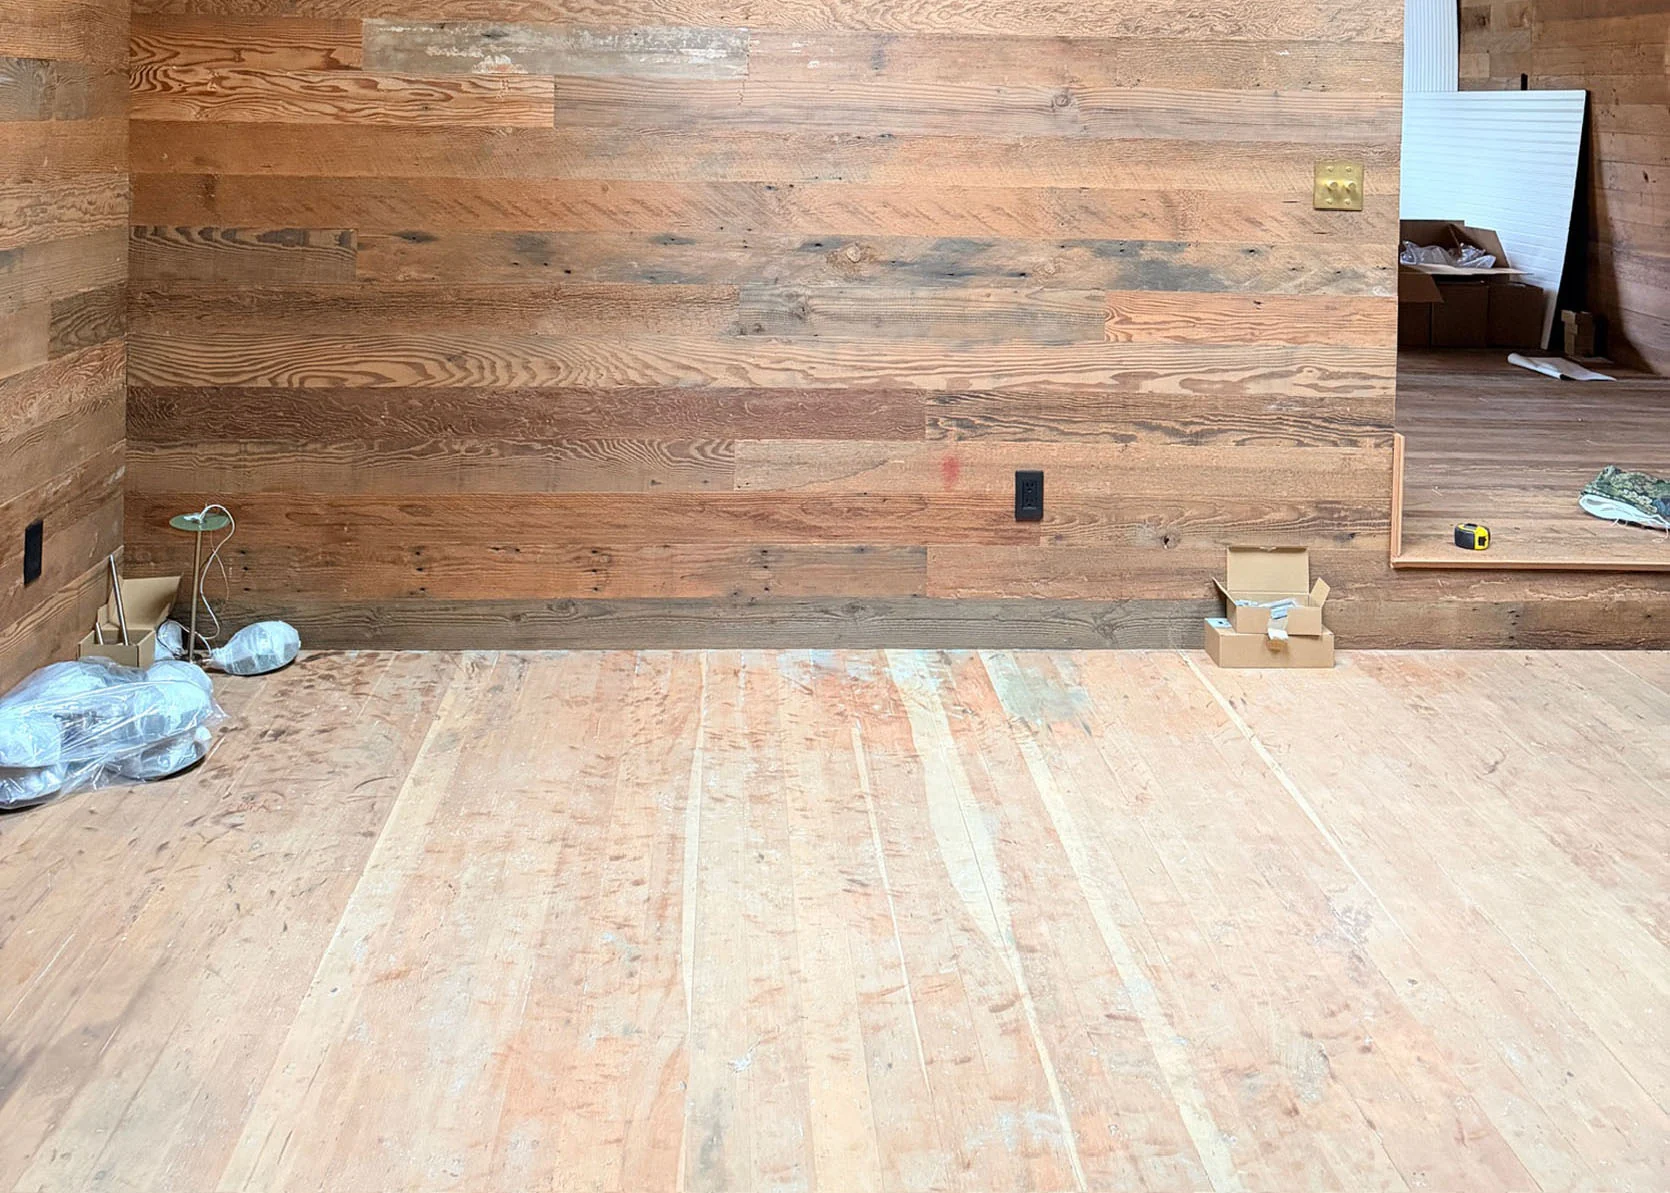
But the floor was in ROUGH shape (this is after we rented a huge floor sander – it’s just very damaged). We knew it wasn’t going to be incredible or perfect, but we hoped it would be good enough for the purpose of the room, in this clearly older farmhouse. It has tons of dings, paint in grooves that will never come out and big oil stains everywhere that can’t be sanded clean. Now, I didn’t hire a professional refinisher, to be fair, so maybe it could be in better shape. So the options were to lay something on top of it (new flooring, new reclaimed flooring, or we even considered a dark wall-to-wall carpet to make it really cozy) or just stain it dark, and throw down a big rug and say it’s good enough. We opted for the latter for speed and cost.
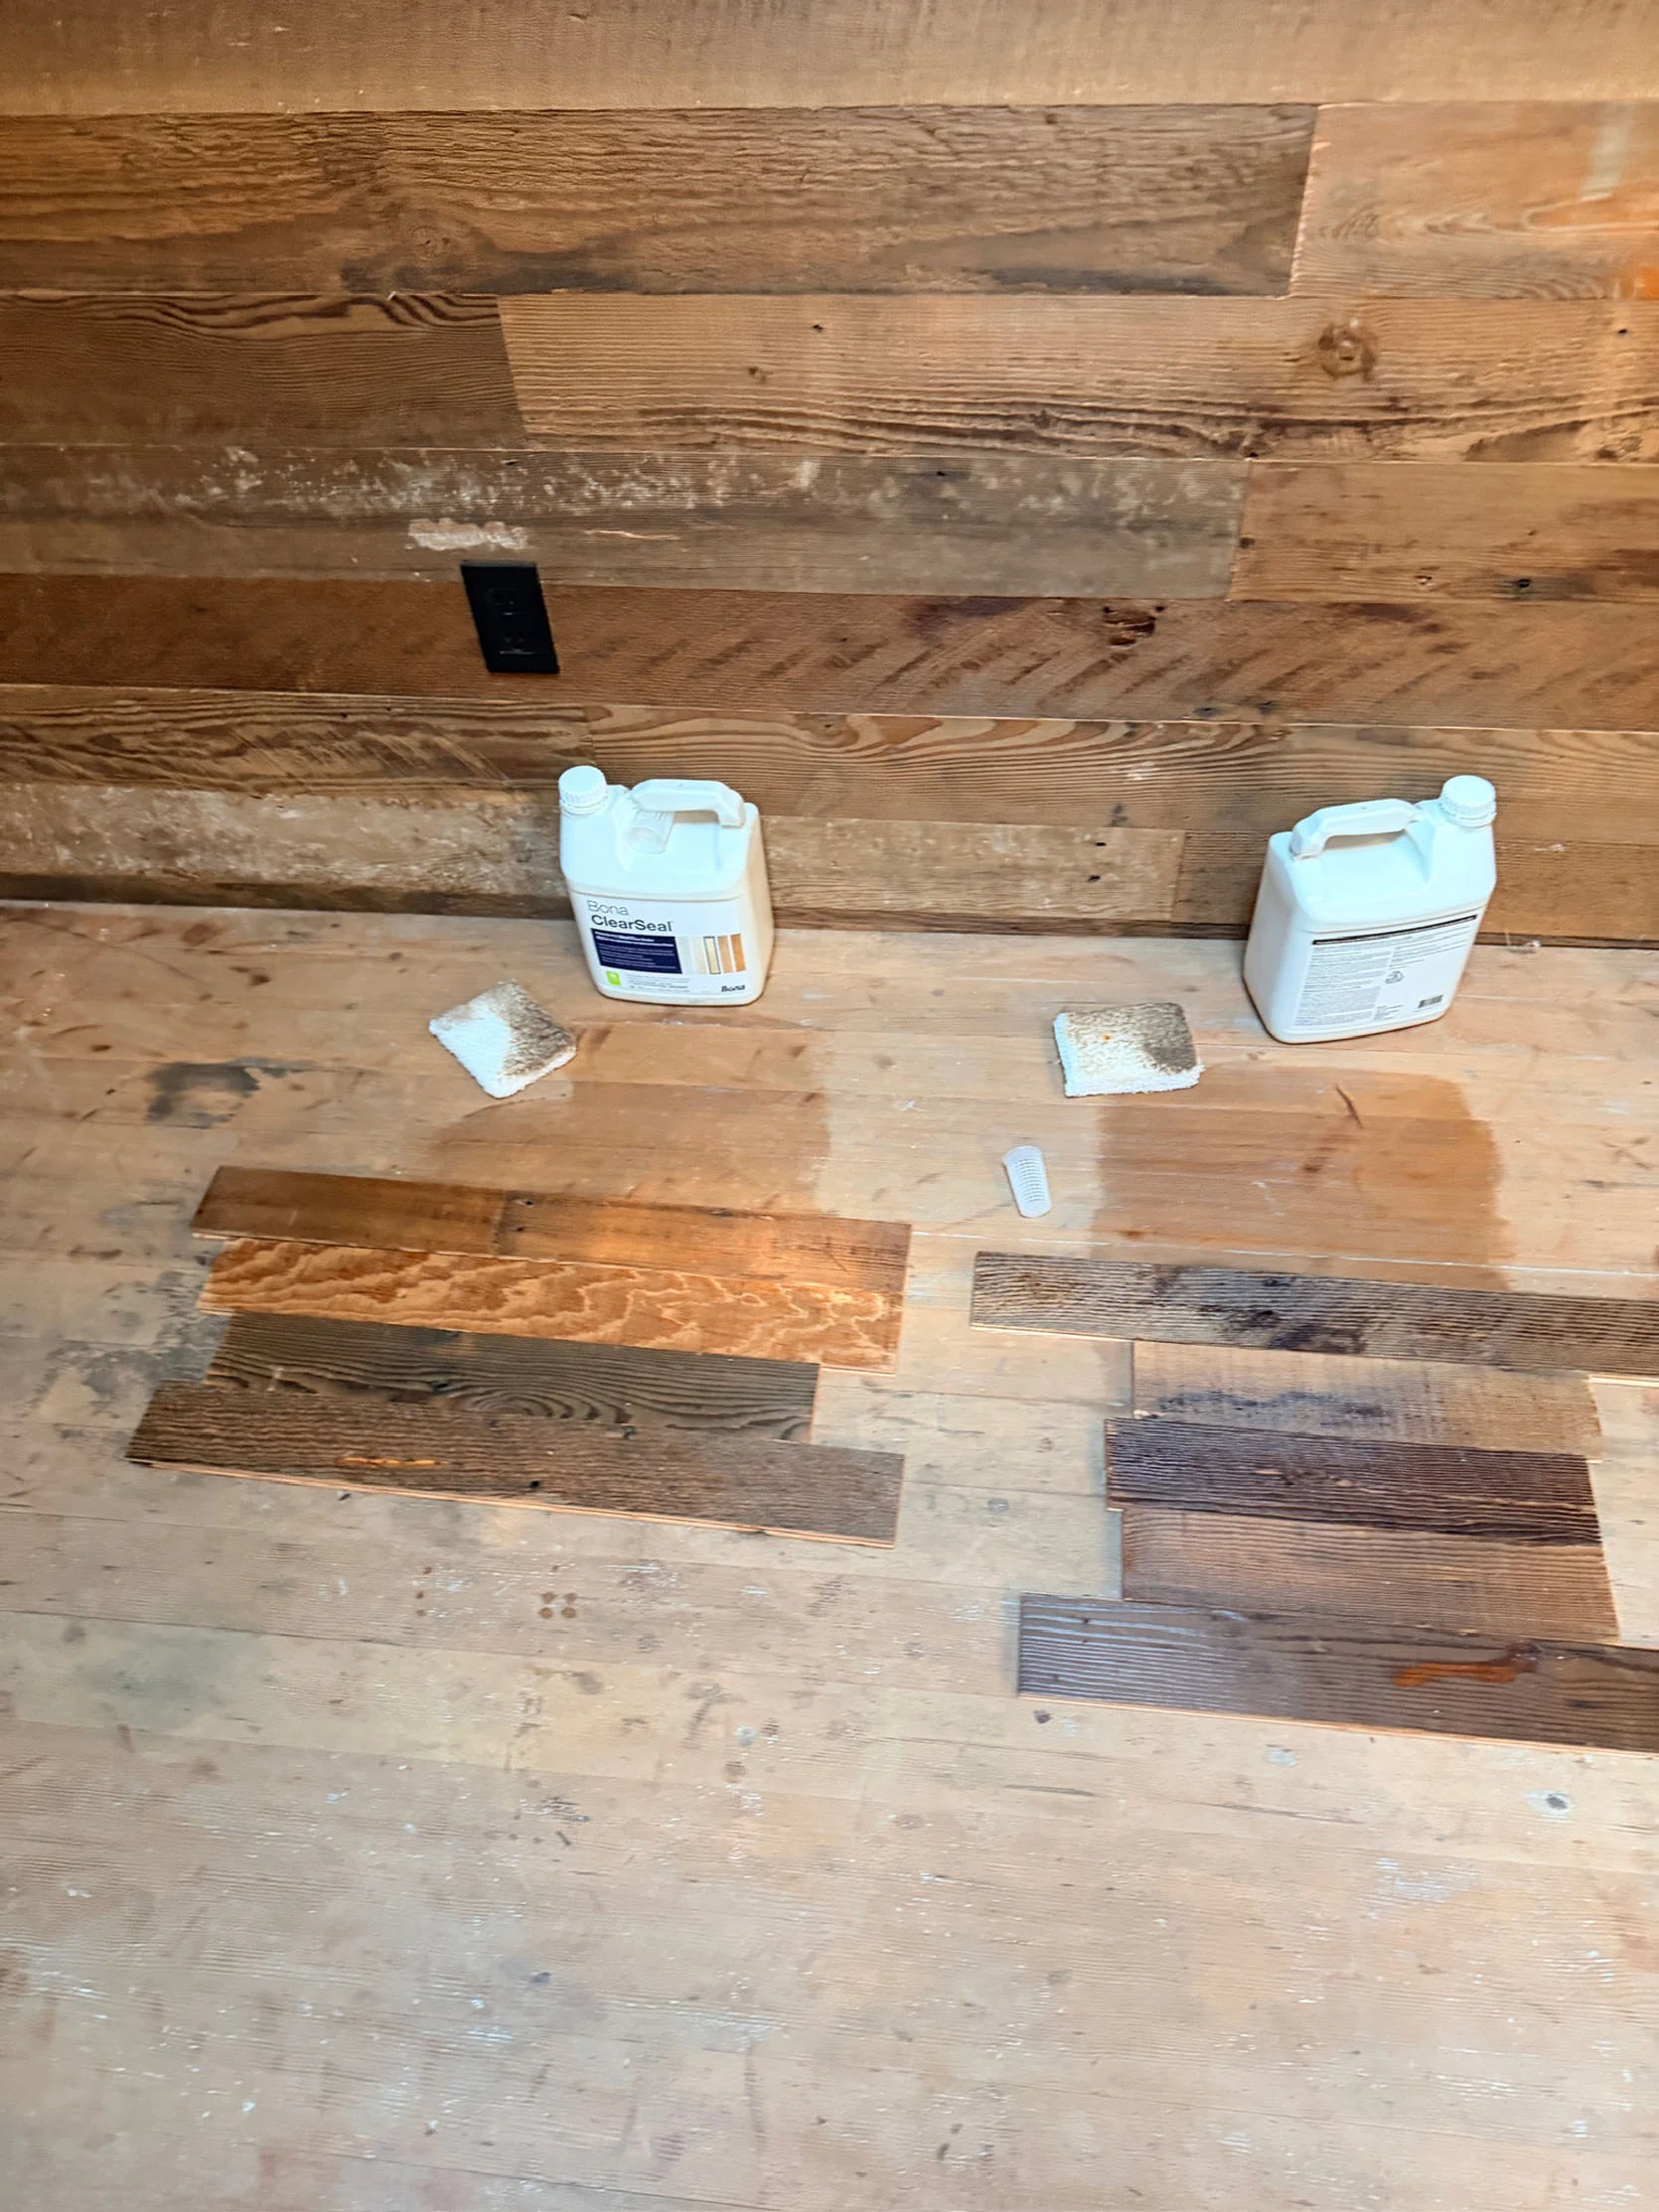
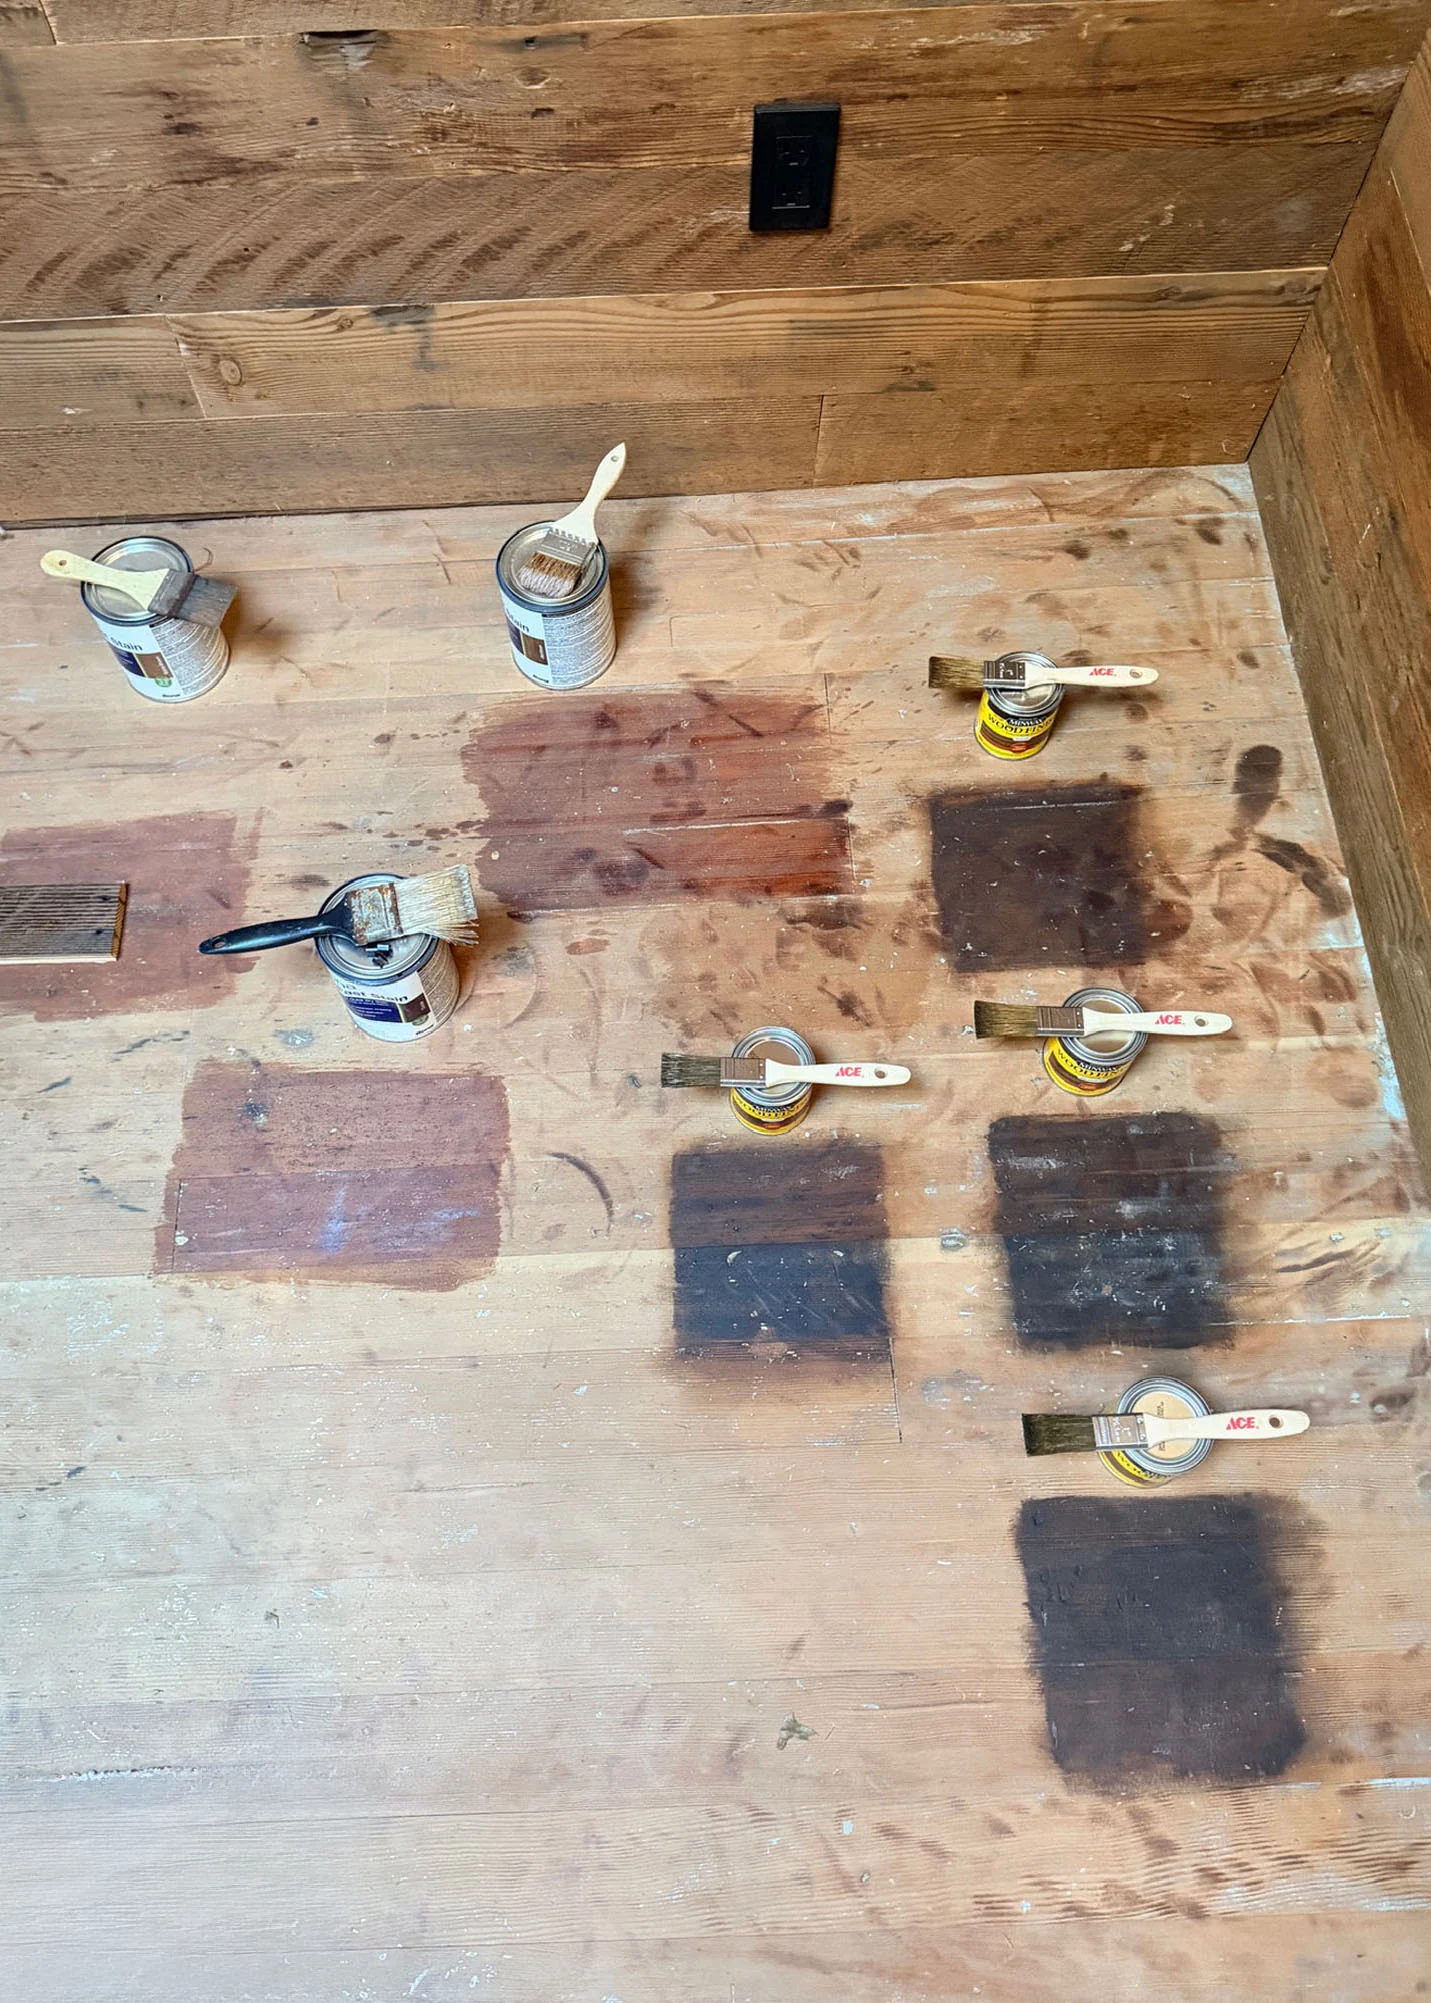
So I tested out two different Bona sealants (based on Reddit recs) and like 8 Minwax colors. The wood must be some sort of redwood or doug fir, so all of them pulled really red (which is kinda fine because we clad the walls intentionally to match the OG walls and ceiling in the front room, which are kinda red). The lighter tones weren’t dark enough to cover the black marks underneath, but when I went darker, it showed so much of the leftover paint that is deep in the grooves. So I wasn’t sure which was worse: go light and show dark? Or go dark and show light? I ended up spending a couple more hours trying to hand sand (with my palm sander) as much white paint off as possible and then I had to sand all the stain samples out (which was MUCH harder than I thought it would be, and you can still see them through the new stain – whoops). I ended up sampling two more Minwax colors, Special Walnut and American Walnut, and then texted Gretch to see if her gut was the same as mine (and it was), so the next day we hired a friend who likes to do handy work to stain the whole floor.
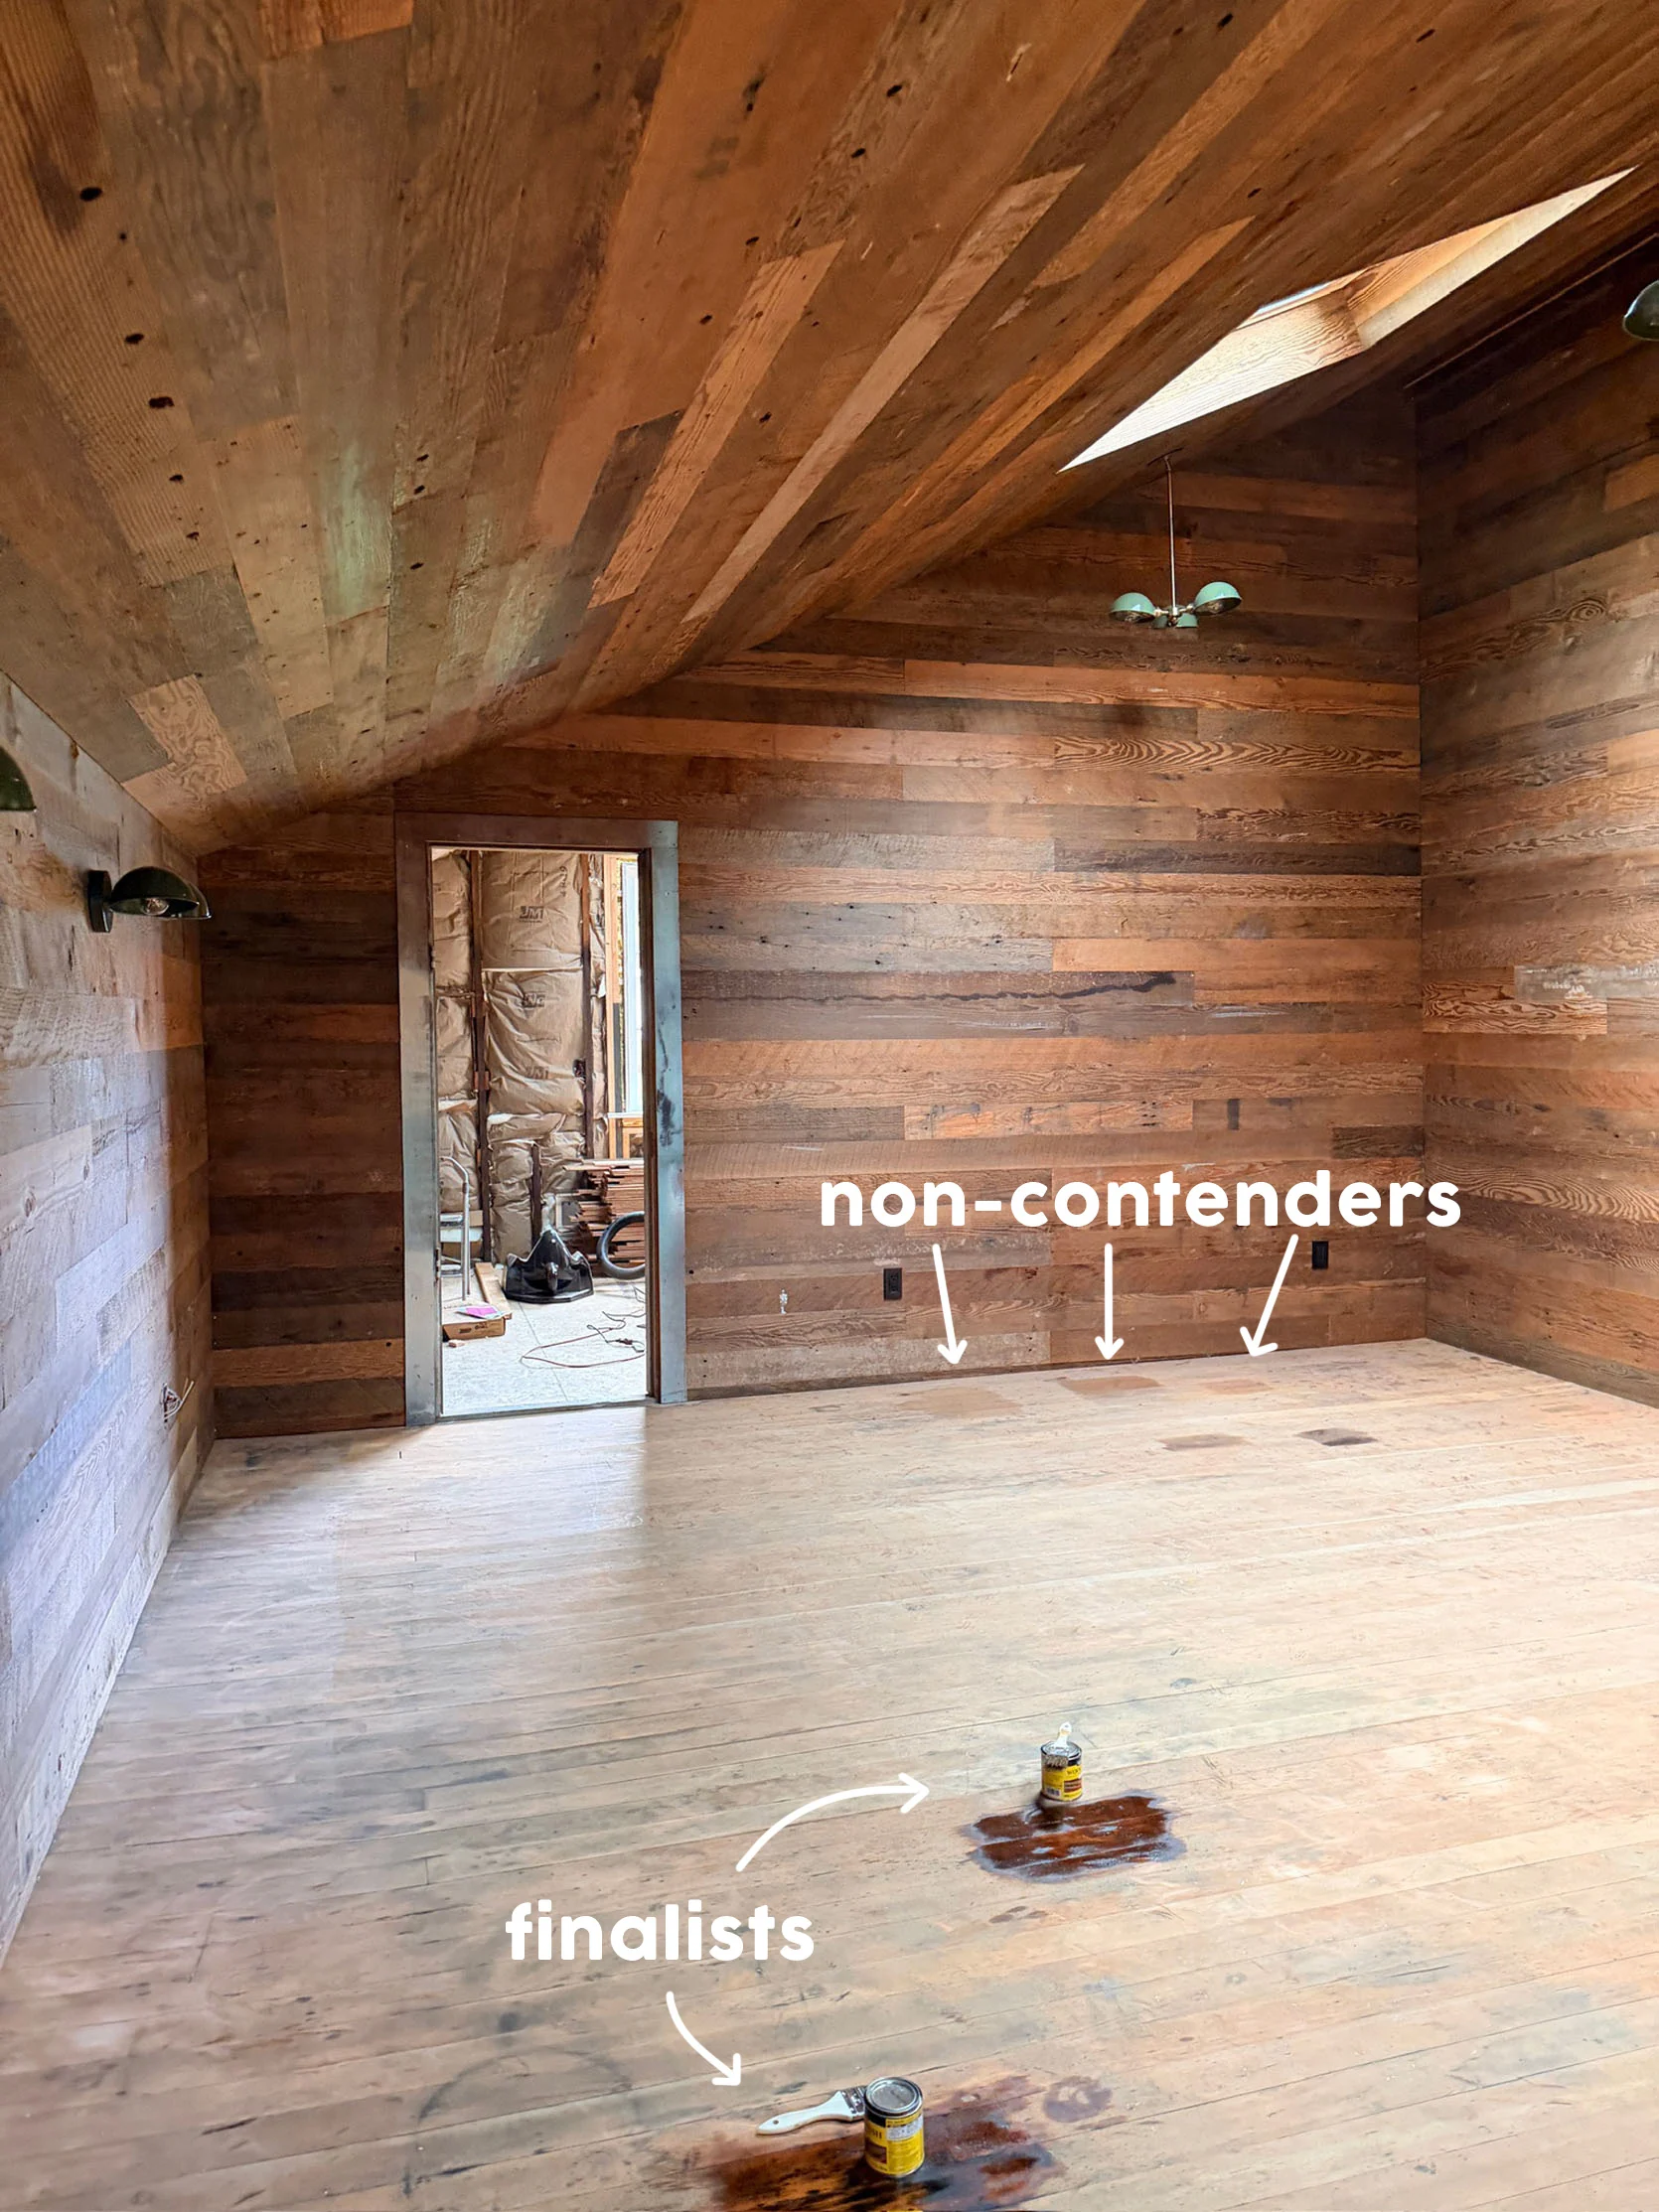
This was after I had tried to sand up all the non-contenders (which kinda worked but not really; you can see them in the back), and the four darker spots you do see are the 2 finalists, in two parts of the room.
STAINED AND GOOD ENOUGH!!
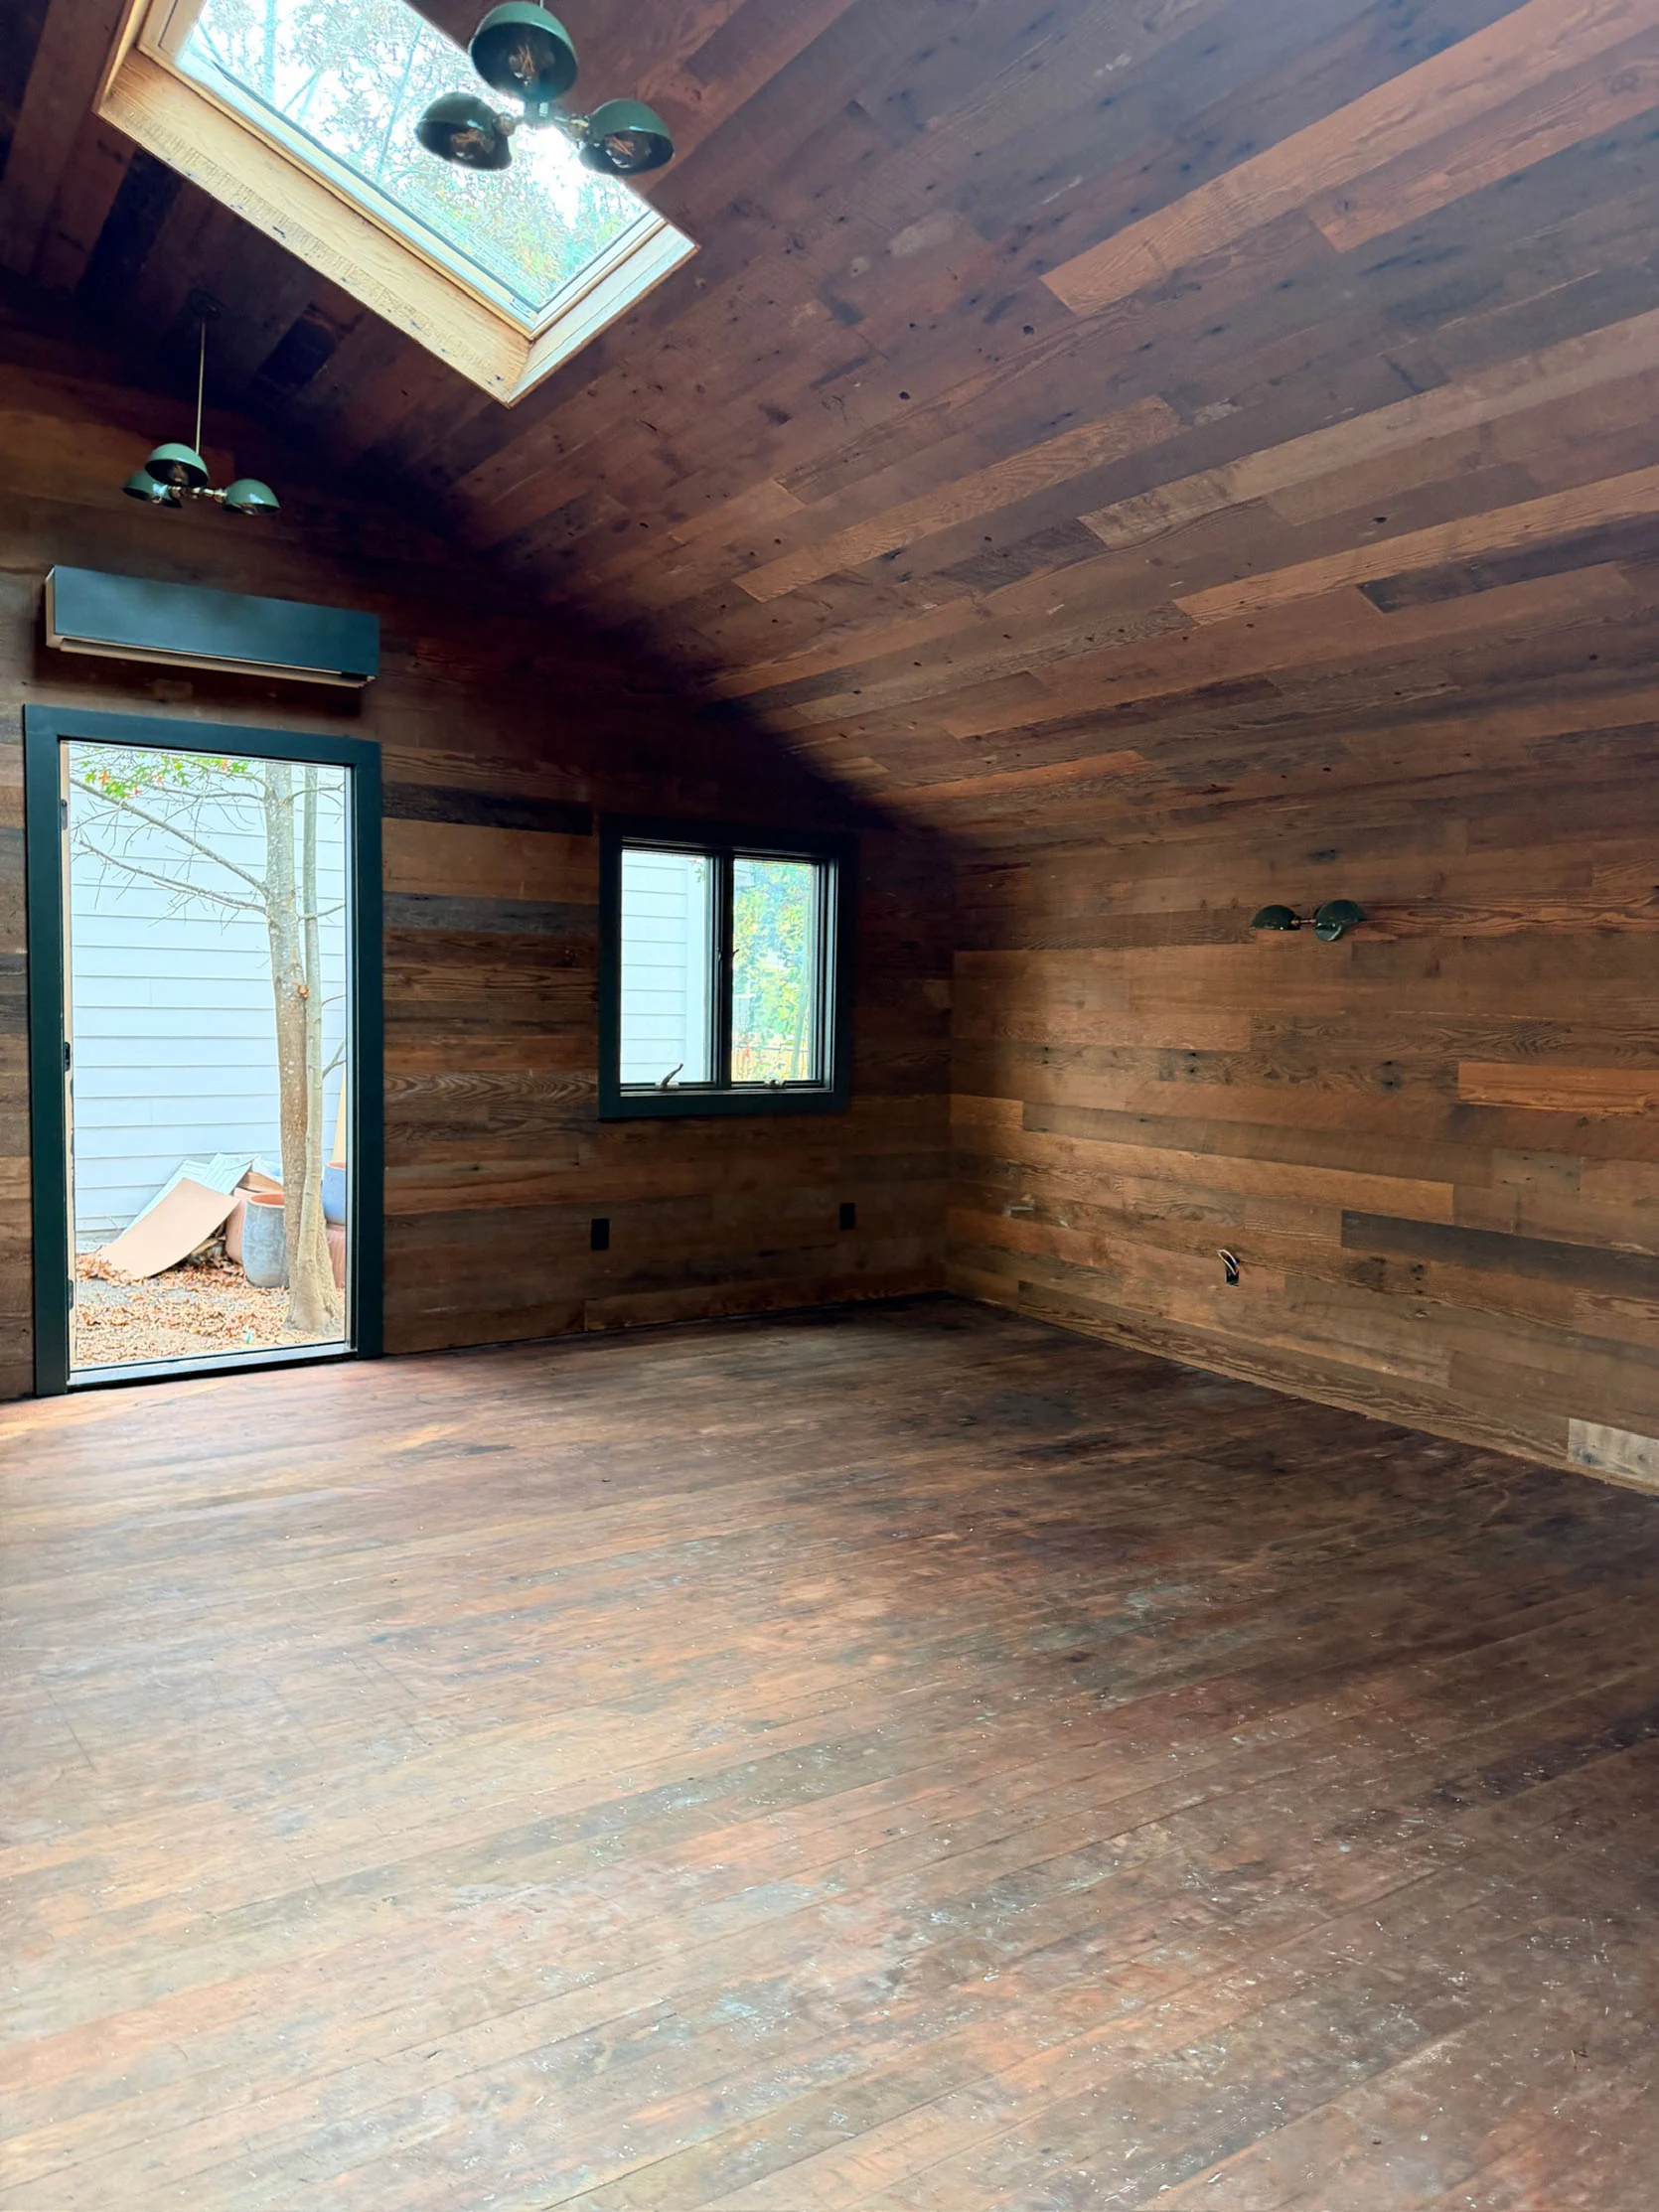
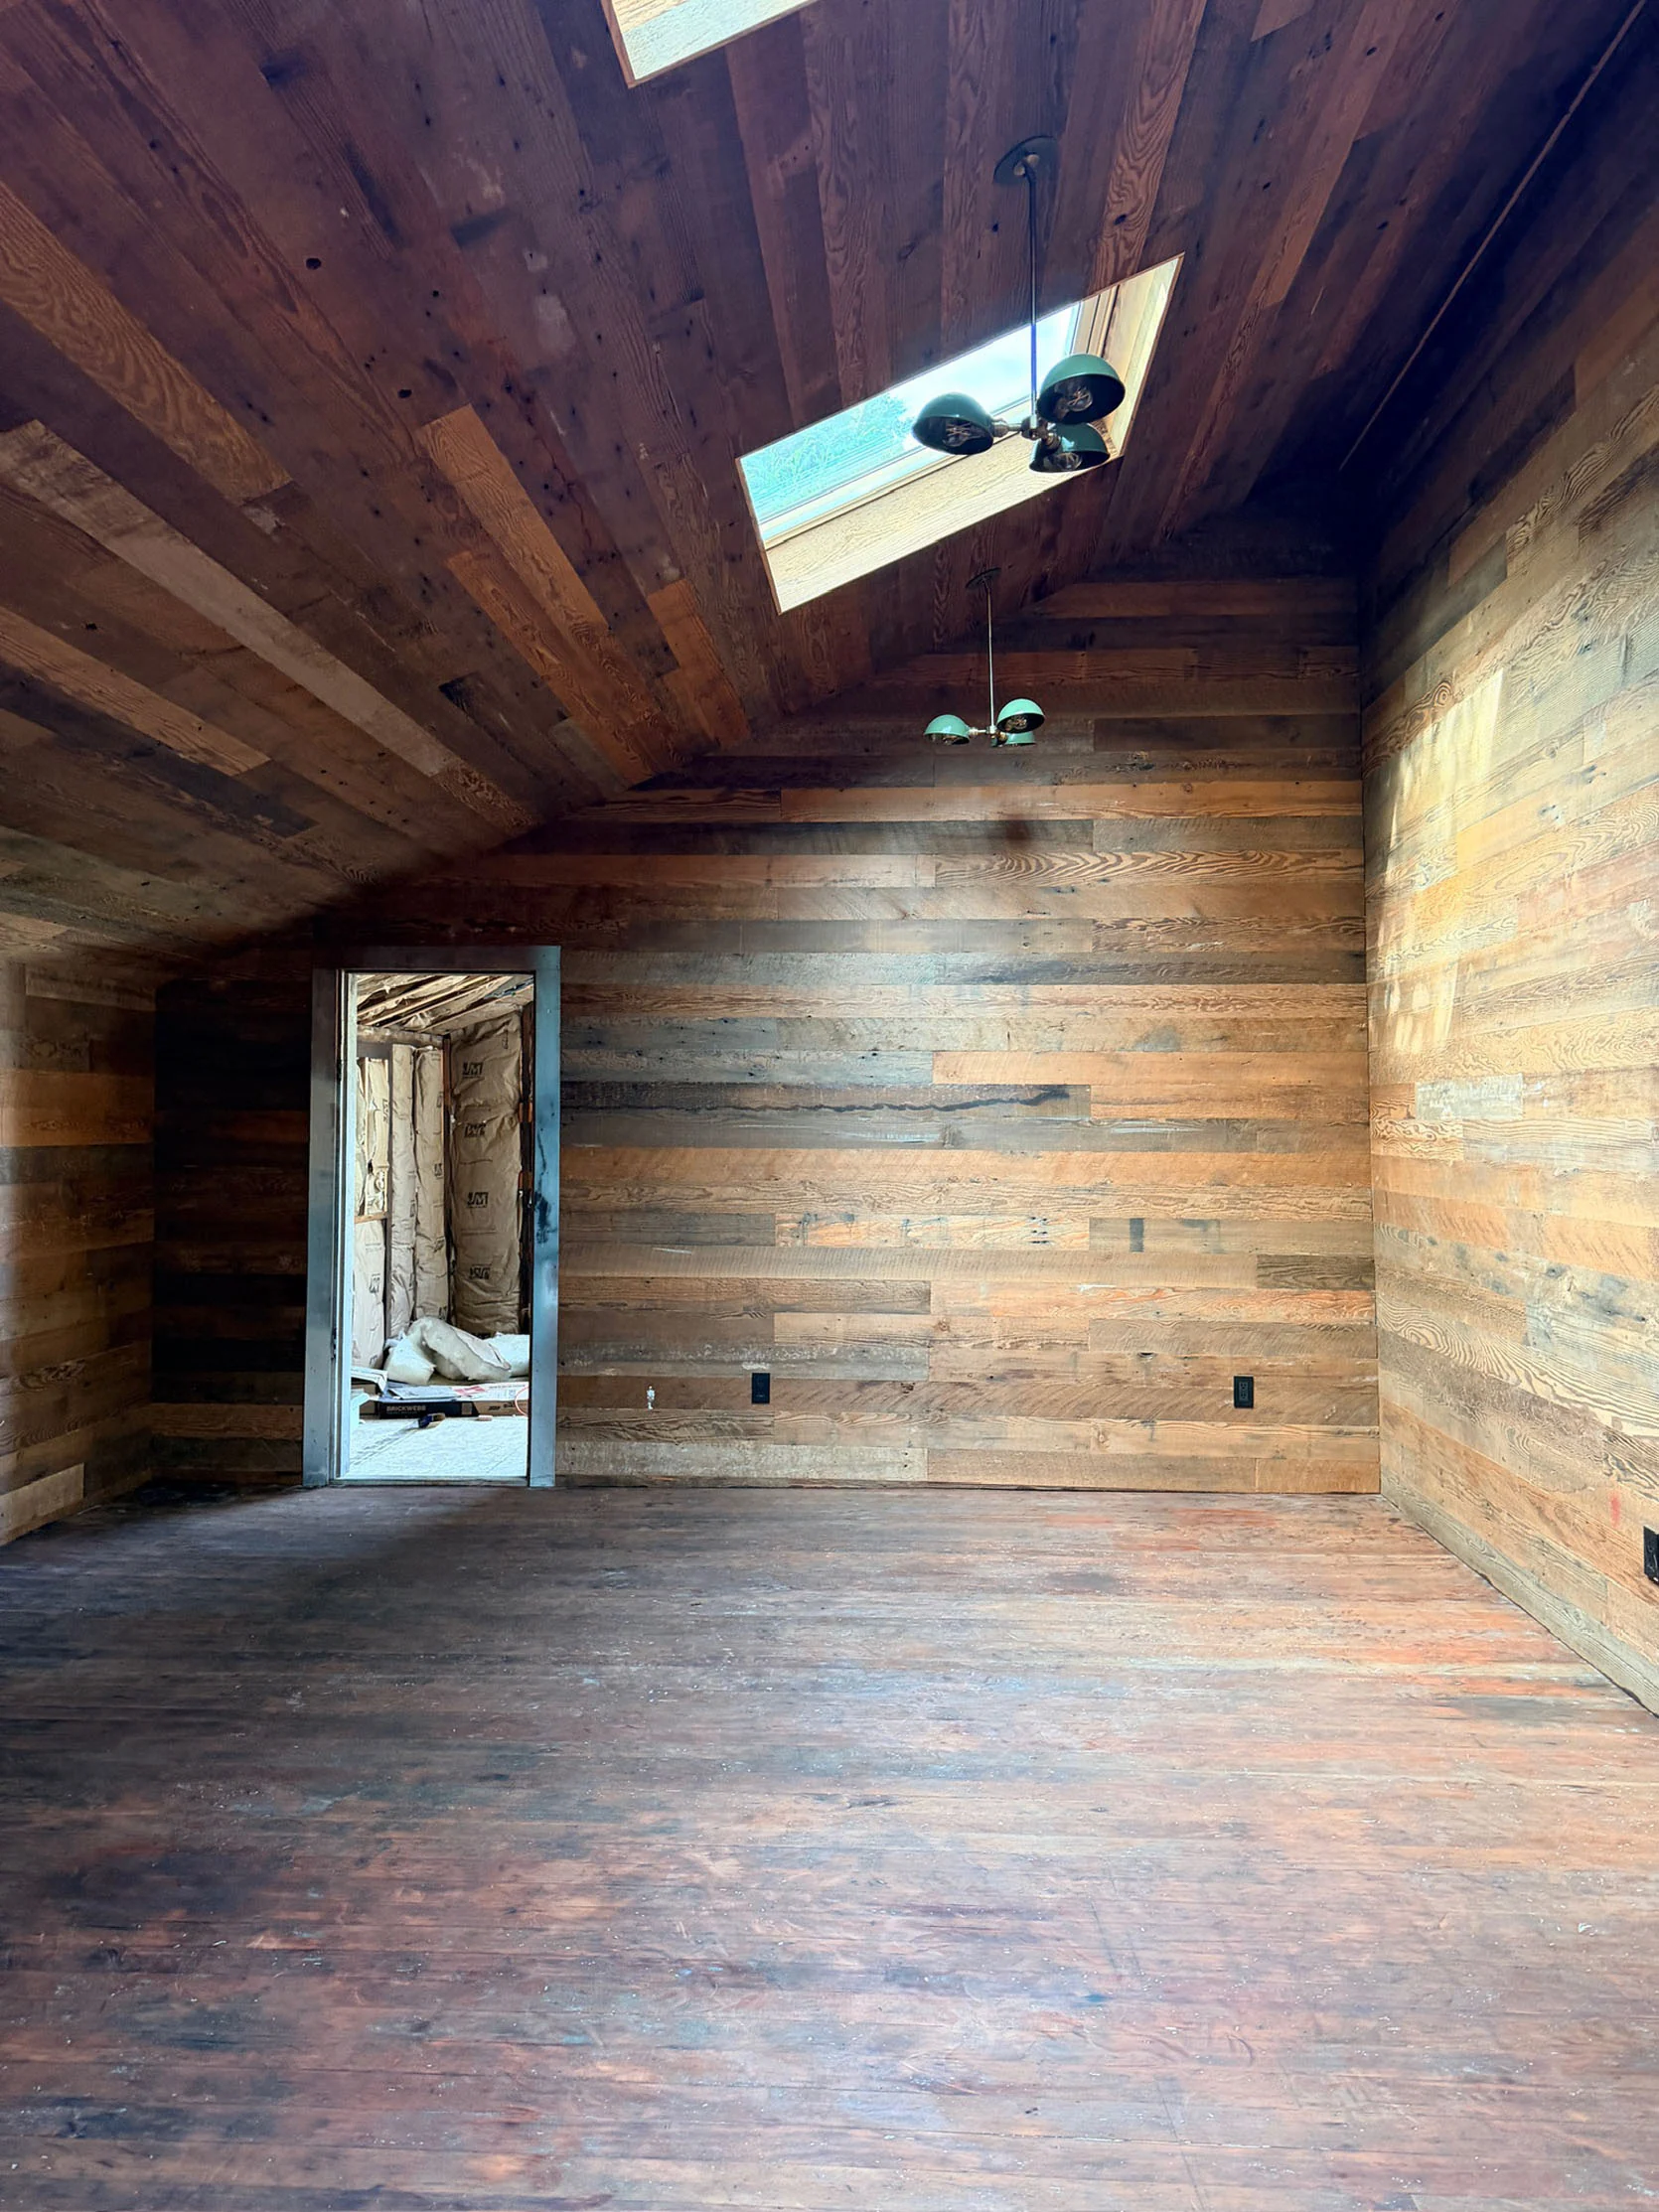
We ended up going with Special Walnut and felt great about it. Obviously, it didn’t come out perfect, but I was happy enough with it. So literally the next day, instead of sealing the floor or touching it up, I laid down the rug.
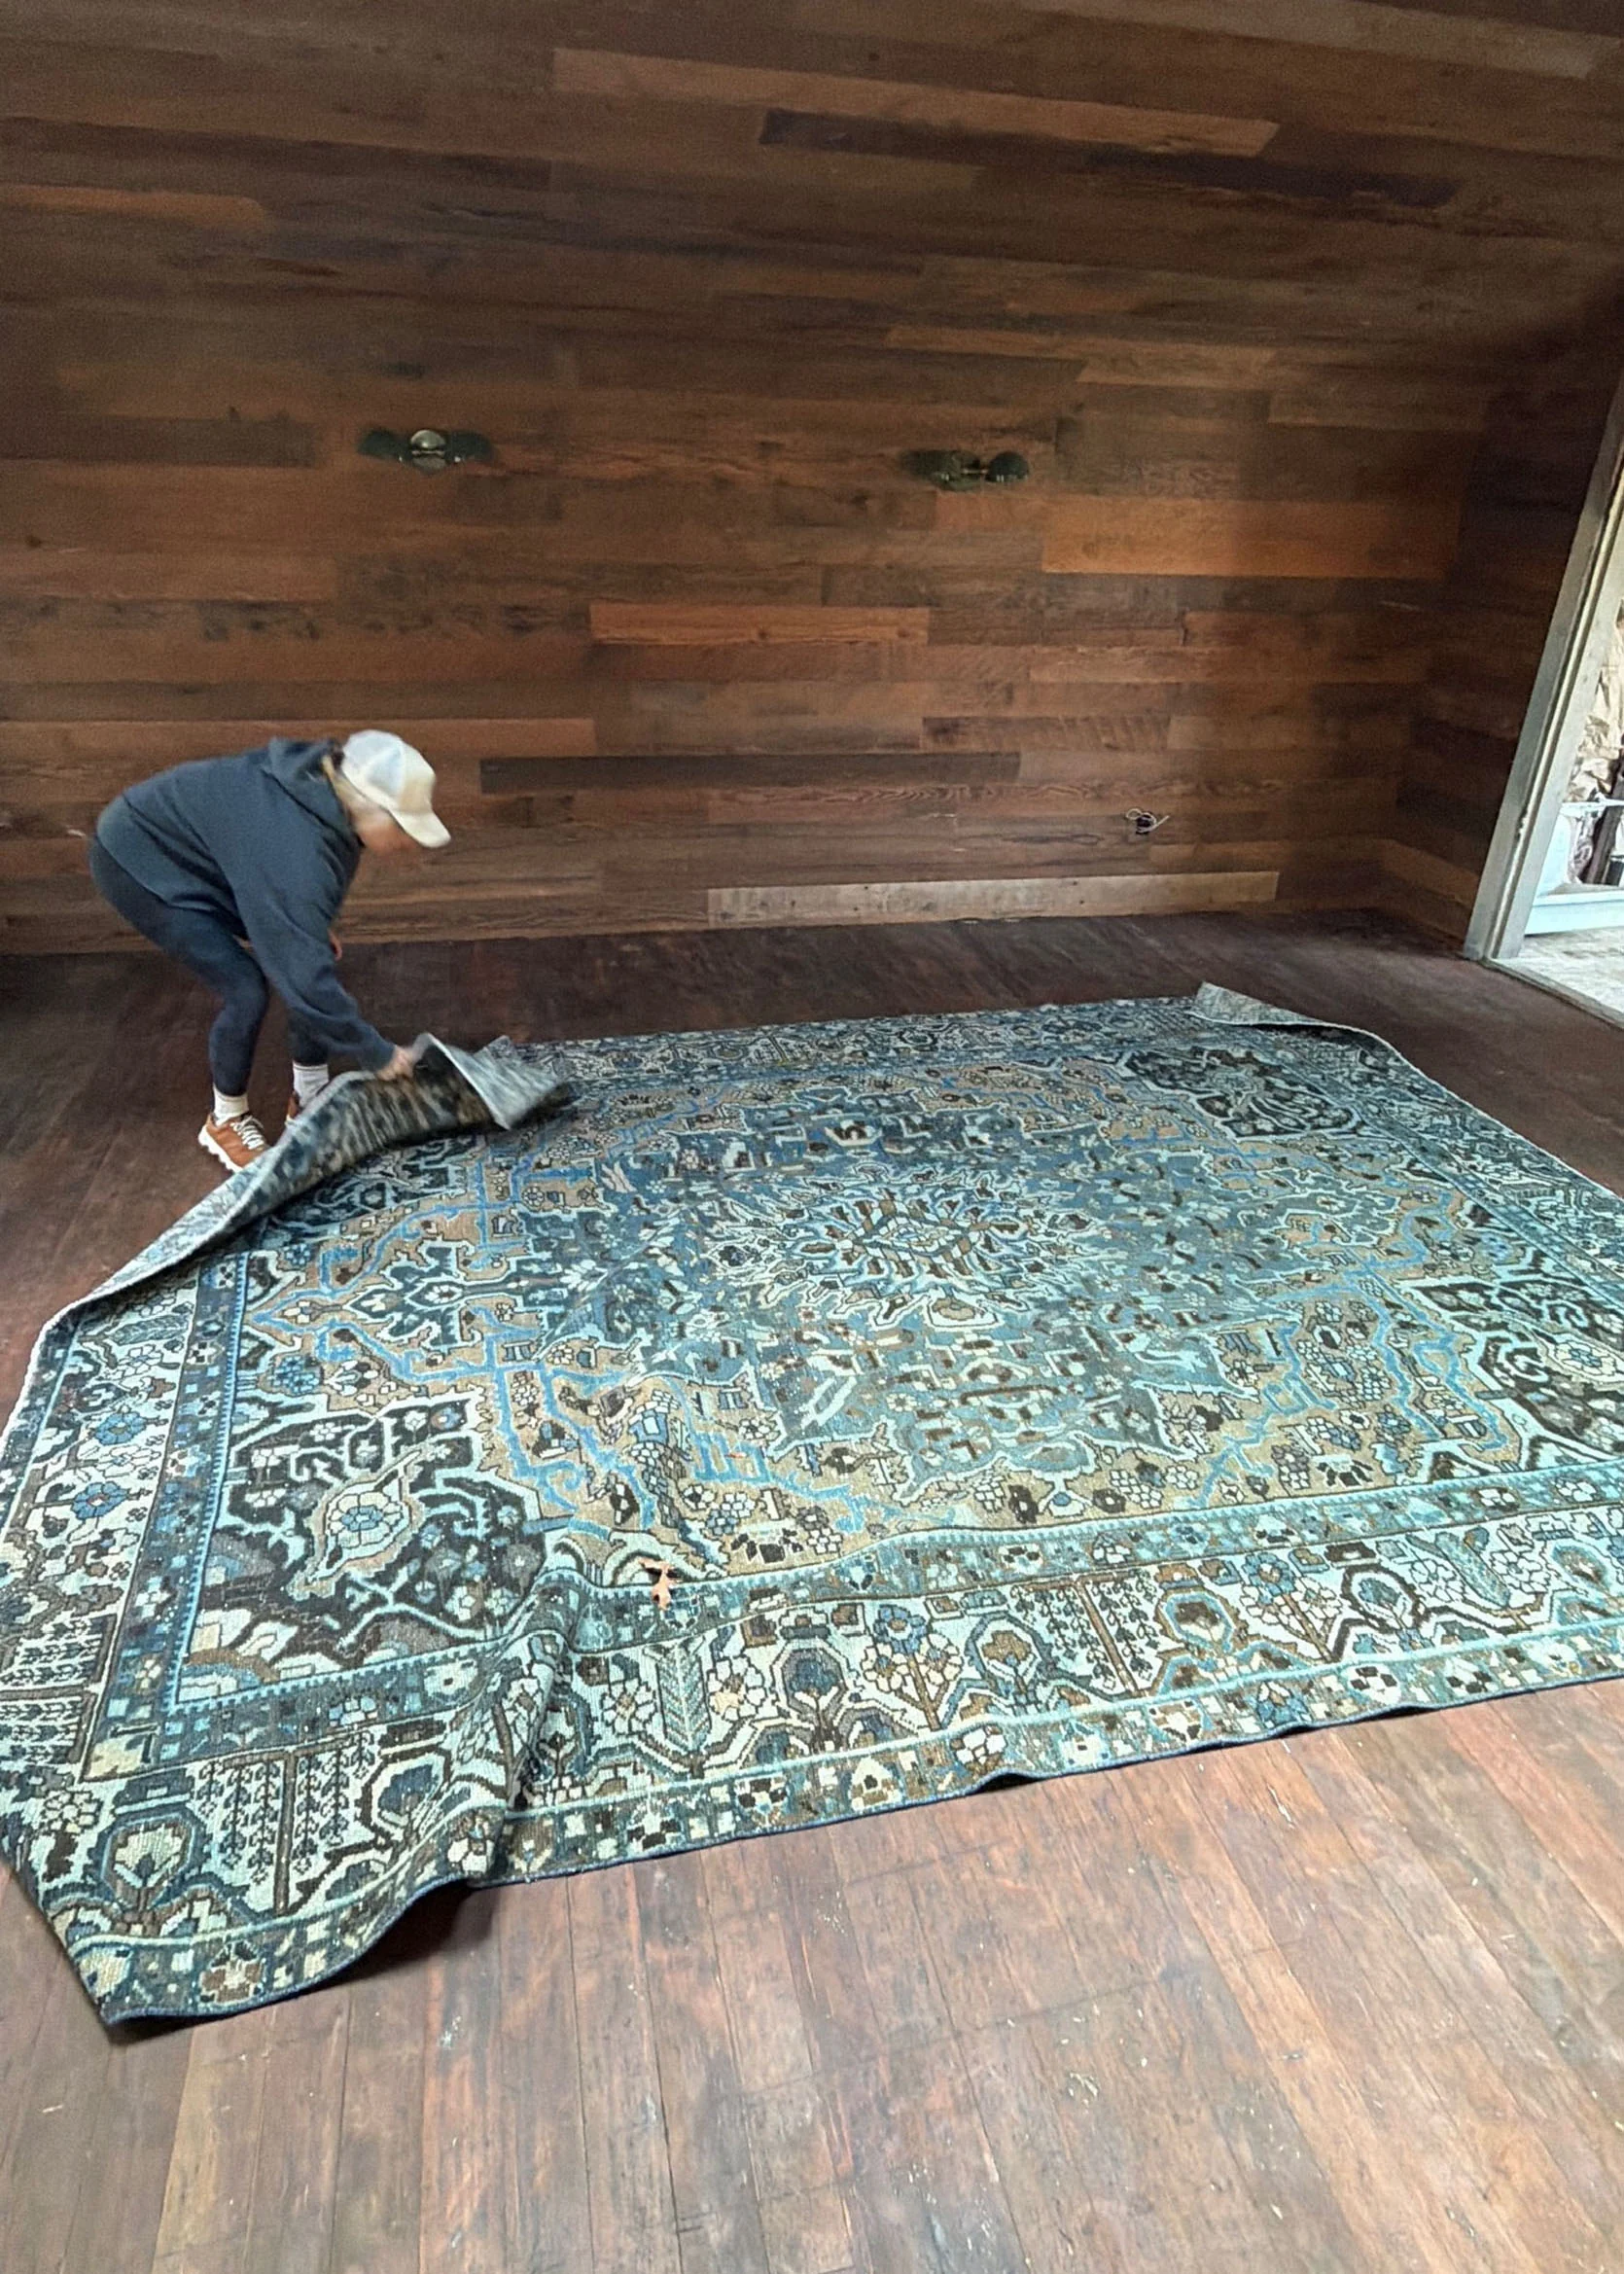
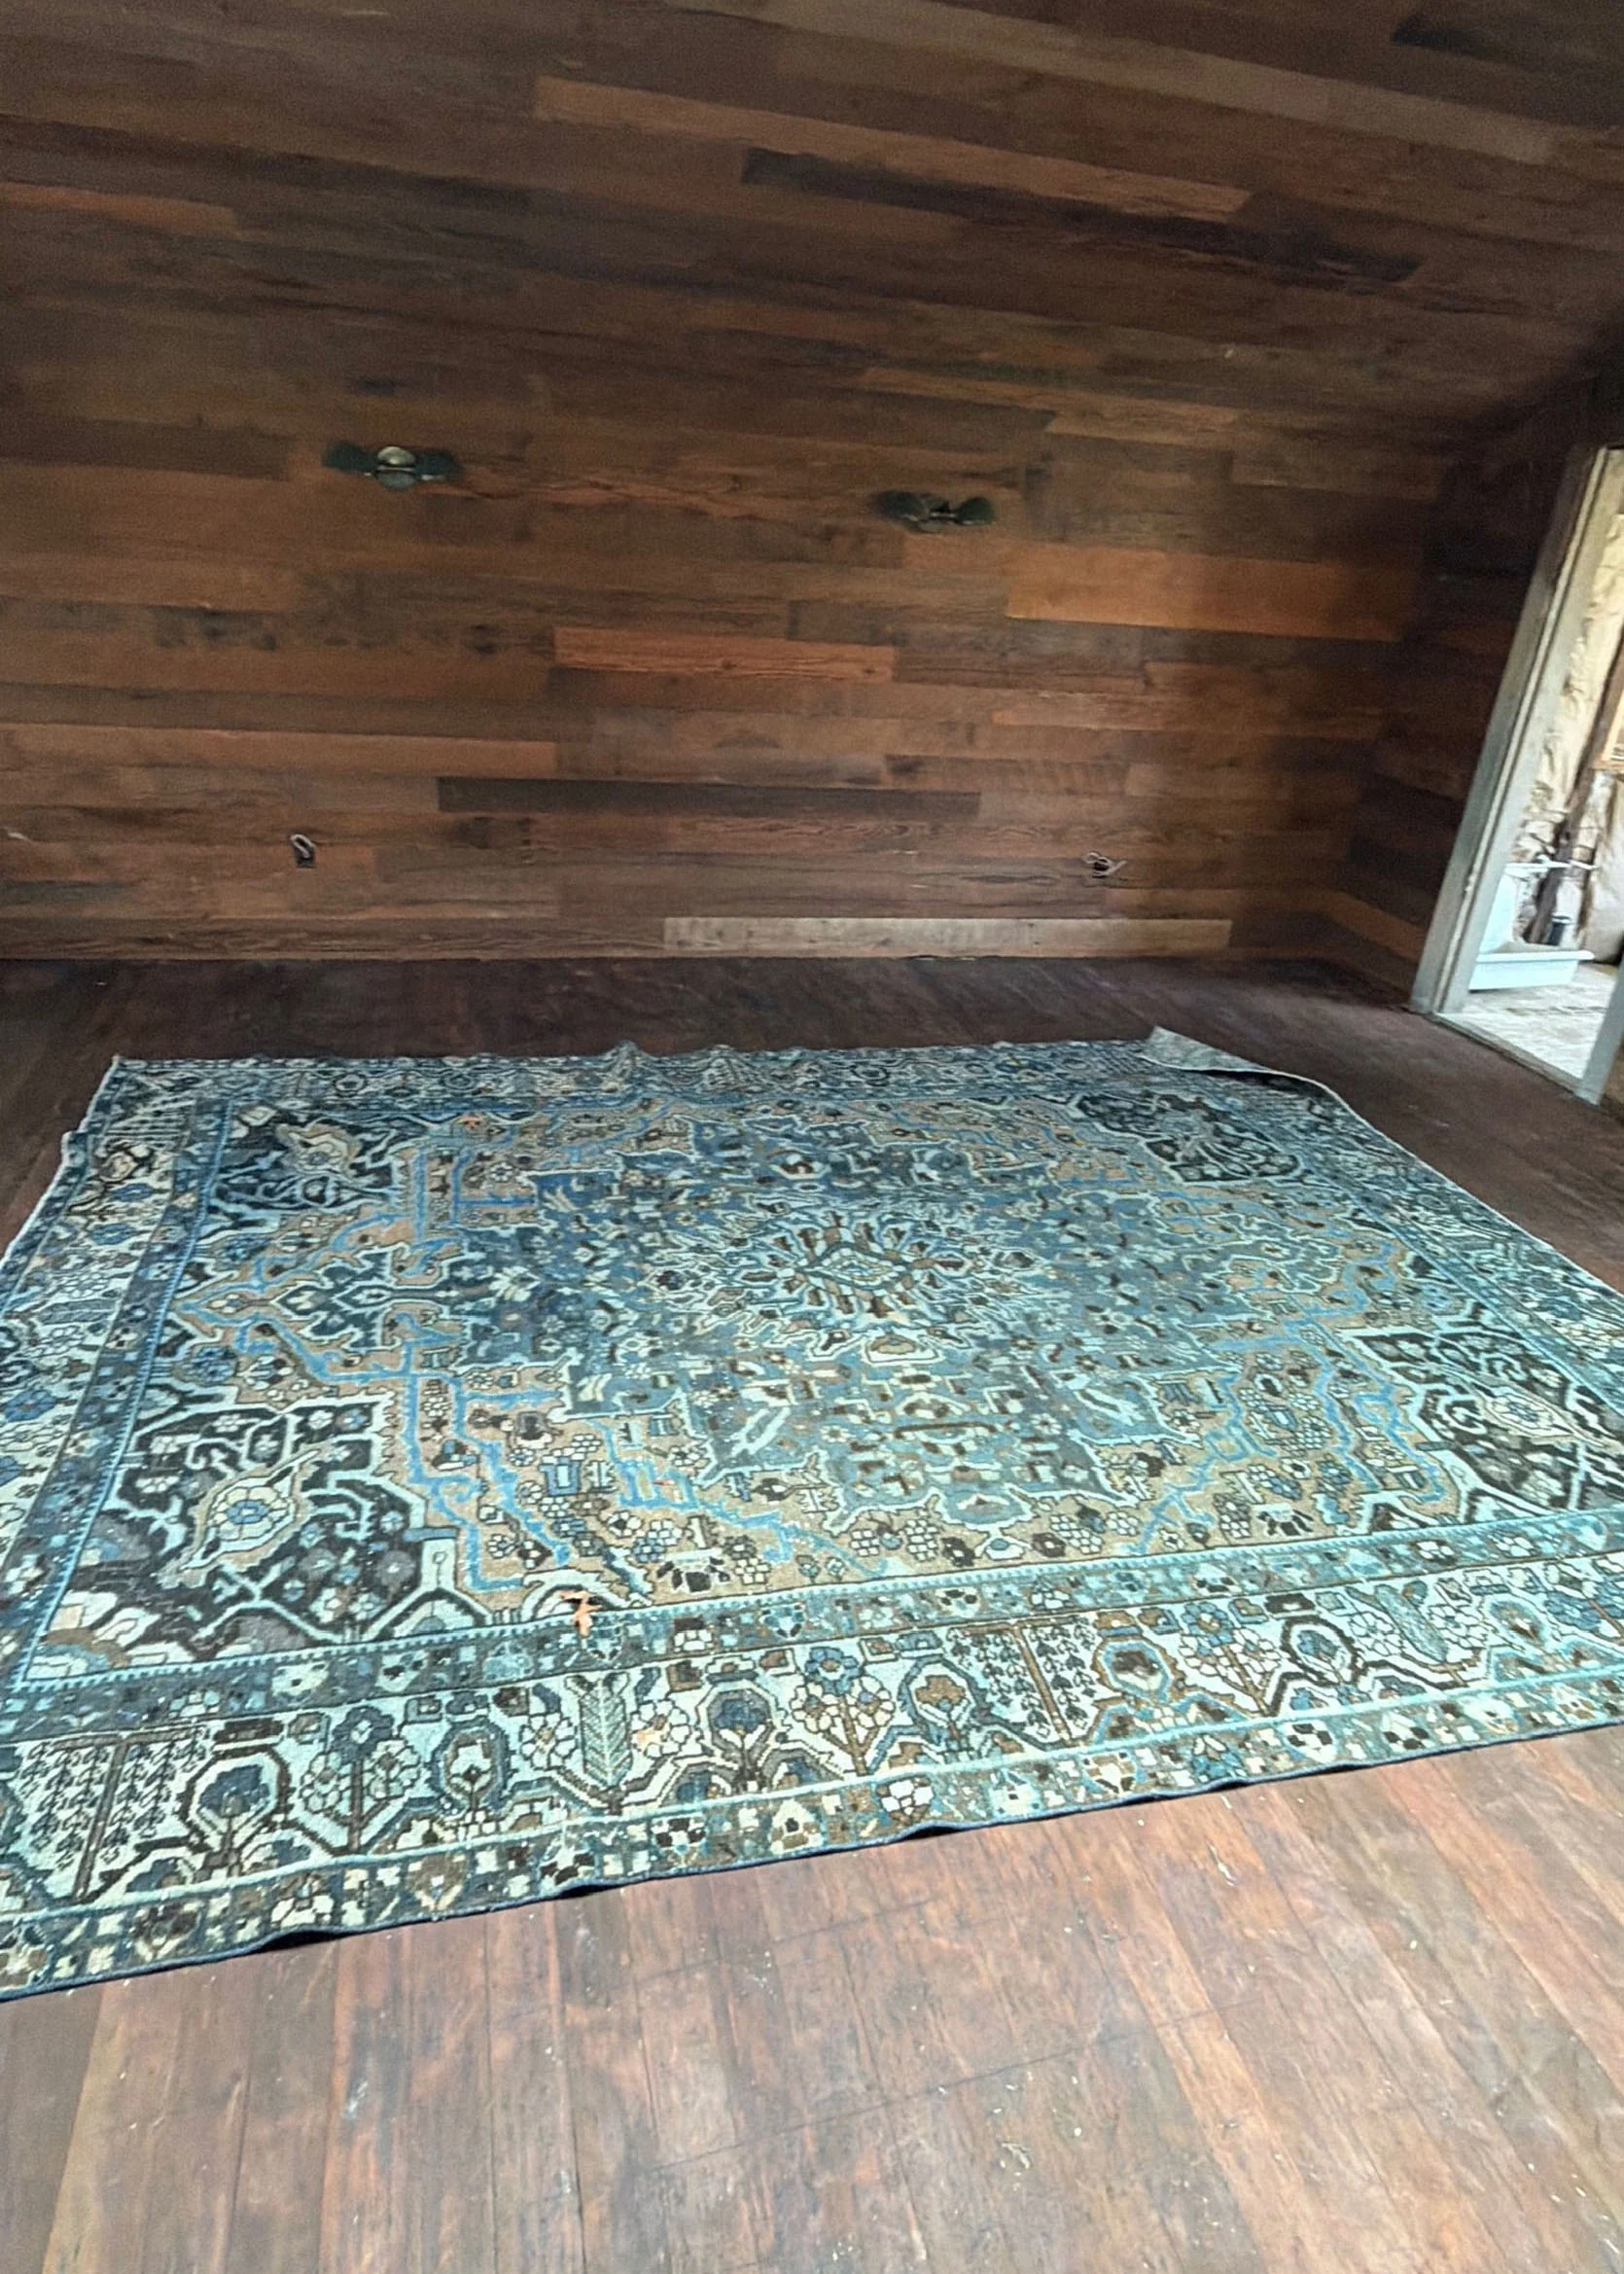
It actually turned out fine!!! Like, you don’t really notice it. There is so much dark, pretty wood in here that the flooring just looks like it’s always been there, which is GREAT. We only did one coat of the stain and didn’t have time to seal it before we had to populate the room to shoot.
So literally we went from that to THIS in a couple days:
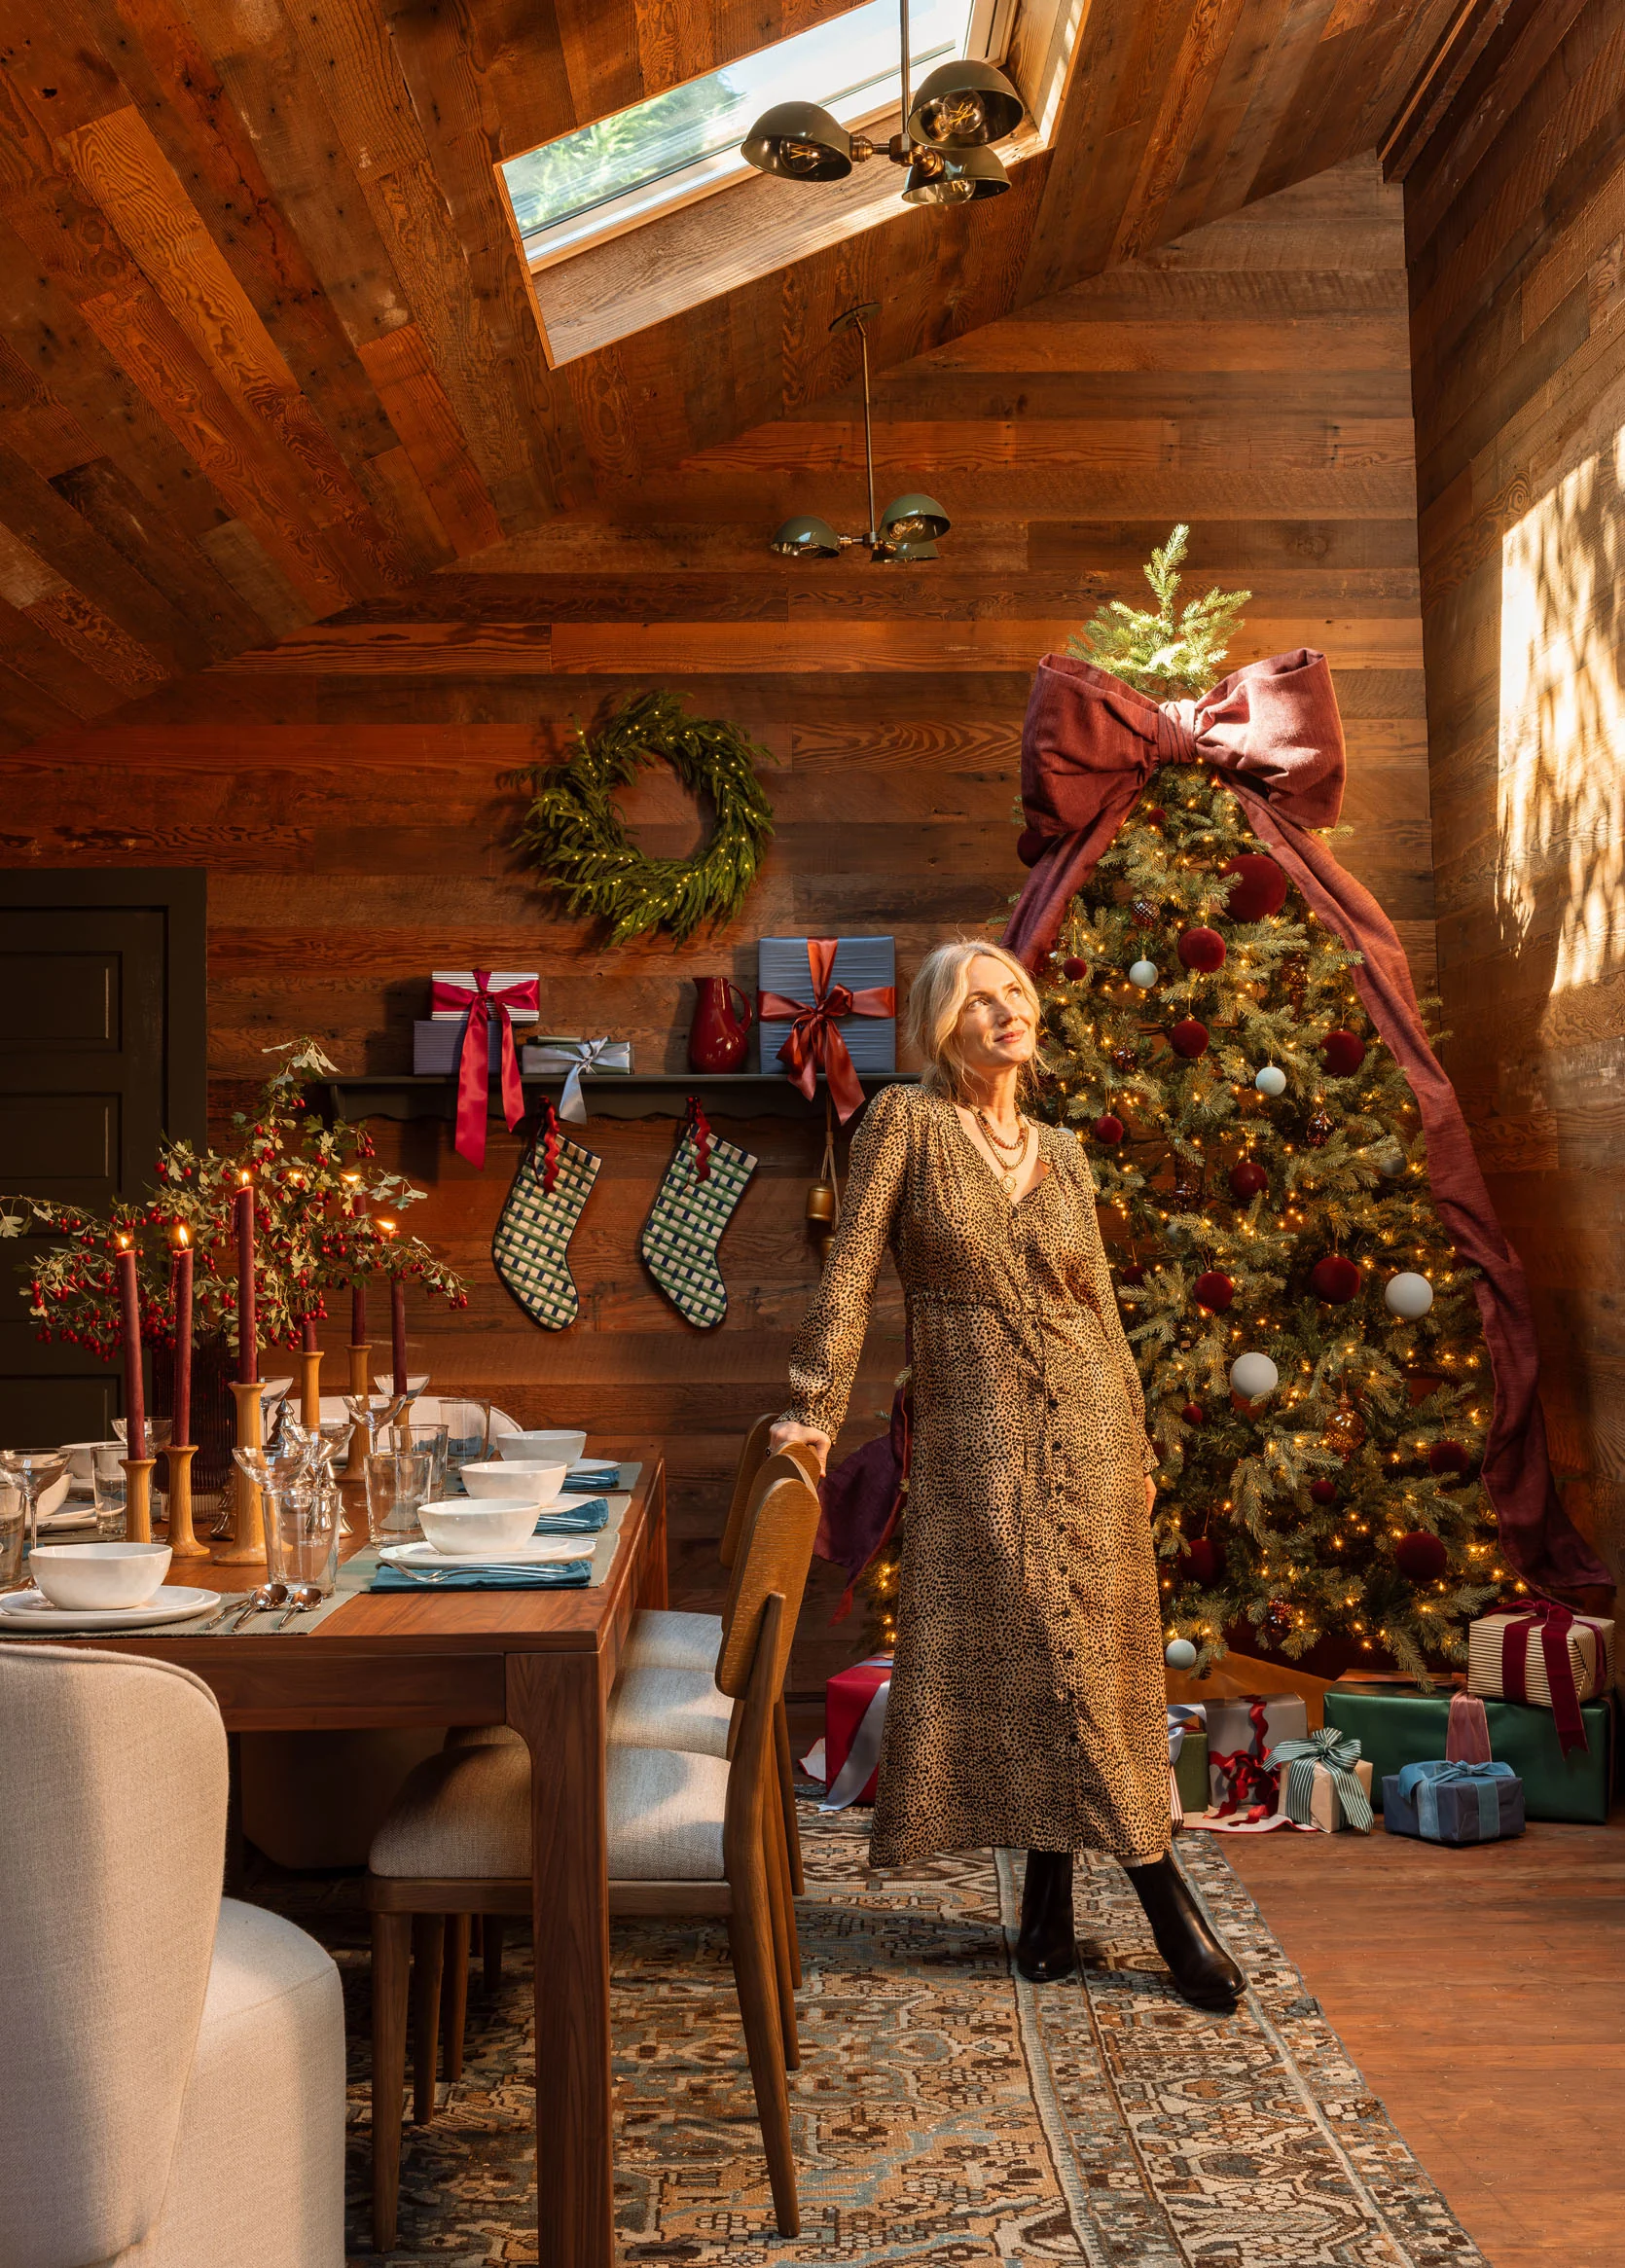
It looks pretty dang good if you ask me. You might notice we also painted the door to the bathroom the same color as the other door and window, SW Foxhall Green. We don’t even have process photos of that because we were all working so fast to get it done, but it sure helps not having spray-paint-covered doors anymore! A big shout-out to the skylights (Velux) for making that corner angelic. We also hung the Olde Brick Lighting pendants and sconces, and I LOVE them. If I could snap my fingers and have them be a bit bigger, I would, because this room is just so large, but the style, color, and function are perfect in here.
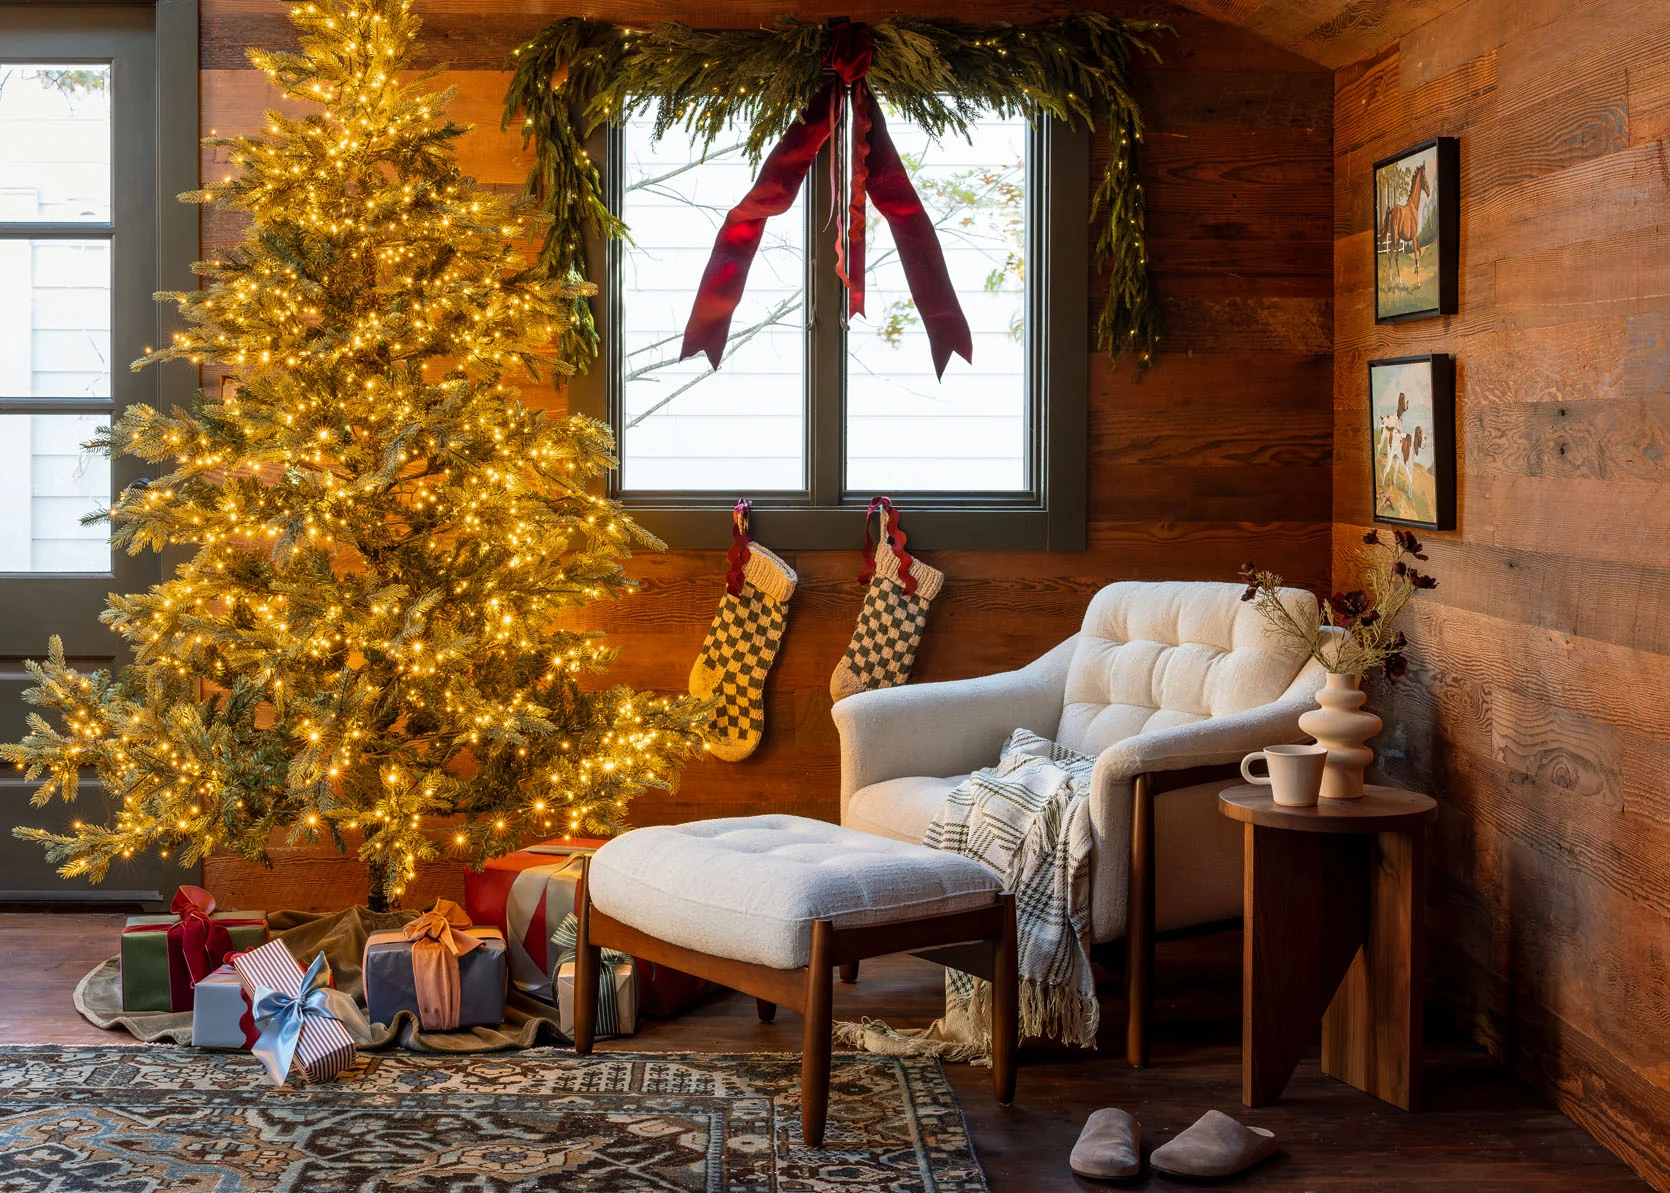
It paid off and was a great way to speed up our process and make our clients happy. Also, our shuffleboard came in, and I can’t wait to show you how good it looks!!
The Front Room
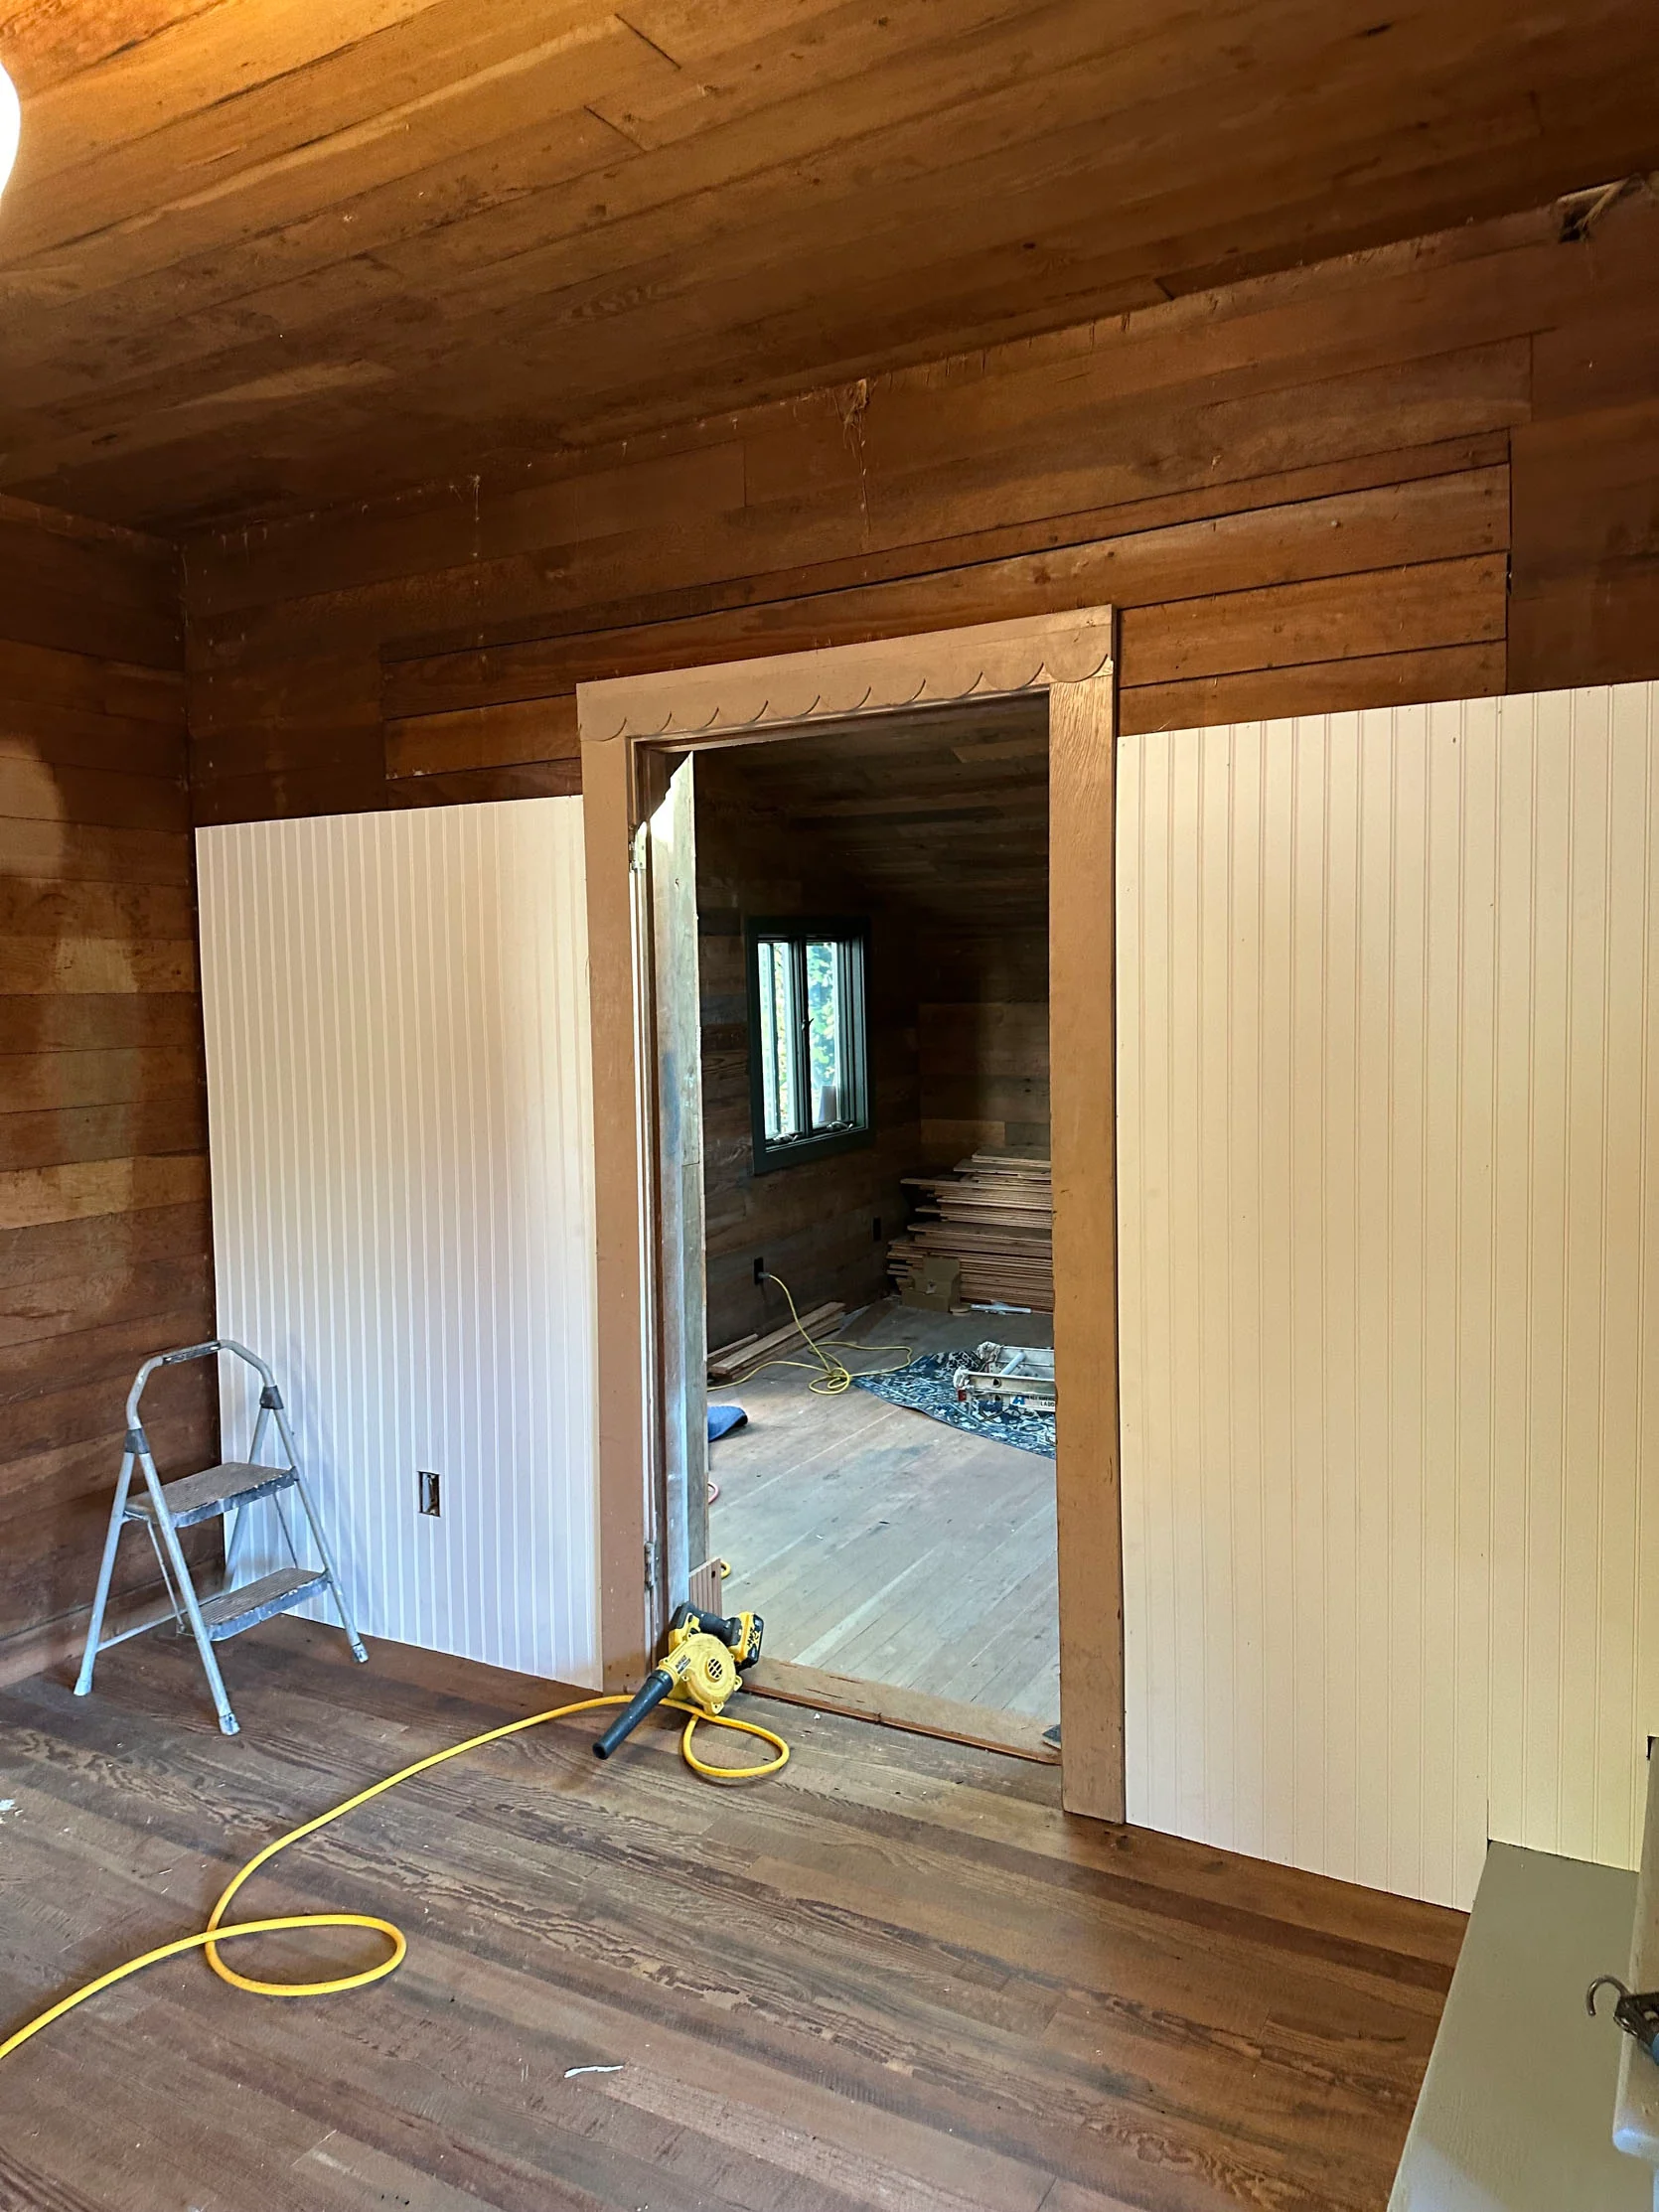
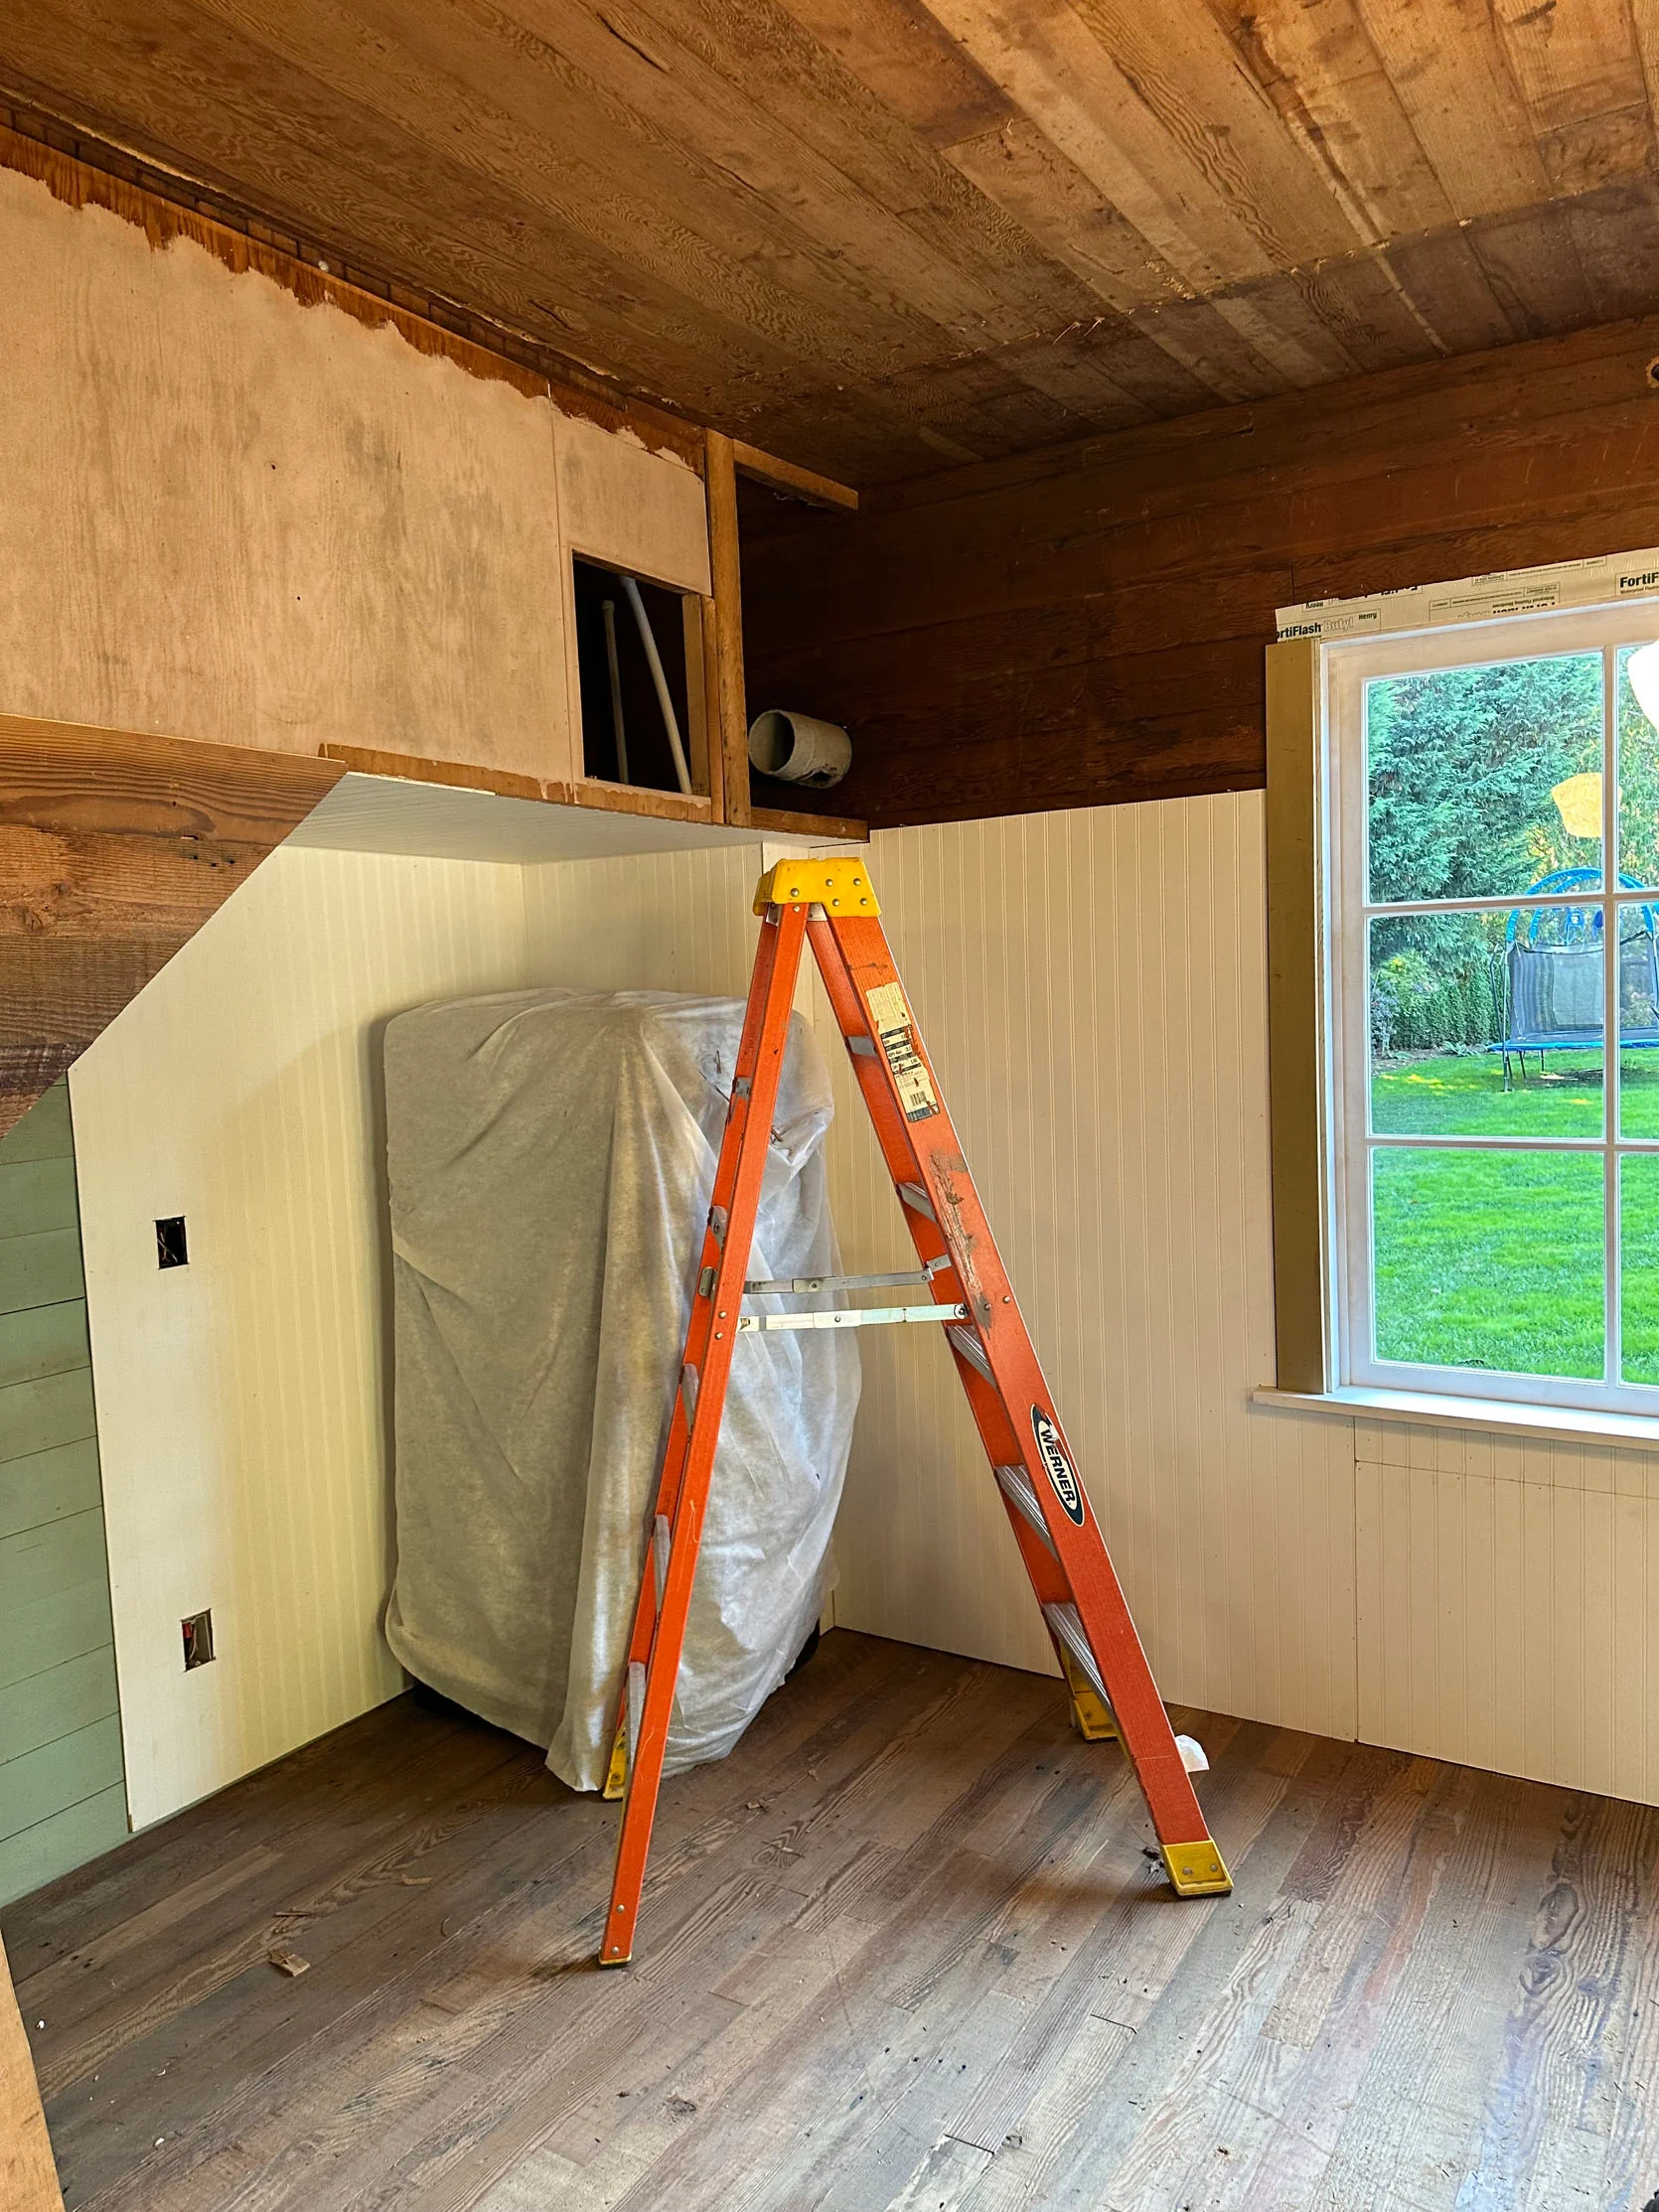
We had no intention of rushing in here just to shoot holiday posts. The beadboard was leaning against the wall for a long time. My team and I were in Arrowhead on our planning retreat, and when we came back, most of the beadboard was put up. So, of course, I got a bee in my bonnet and thought it would be so fun to have it ready for some upcoming shoots. We hired a friend of ours with Gretch, and myself (at times) to fill nail holes and paint over a few days as we were setting up the shots. We were literally working on top of each other, shooting in one corner of the guest cottage while painting in the other, with a lot of last-minute trim decisions (none I regret, which is always fun).
OH AND I WENT WITH GREEN!!!
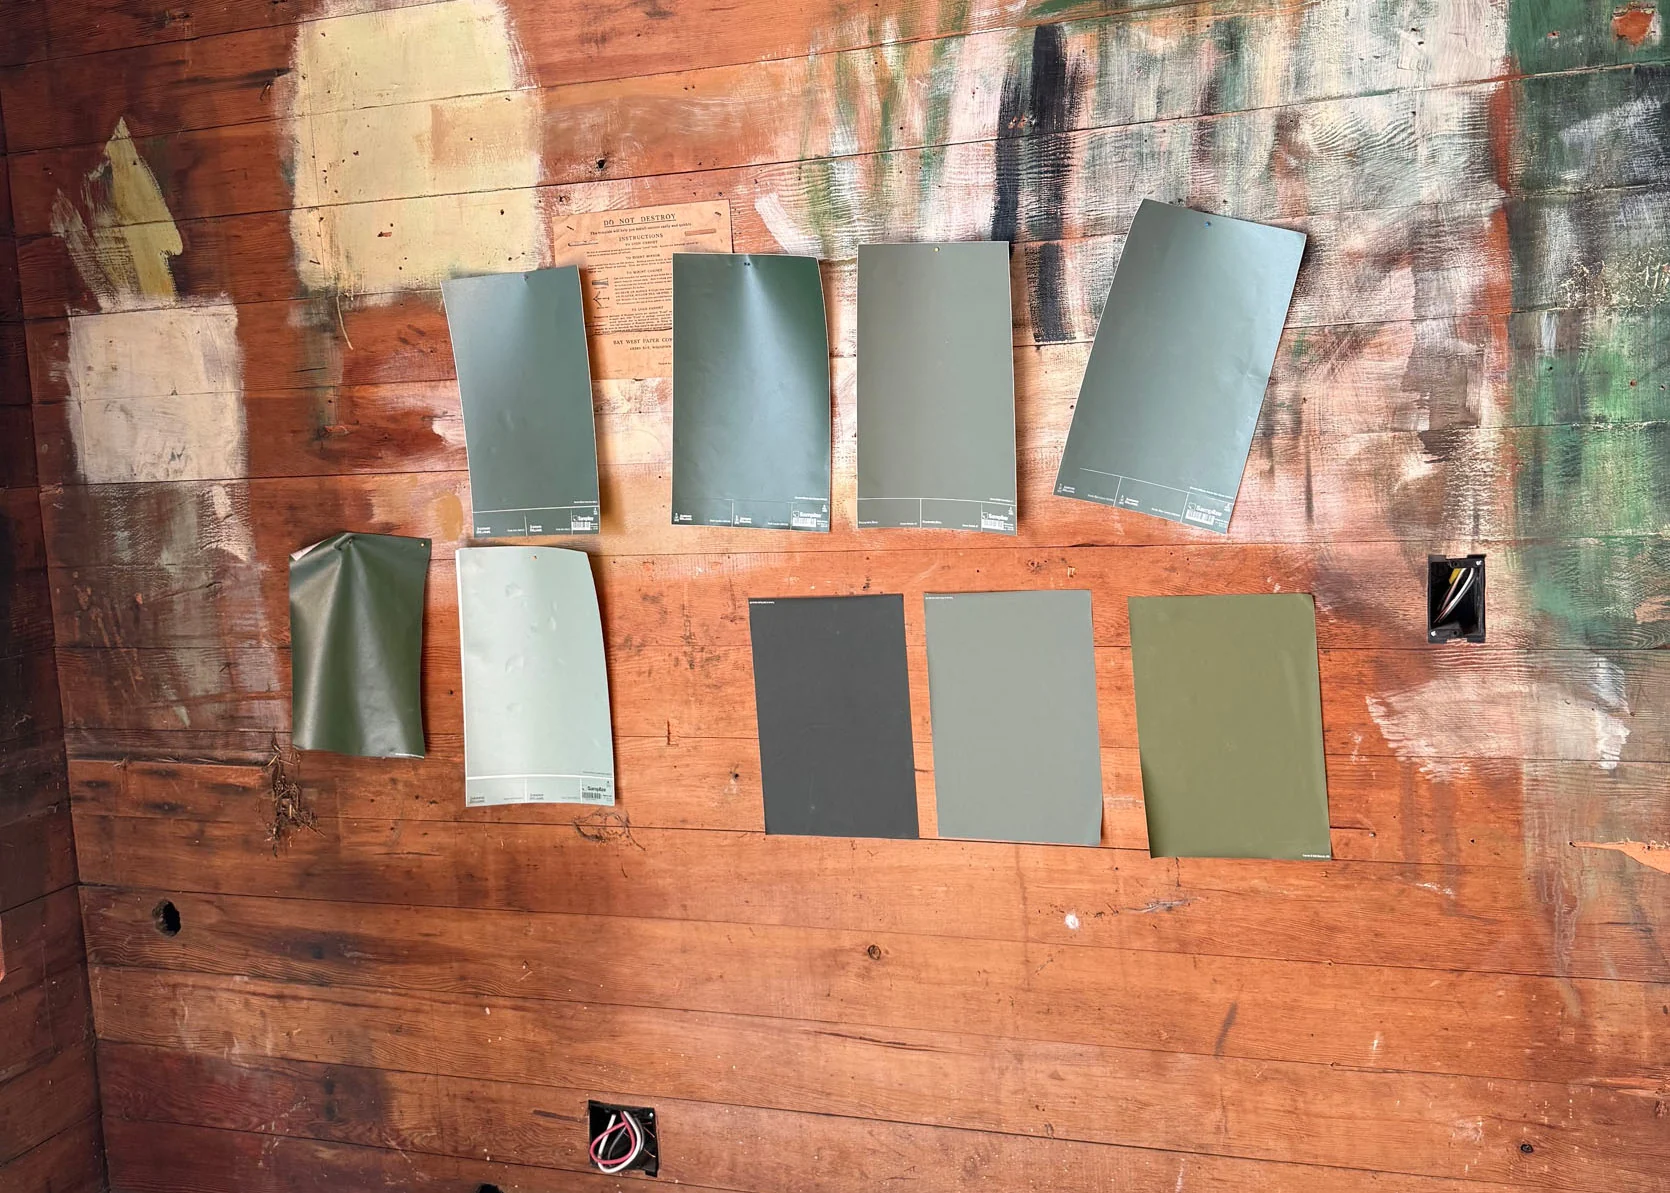
I had 10 different green Samplize paint samples on the wall for months. Then one day I was like, “no… let’s do dark red,” which I blogged about in this post. Remember?
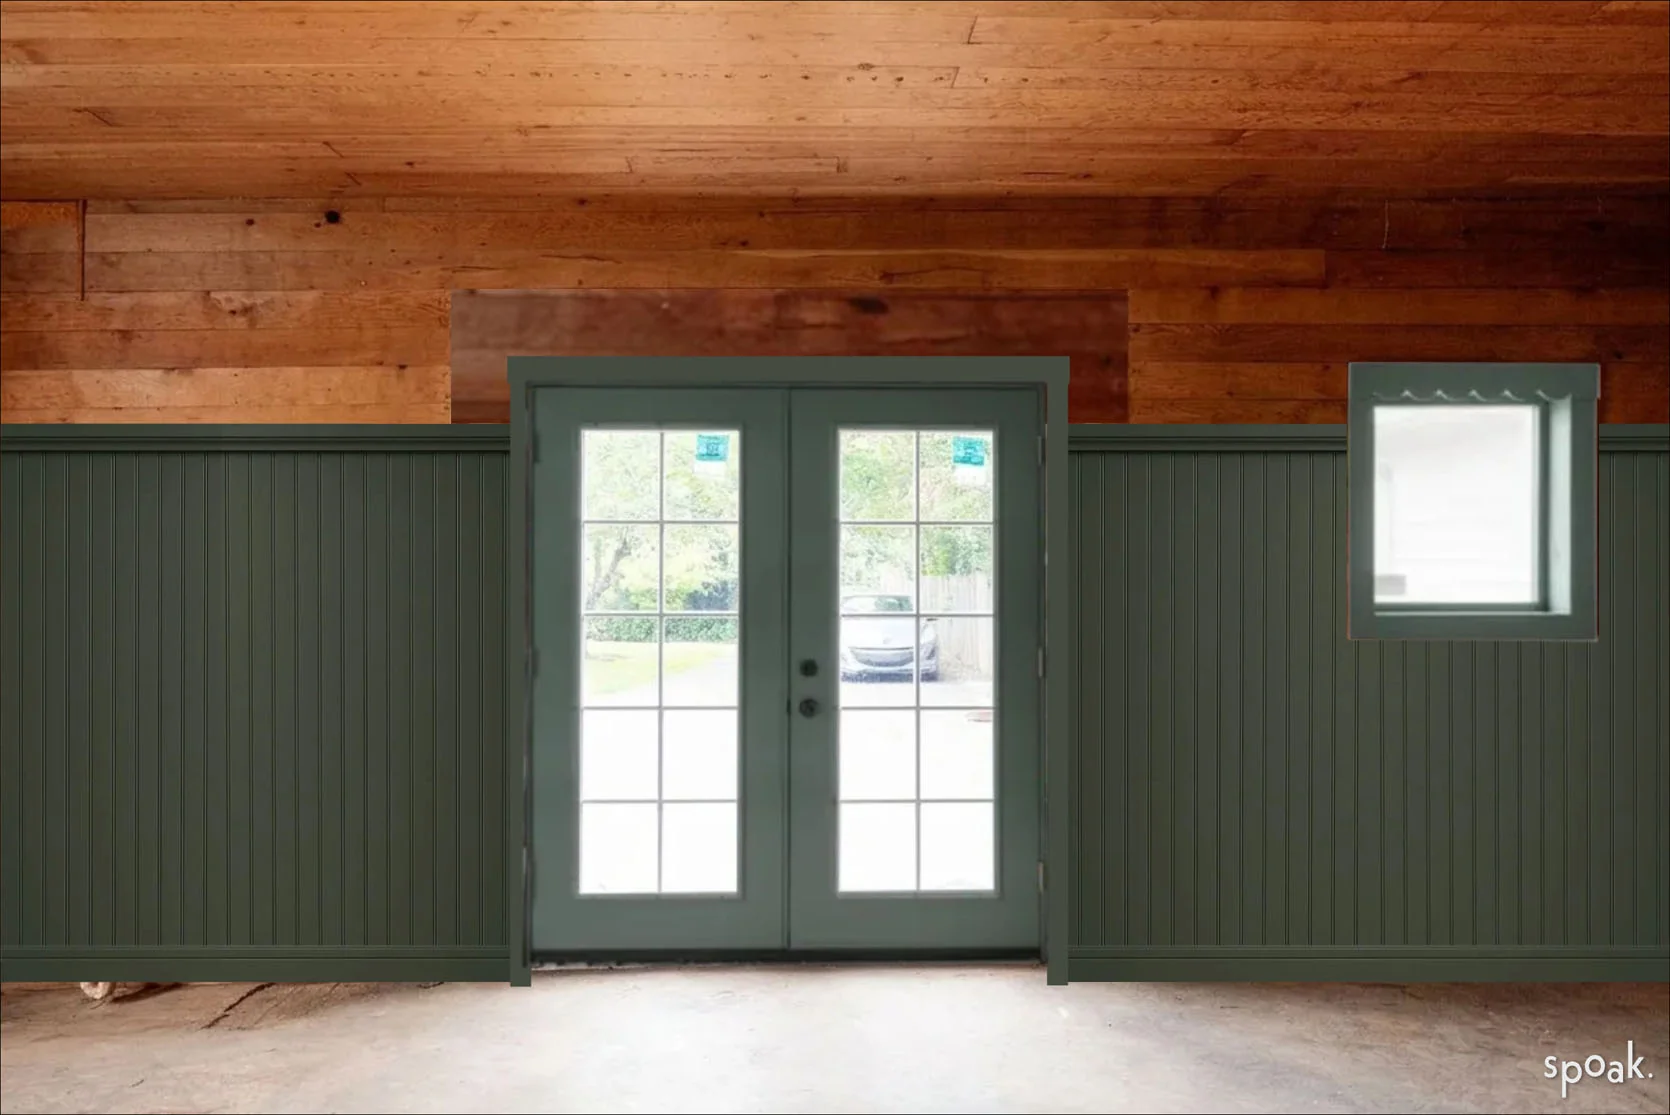
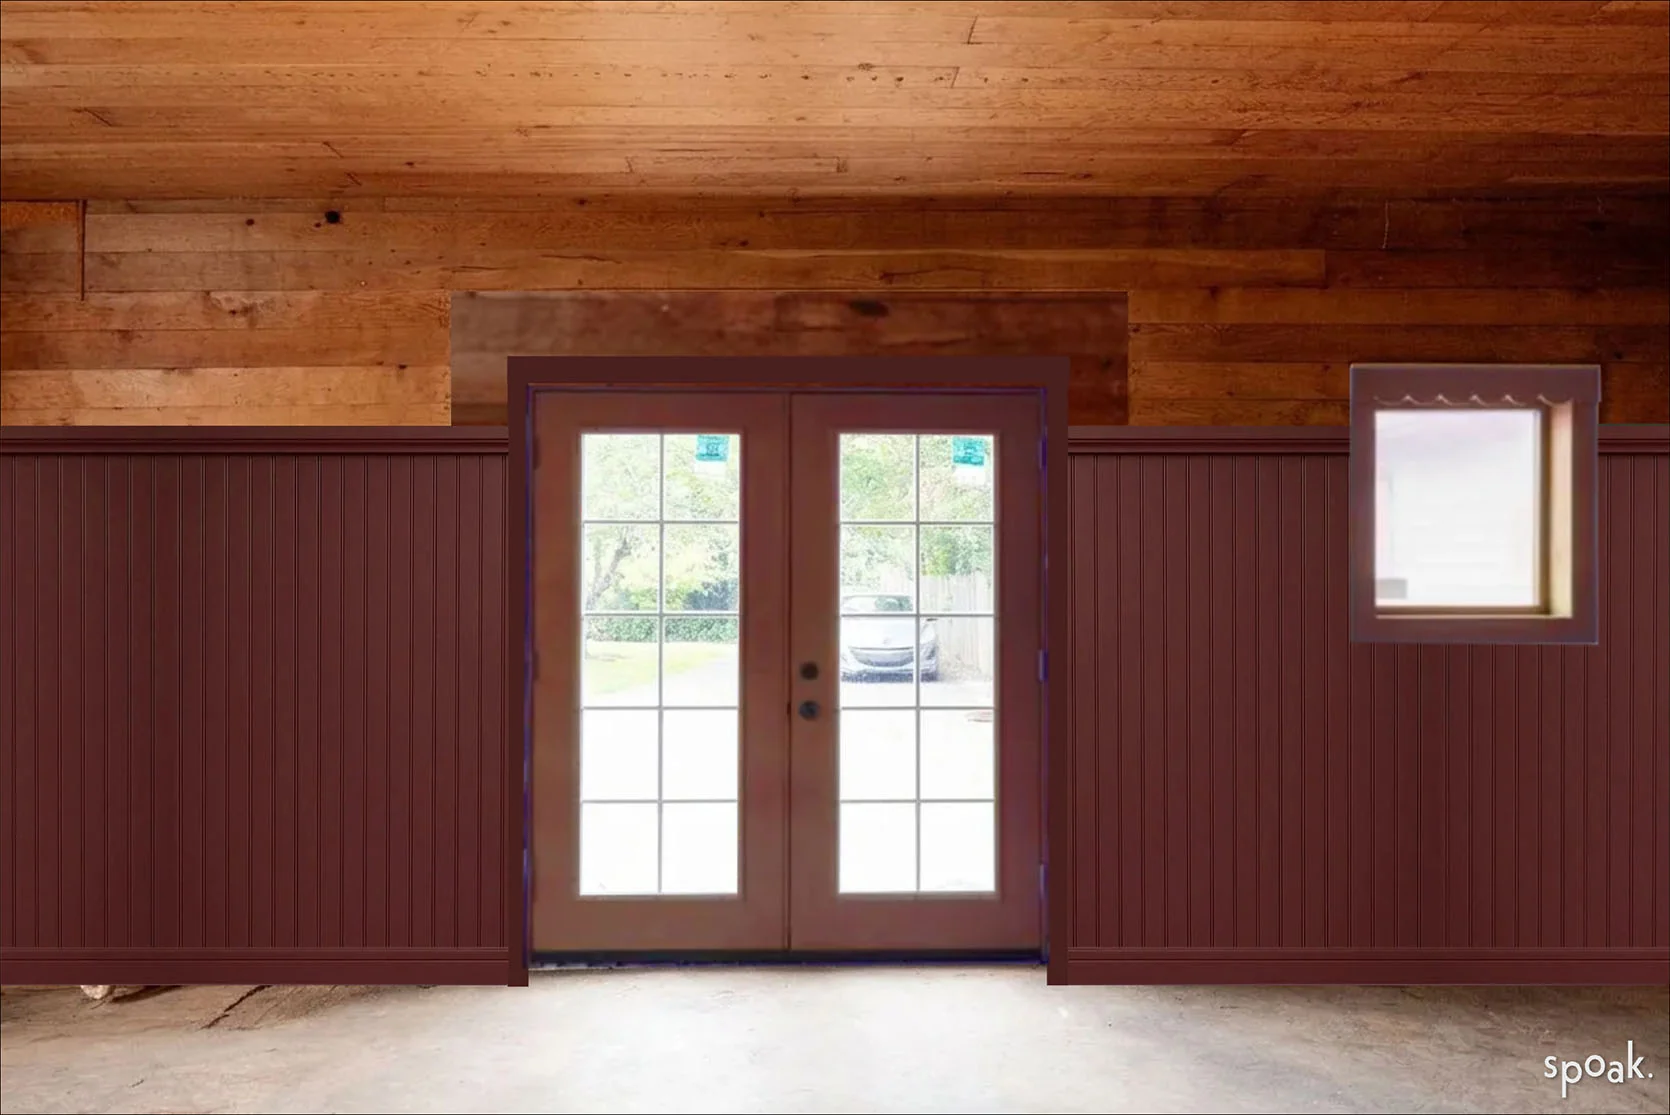
You all were very clear, voting GREEN, enthusiastically. And so I awoke from my temporary red fever dream and remembered that green was the right choice for this room. But I still hadn’t chosen the exact shade of green. And then the day before we painted, I just chose it, called it in, and picked it up. I had stared at them for so freaking long, and honestly, most of them could have looked good!!! But I was mostly drawn to Farrow and Ball’s Green Smoke (a color I had always wanted to use), and I just went for it (color matched by Sherwin-Williams).
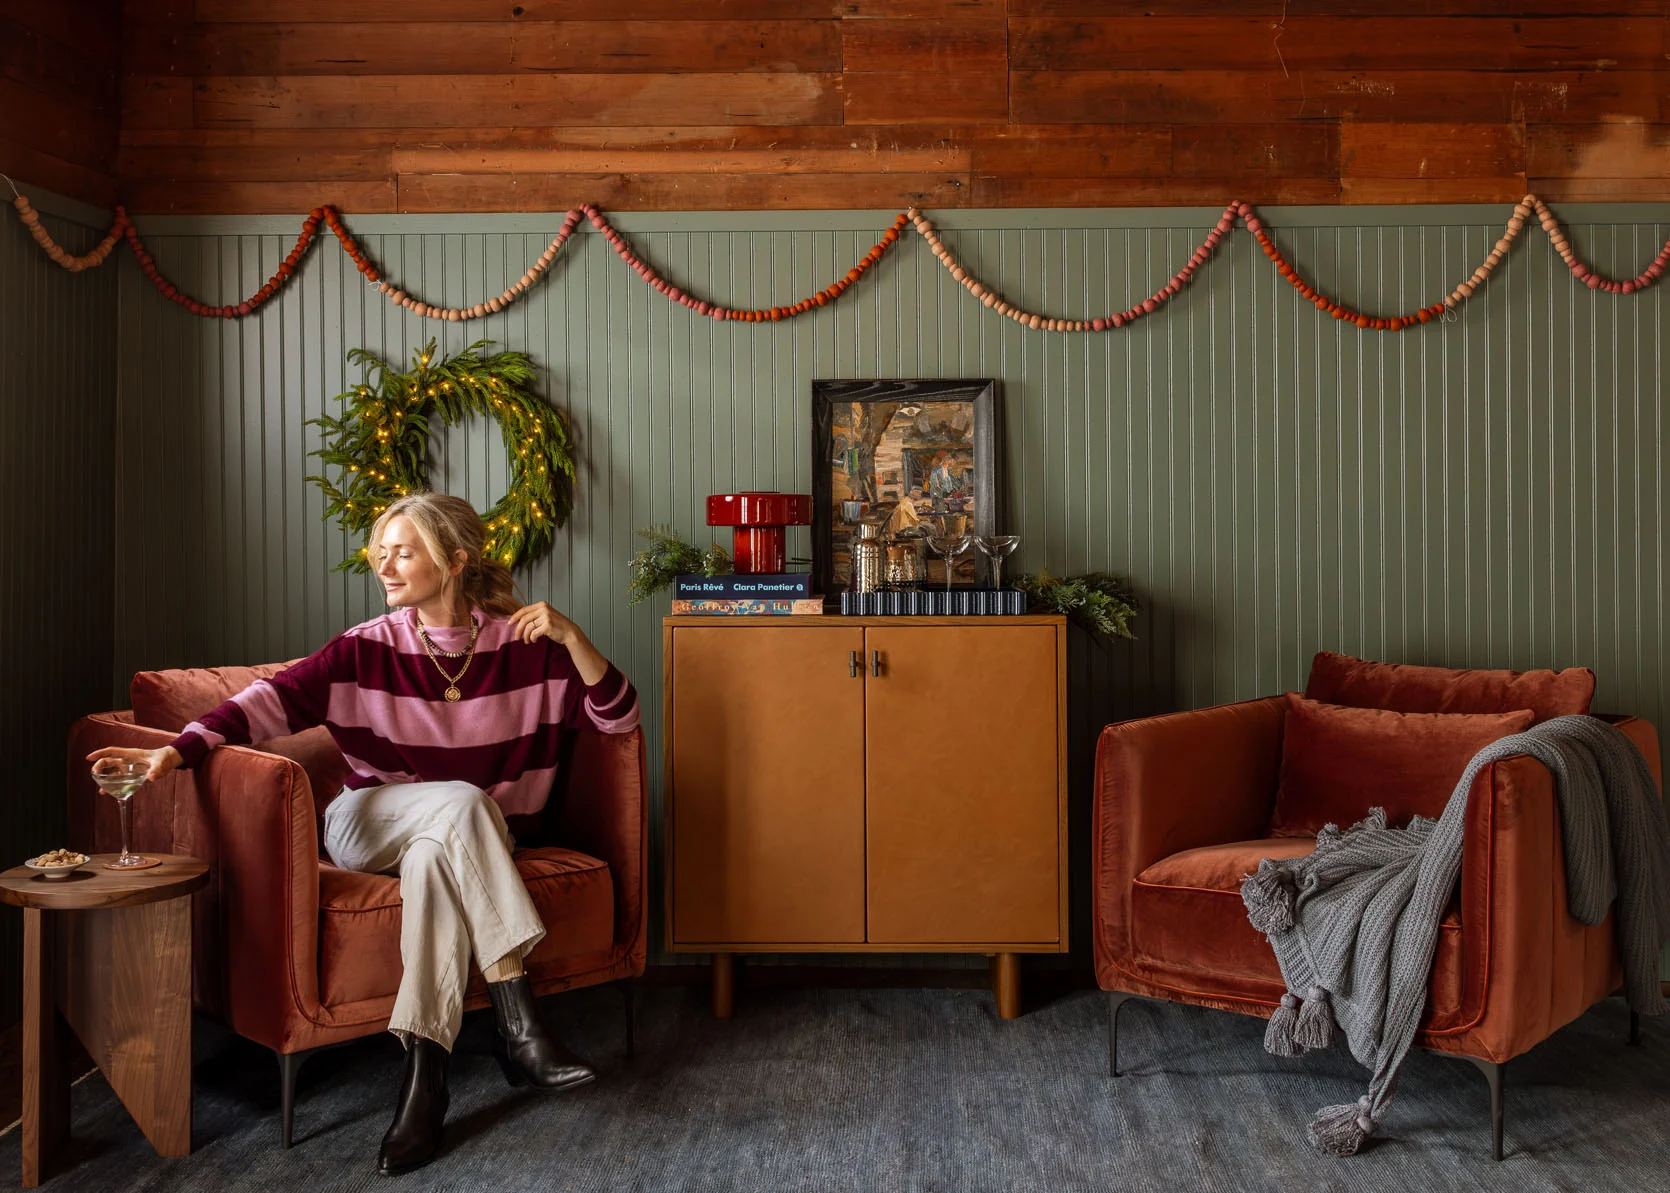
Zero Regrets – THANK GOD
I’ve chosen 552,984 paint colors in my life, and I don’t always nail the color with zero regrets (obviously, lol), but y’all, this green is soooooo perfect. THANK THE PAINT GODS (or more like thank you Samplize for the ability to stare at so many at one time for months). It looks fantastic with the tone of the wood, the light, and with all the future blues and accent colors I want in this room. Where it’s dark, it looks moody and cool, and near the window it looks brighter, but not too saturated.
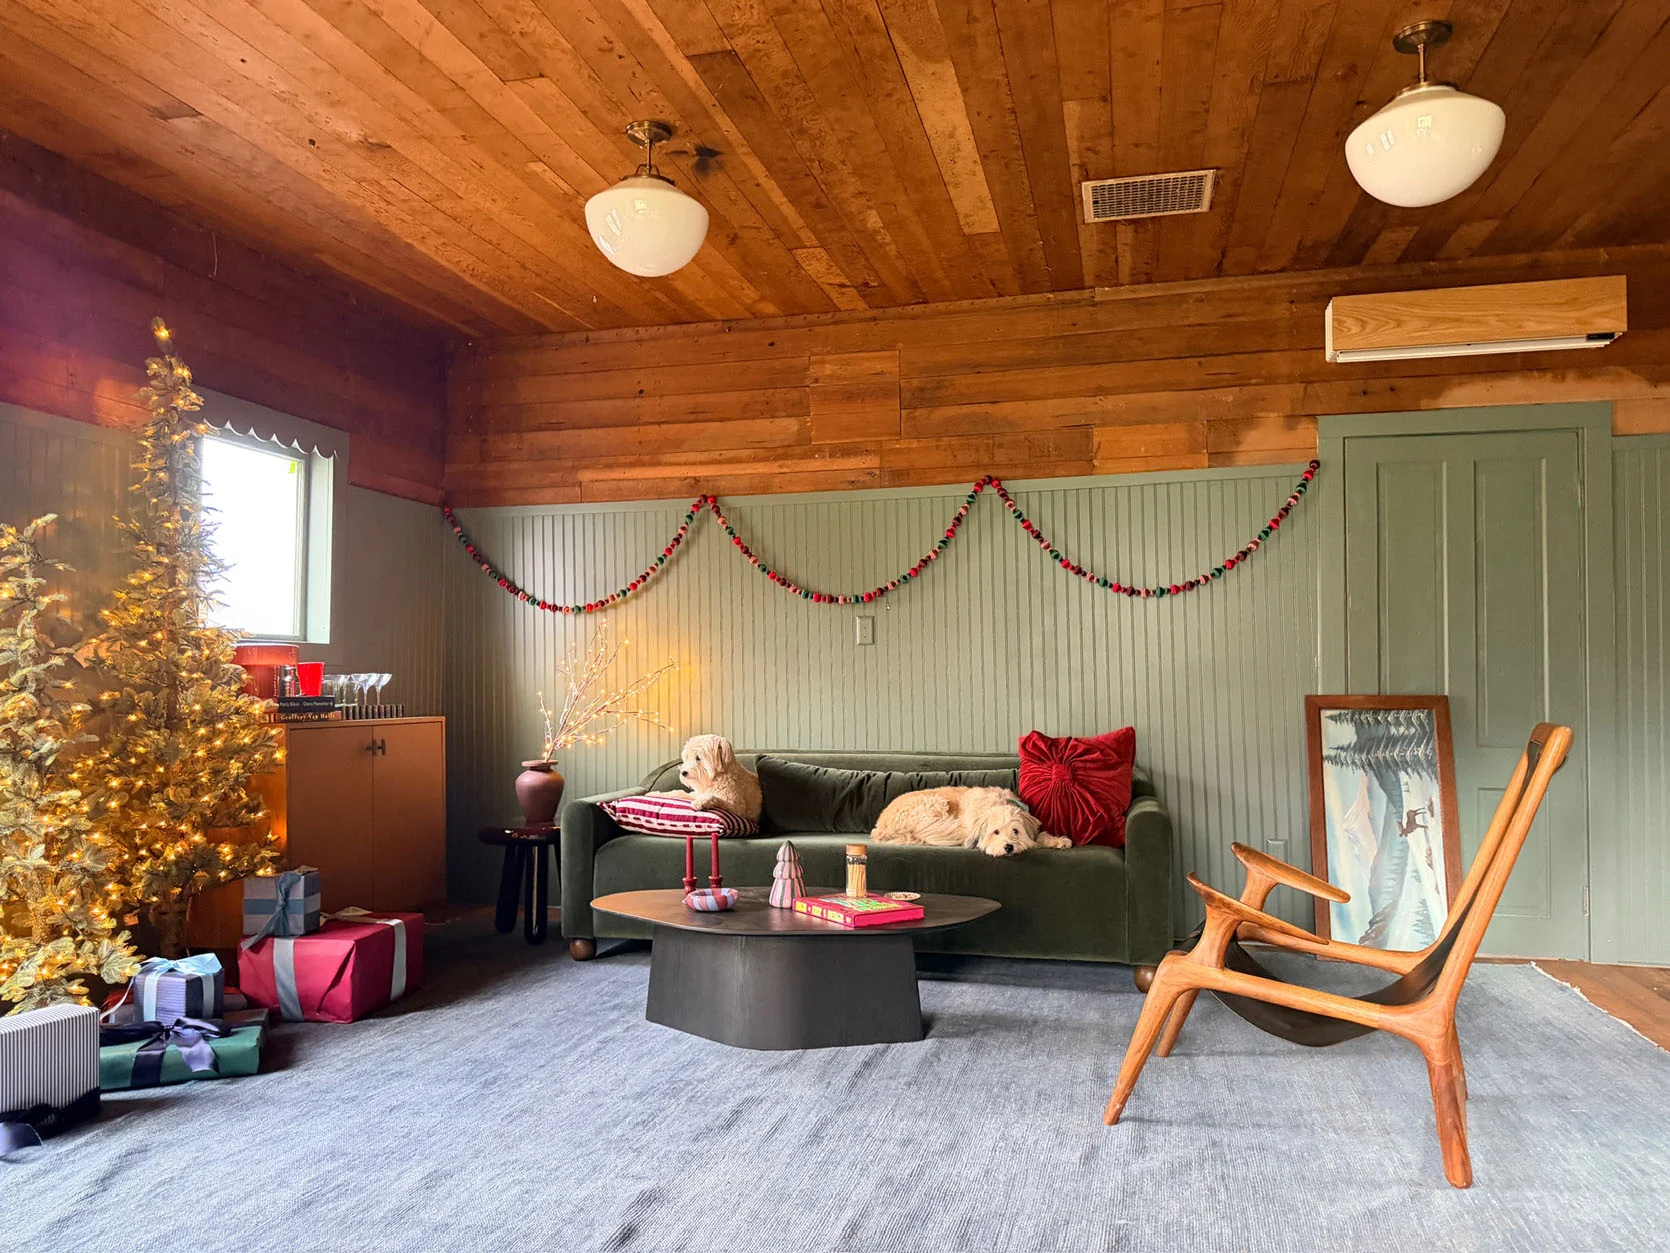
It pains me to put iPhone shots on here, and obviously this is just a temporary setup, but I wanted to show you how the whole room looked, and we aren’t really revealing it like this anyway. I had this beautiful rug from Armadillo in storage and busted it out, and we’ve been shooting different fun content all over it (and I might try it in my actual living room!). Certain corners of the guest cottage have been shot, while other corners are still being pulled together. Right now we are living in it, decorated for the holidays, shooting, working, and about to bust into the next steps.
So What Are The Next Steps?
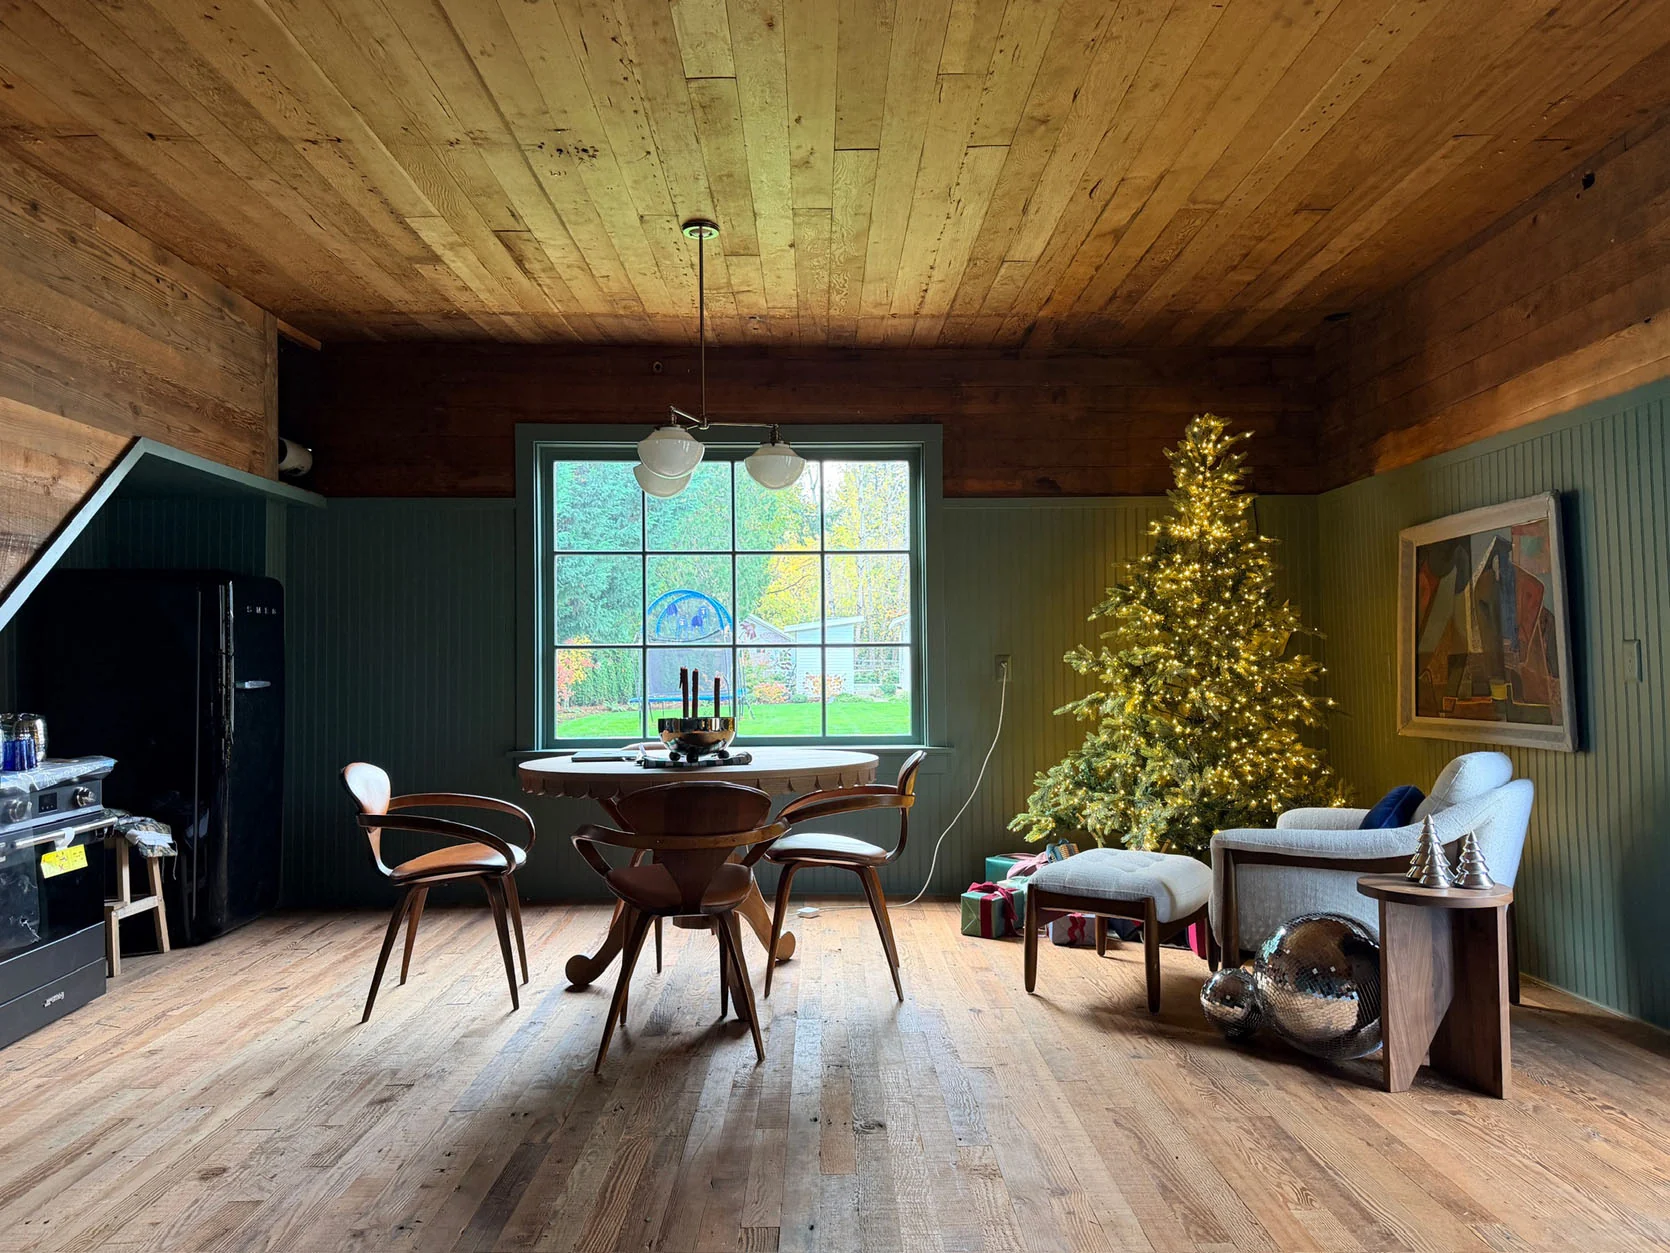
Well, I travel this week to Fresno for a photo shoot, and then we are wrapping up a ton of holiday reveals (in here and in our house), but my intent is to get going on the kitchen cabinet framing and the bathroom floor tile asap (I’ve changed my mind on the brick flooring in the bathroom, and now want a high-gloss tile, lol). I think where I’ve landed is to see if our framers (whom I love, Fred and Mike) can frame out our basic kitchen cabinet shelves and then we can trim it out, paint it, panel it, and get stone put on top of it. So not ready-made or custom, but we aren’t going to DIY the frame because I literally don’t have the time, skills, or experience to do anything construction-based, TBH.
Both the range and fridge have arrived, and it’s full of Team EHD Diet Cokes 🙂 The range will go on the other side of the room, but we tucked it in here for now.
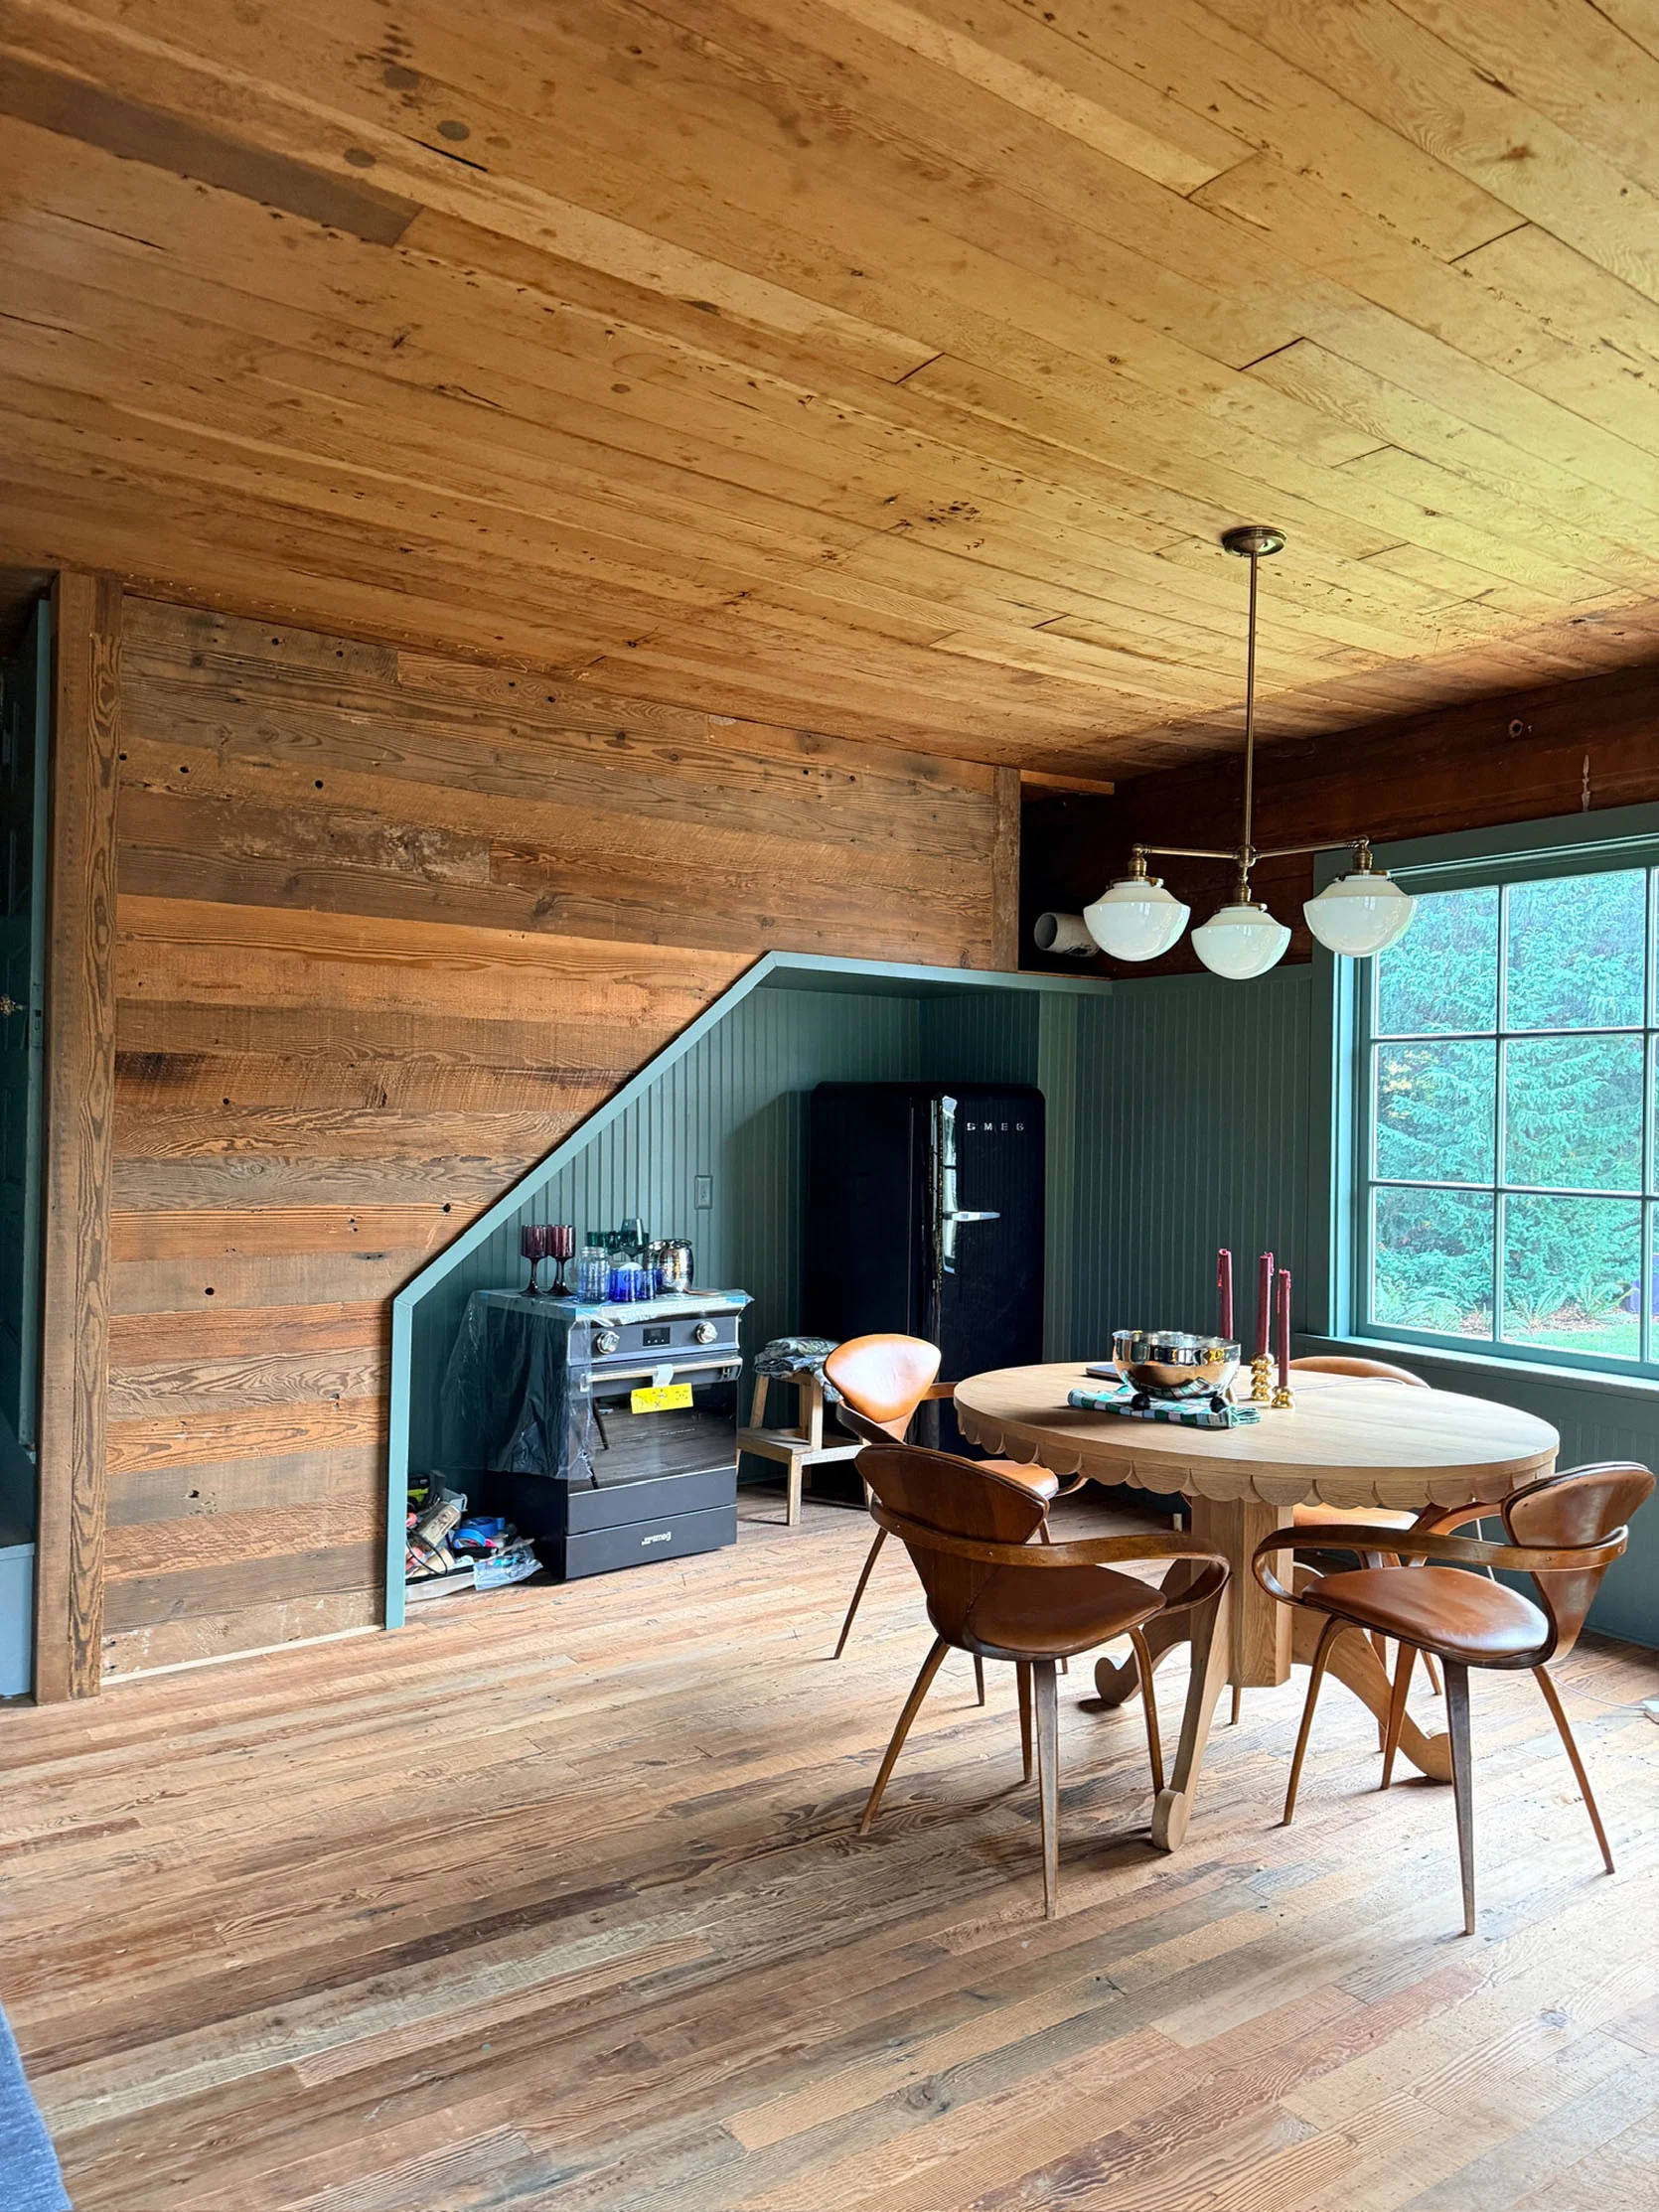
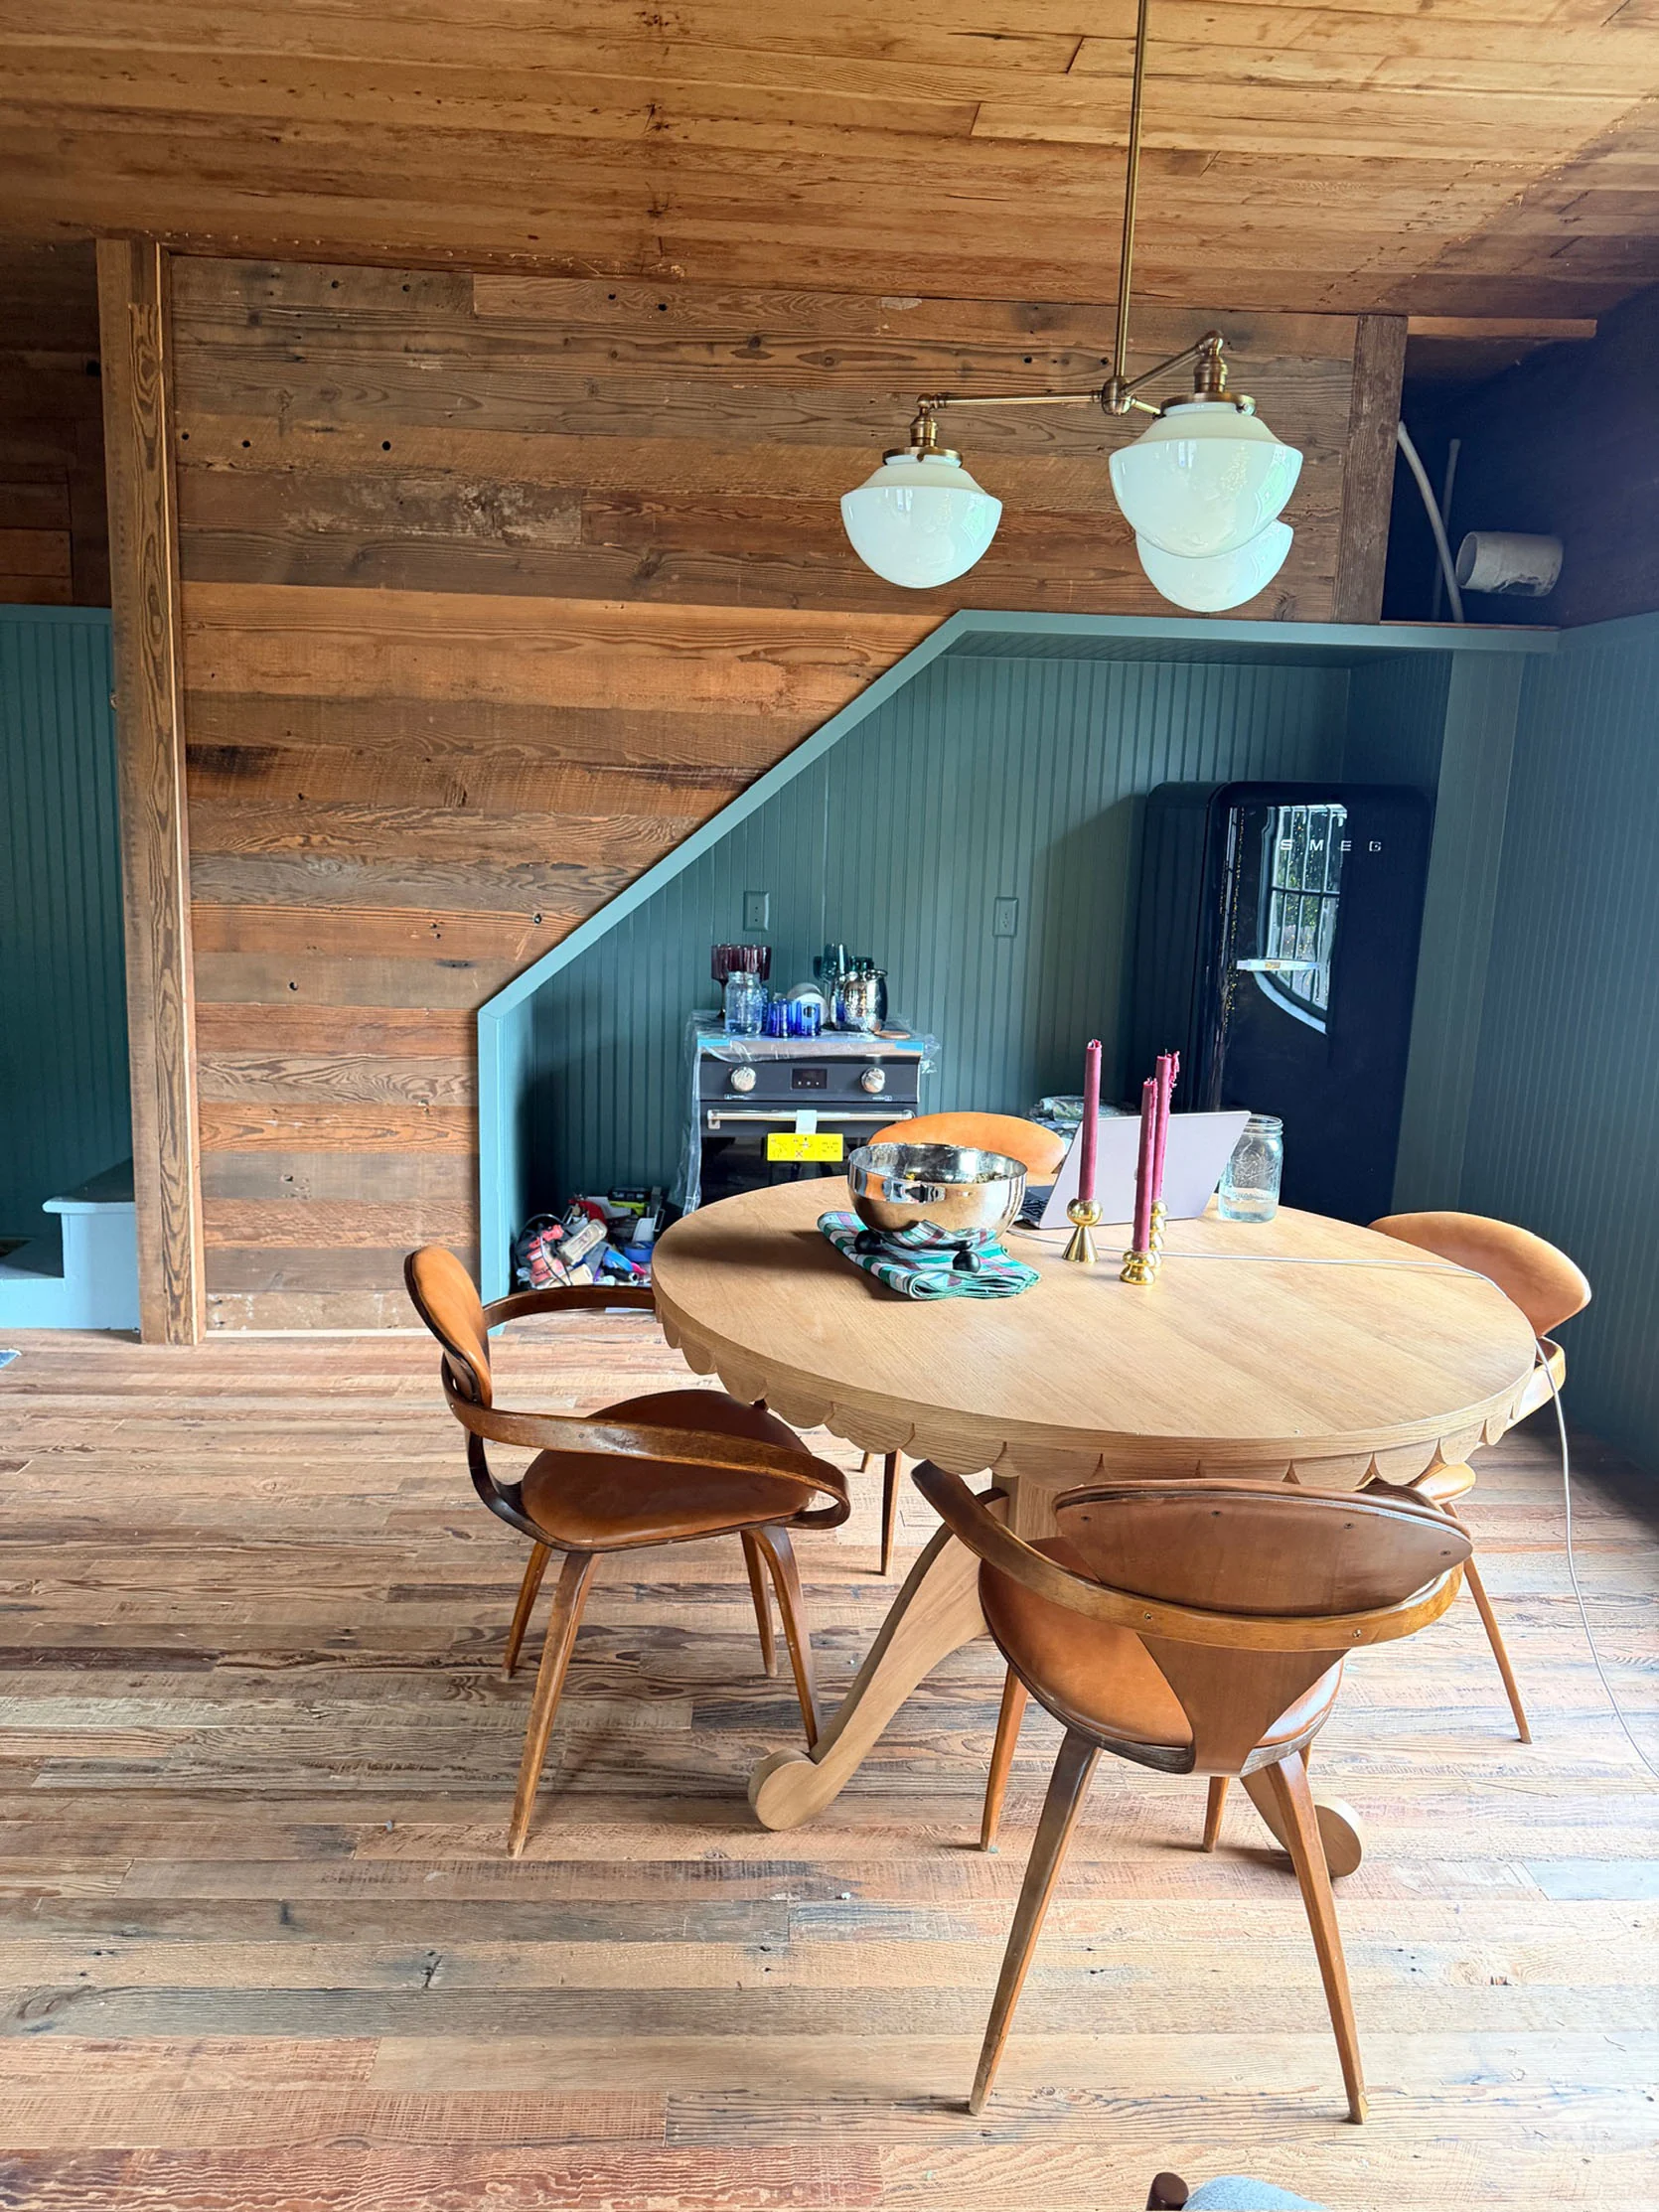
Scrambling is never my favorite thing to do, but I had 3 trips in September and 1 long one in October, and then we went STRAIGHT into holiday mode, so yeah, this is where we are at this week. I’m trying to remind myself to slow down the timeline while also feeling excited to get this kitchen and bathroom fully done. We really like being in here, and having the separation from my life and kids has been so wonderful on the few days a week my team is here. Maybe someday they’ll even have a working bathroom so they don’t have to go inside to the powder bath that is missing a light bulb and doesn’t lock properly:)
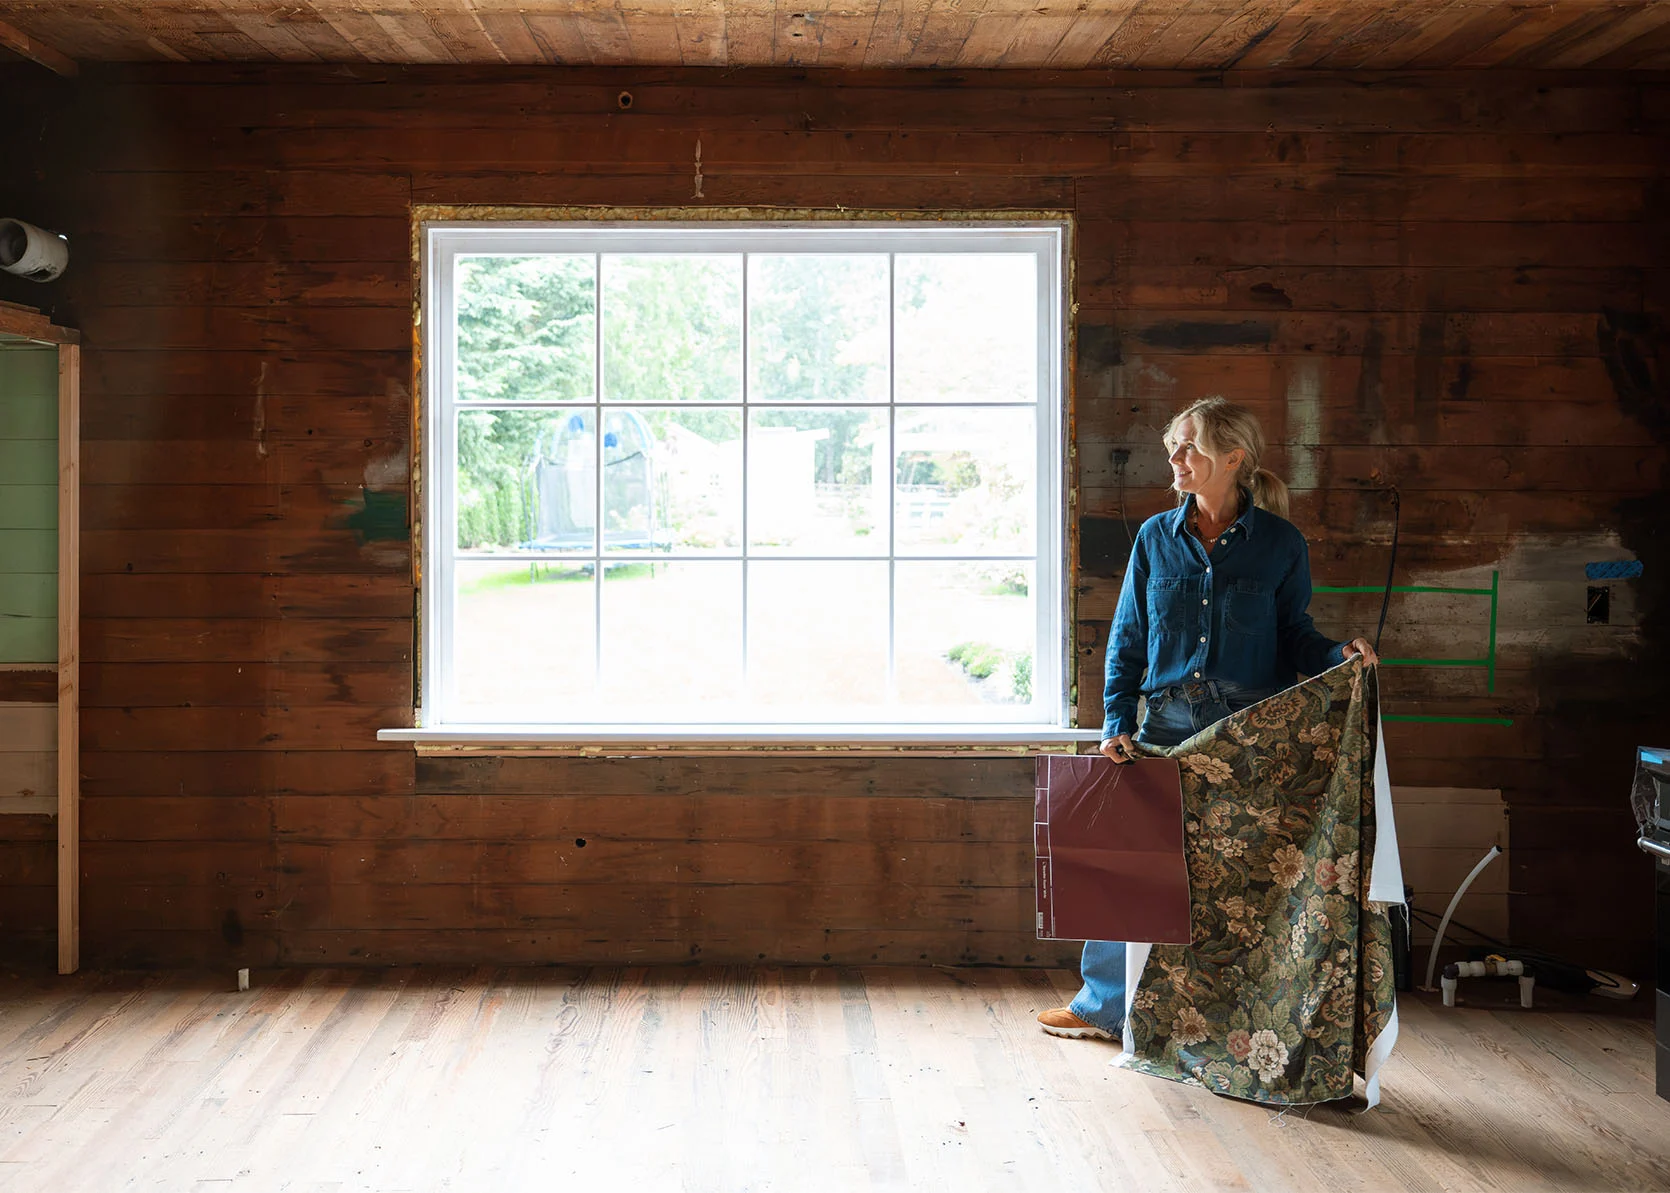
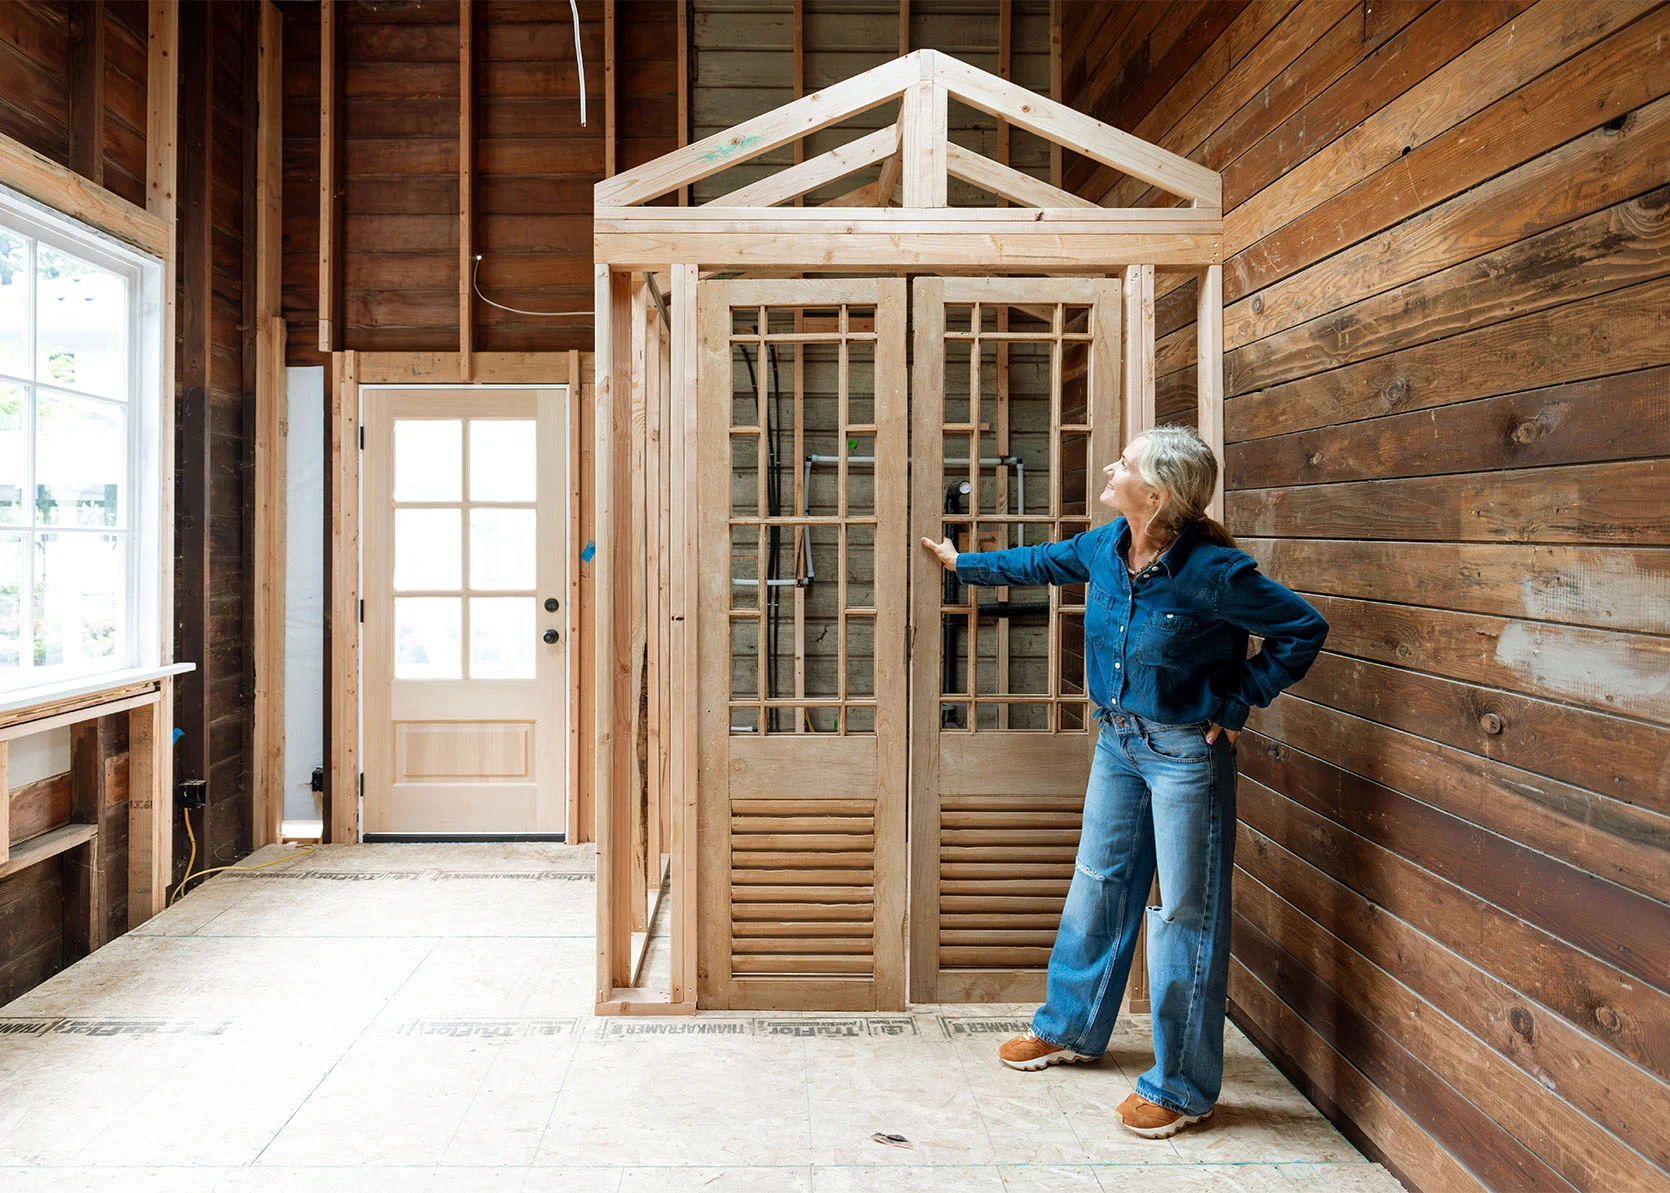
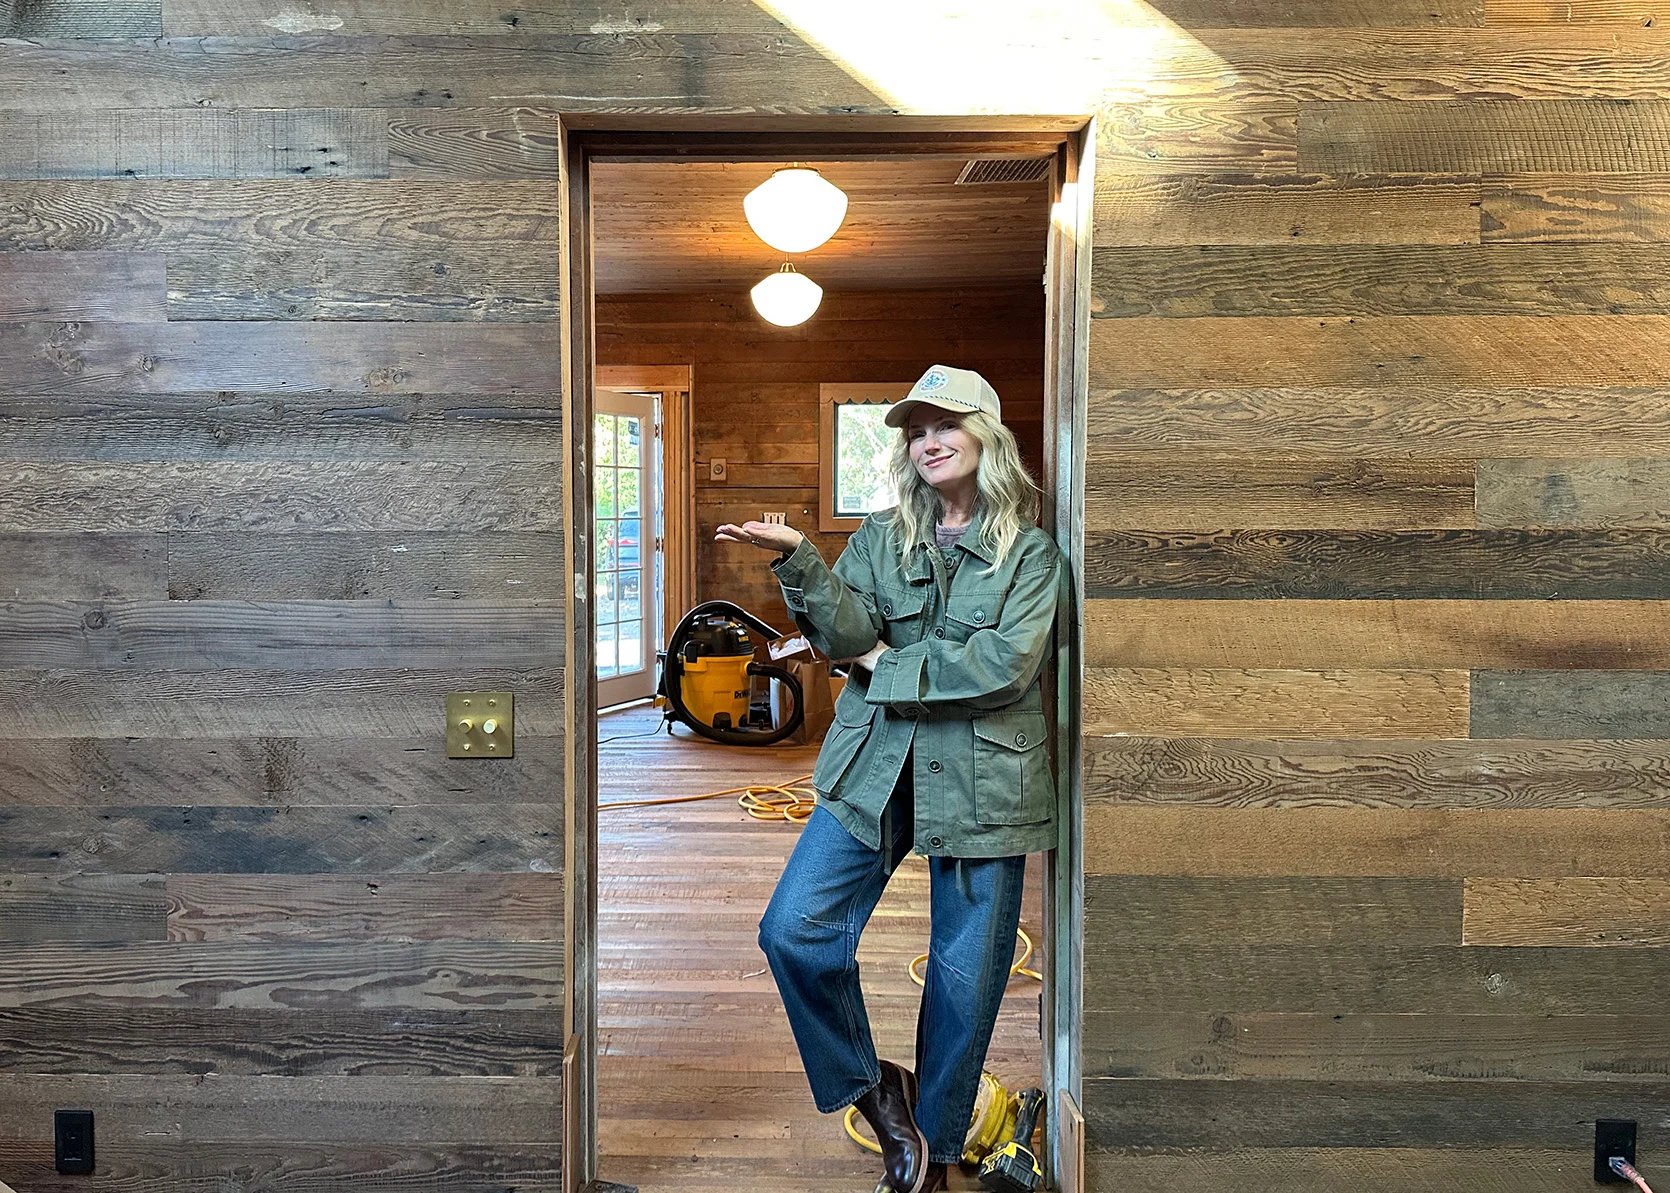
Opening Image Credits (and Other Pretty Photos): Photo by Kaitlin Green

Subscribe
0 Comments
Oldest