
Budget Ideas
Two Simple (But VERY PRETTY) Bathroom DIYs That Lea Johnson Executed In One Weekend
Hey friends, Lea here, it’s been a while (five months since I revealed my living room update in fact) and I don’t know about you, but this year is flying by. If you follow me on Instagram you may know I live in the Midwest, specifically Minnesota so we cherish our summers here because of the long winters. That said, I typically push all our interior projects to the back burner until winter. BUT I had recently had a partnership that clearly motivated me to work on a corner of our primary bathroom over a weekend. Gotta love a quick weekend DIY, right?
Here is what I was working with:

As you can see it is seriously lacking any real functionality and let’s be honest, it’s hardly aesthetically pleasing on the eye.
Our primary bathroom is small and this corner next to the shower is sort of dead space, to squeeze in any type of cabinet would cause it to be too claustrophobic and shelving would feel chaotic here. I had at times thought about a recessed niche, but this is an outside wall and again, Minnesota winter life is real.
I had the idea (similar to something I currently have in our laundry/mudroom) of adding peg rails to our bathroom to hang up some towels, so I started pinning away for ideas and inspiration.
I also knew we didn’t have the time or budget to do a full bathroom makeover. So… a quick weekend DIY was the perfect solution.
For the peg rail wall I envisioned, I just needed a few supplies:
- Beadboard
- Trim
- Pre-made Peg Rail
- Liquid Nails
- Finishing Nails
- Nail Setter
- Clamps
- Wood Filler
- Caulk
- Paint – we used Snowbound by Sherwin Williams
- Painters Tape
Step 1:

First, I measured and installed all the pre-made peg rails. Since these were pre-made the ends were rounded a bit so I made cuts to slice off the ends to make for a flush and smooth connection between them. I also had to remove a couple of pegs for the corner because of the 90-degree angle. I then filled in any screw holes and peg holes with wood filler.
Step 2:

After I installed the rails, I felt like this corner needed something extra so I decided to add beadboard paneling below it. The beadboard would be thin enough that we didn’t have to remove the existing baseboards and could install the sheets right above it. For this, I called my favorite brother-in-law over again to help me.
[HOT_TIP title=”Hot Tip” content=”He applied FrogTape to the cut line on the beadboard before cutting to make sure the beadboard didn’t splinter.”]
We attached it to the wall with some Liquid Nails and finishing nails. We don’t own a nail gun, so we manually nailed them, used a nail sinker tool to tap them in a bit, and then filled again with filler.
Step 3:


To cap it all off I added a small piece of inexpensive trim wood to the top of the peg rail as a little “shelf”. I just used Liquid Nails and clamps to attach it. My brother-in-law caulked all the seams where the beadboard meets the peg rail and the corners and edges.
Step 4:

The next day he came back to paint. I had already taped all the existing trim off and I taped the pegs too because I decided to keep those the natural wood color for a little contrast.
I choose to keep the paint the same color as what was already in the bathroom because I wasn’t ready to pick out a paint color. I’ll save that for the day we are actually ready for the full makeover. Also, I am debating adding some wallpaper in here. So again keeping the paint minimal was just easy to process for me.


Voilà! Finished!

Towel (similar) | Basket (similar)

Antique Bentwood Chair (similar) | Hanging Basket (similar) | Shower Curtain (similar)


Le Labo Candle | Gold Frame (similar) | Wood Frame (similar) | Figure Drawing (similar) | Vase by TRAMP Ceramics
Easy enough right? But I wasn’t done with this bathroom just yet. For a little styling update, I decided to make a little window curtain (to be fully transparent we had been living with one of those temporary paper shades for the past 5 years) and it was time. I ordered the fabric off of Etsy and using a no-sew technique it took me about 20 minutes in all.
DIY Curtain

Here’s what you’ll need:

I used this little tension rod and rings from Target and installed it in the window and then measured off the area to get the width of the fabric and length after the clip rings. I cut the fabric to measure leaving about another foot to allow for my “hems” and so when the curtain was closed it wouldn’t be flat on the window and there would be some folds.
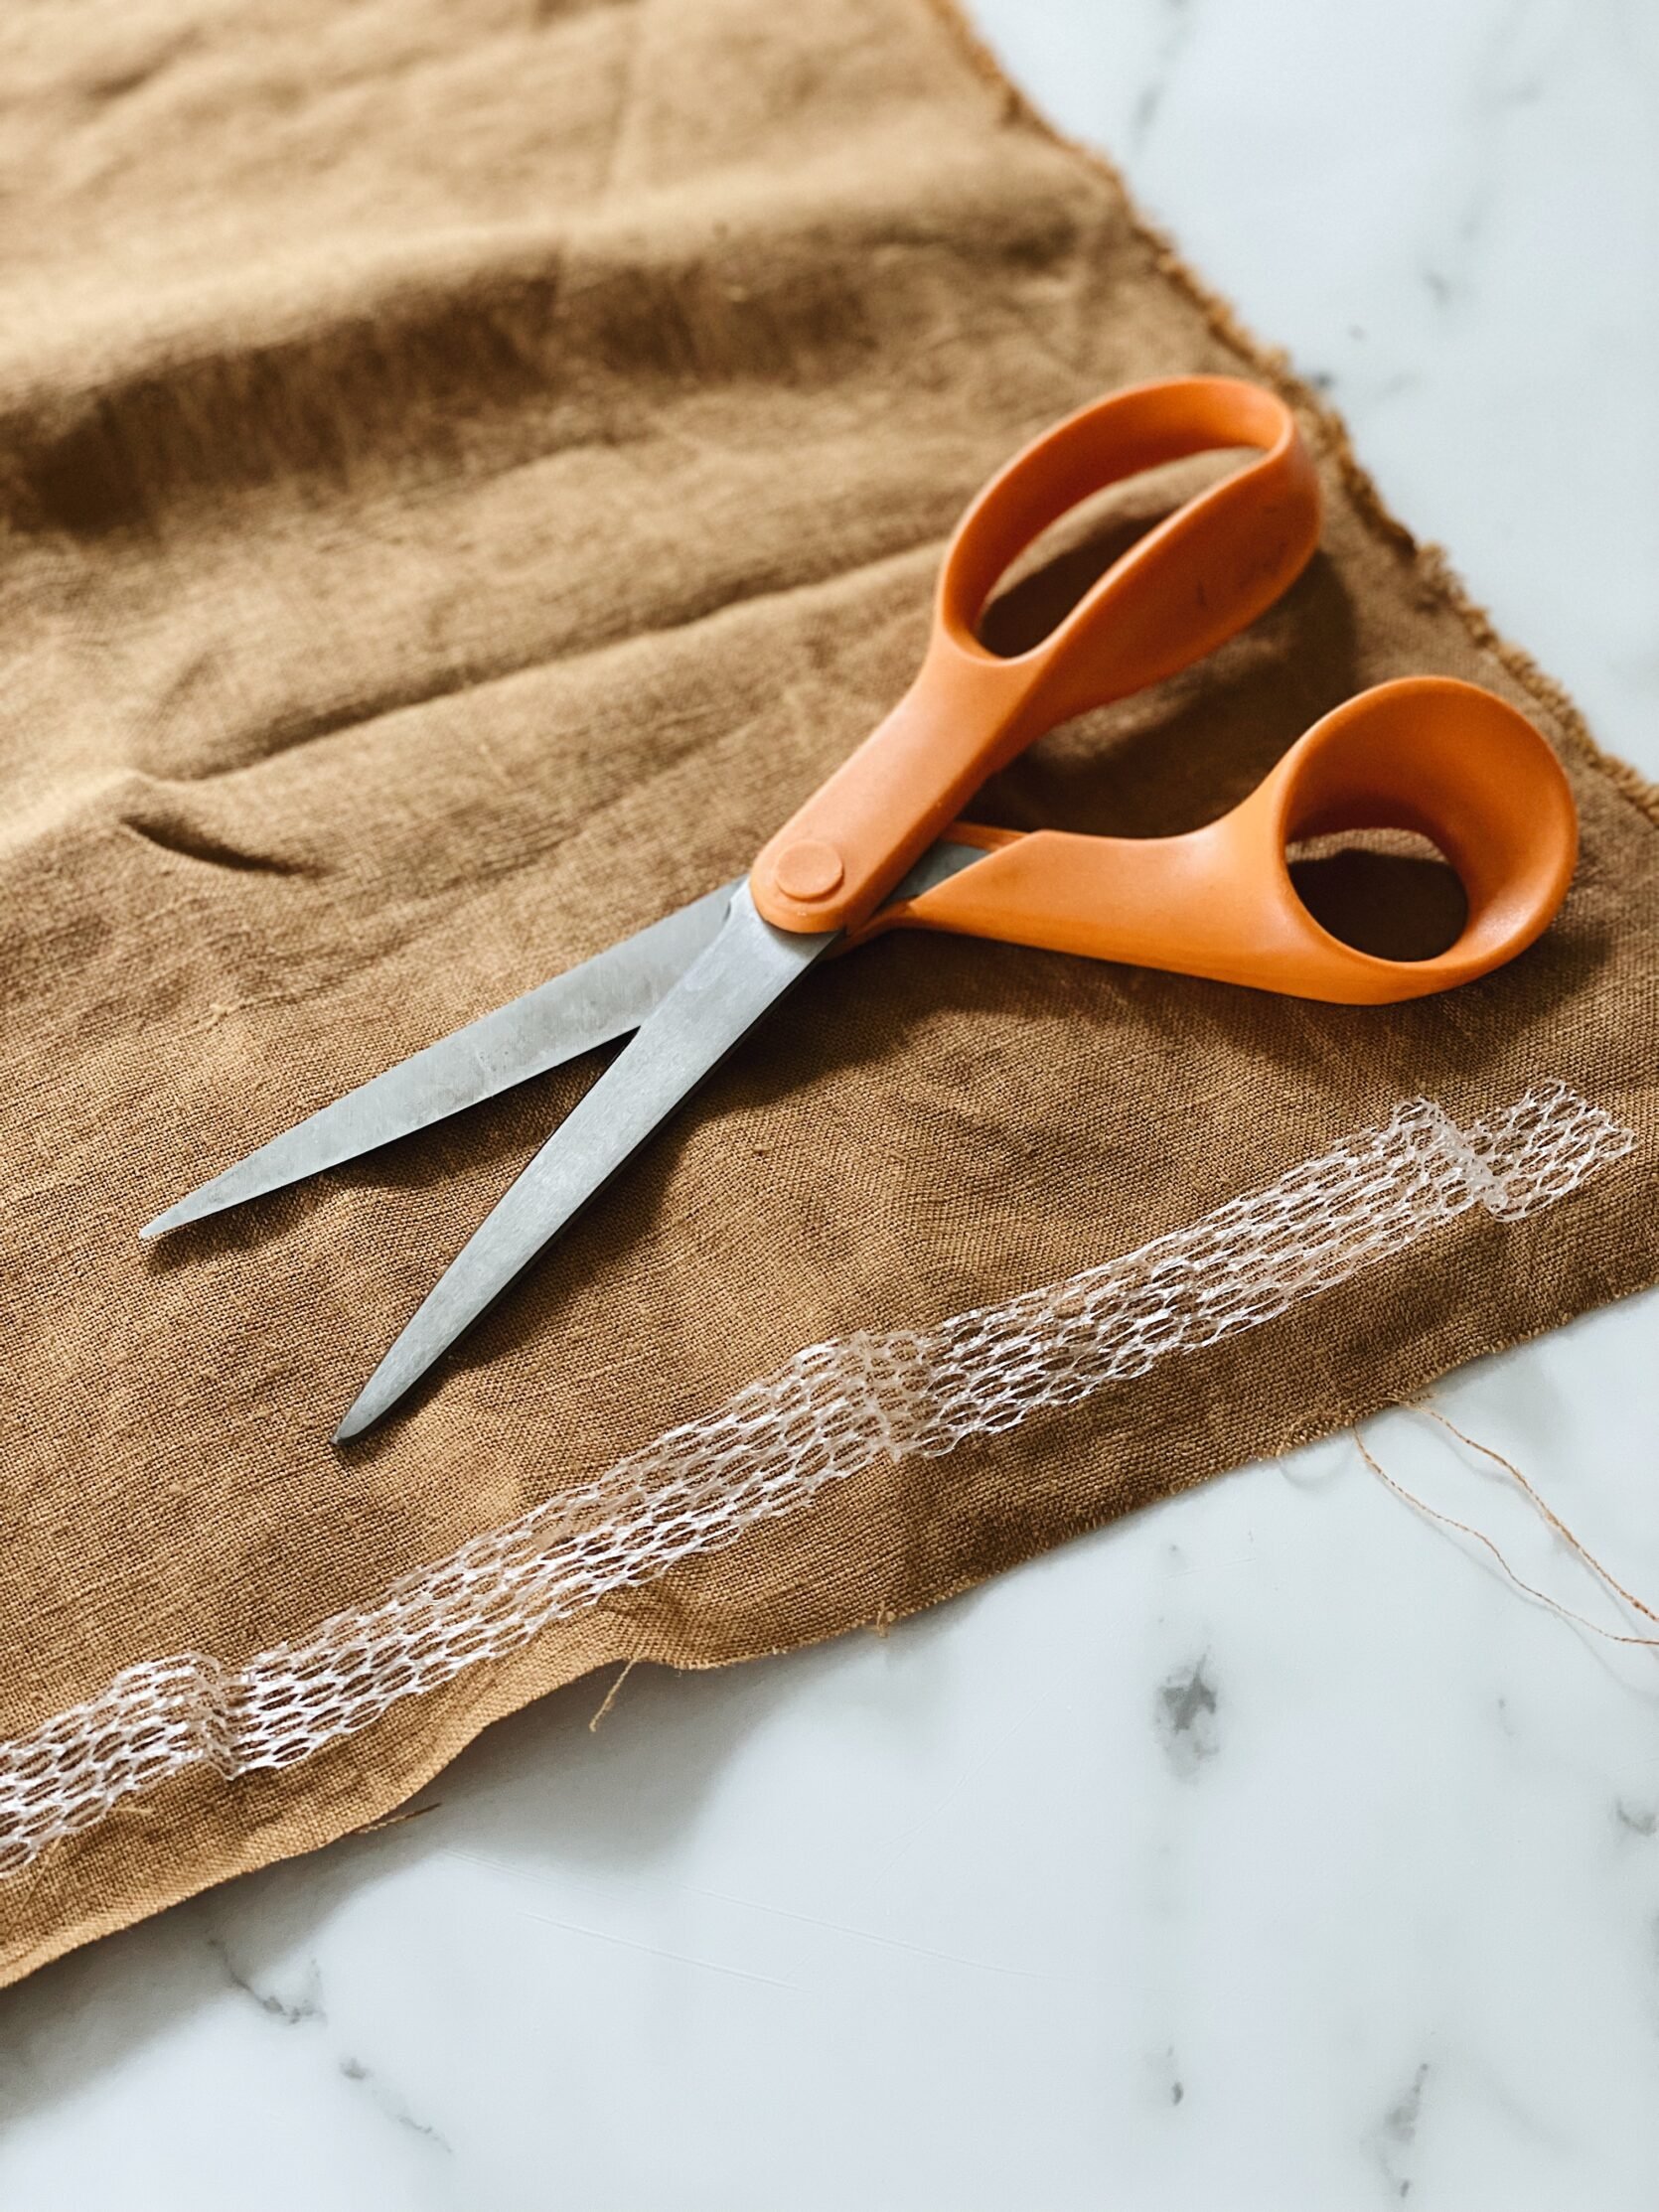

Using no-sew iron tape I then created my hems for a more finished look. Installed my little curtain and easy peasy! I only purchased one pack of clip rings (7 rings) but I am going to pick up another pack because I feel I need 2-3 more rings to be just right. For reference, my window is 22” on the inside mount.


Head Vase | Side Table (similar)
That’s it! These are both easy DIY’s that anyone can do in a weekend (if I can do it, you can too).


Towel (similar) | Basket (similar)
Until next time!
xoxo Lea


Bathroom is very cute, but the title is a little misleading as it looks like Lea’s brother-in-law did most of the work…
Thanks Susan! I can assure you he certainly helped with installing the beadboard sheets and caulk and paint but the rest was…this girl!
Love this! Thank you!
Thank you Amanda!
Where is the floor tile from, or did it come with the house?
We had it installed from a local floor store. It is just hex penny tile that come in sheets and then the tiler popped out a few white tiles and installed the black tile.
Gahhh, what a big impact these two projects made. I love it, although it’s giving me window treatment regret. We did a honeycomb light filtering shade in our bathroom, but I’ve been wishing I’d done a sweet little cafe curtain instead. Your post is not helping. Ha!
Thank you Heather! I’m not a big DIY-er so these were easy enough I could tackle. We were going to put in a shade as well but money…
For a not big DIY-er this has an amazing impact!
Very cute! I feel your pain of a frigid winter bathroom! Here in Ma. if I hang my wet towels on hooks in the winter they simply don’t dry- do you guys have a heated towel rack or something for that? Also the way it’s styled in the last pic it seems that one walks out of the shower and past a basket of toilet paper sitting on the floor? Which is far from the toilet, invites dripping water… I am ITCHING to add a very narrow cabinet to the shower facing wall for closed storage as a body lotion/ drying off station….
Has anyone tried heated towel racks and do you like them?
Thank you! The basket definitely didn’t stay! Ha! We’ve since just tossed it under the sink. We do not have heated towel racks but I’d LOVE one. Our bathroom remains warm in the winter so we don’t have freezing cold towels.
What sort of heating do you have? I have forced air, and with a towel rack right over the vent, the towels are dry and toasty in no time, even folded double.
Very nice update, Lea. BILs can be very useful beasts. Mine built my bookcases.
We have forced air too but all the vents are under the sink bases (I’m assuming the contractor did that to keep our pipes from freezing). The third vent is in the space where the toilet is.
My husband has MS so he can’t do a lot of projects with me but his brother is the best! Cheers to wonderful BILs!
I have one lame little forced air vent … in a big bathroom over a cold basement with little insulation in walls or floors LOL. Wood stove for the big room but def thinking about a heated towel rack….
We have a heated towel rack in our upstairs bathroom, and we love it! My towels are toasty warm every morning after I get out of the tub, and I even lay my clothes over the rack before I put them on. Wow, do do I ever adore the warm clothes on a cold day! Our rack sits on the tile floor, because there is no space for a wall-mounted version. In the winter, the towel rack also augments the lackluster heat in the bathroom.
Thank you Aquagirl809! I’m in! ( Can you tell I just needed a nudge (-; ?)
Do you have a particular make or model you like?
I had a heated towel rack in cold southern Tasmania, Australia (now living in Malaysia so not needed as much! Ha) and I swear by it. When we move back I will definitely be getting them again.
Love it love it love it! Simple but so pretty! And it truly has a big impact on the space.
A stunning and very approachable bathroom update! I love a good peg rail–so practical and so many fun styling opportunities, too.
Great transformation! I love how much architectural interested a peg rail and beadboard gives to any space. It feels so simple, classic and practical at the same time. I think it would suit perfectly the shaker style of the farmhouse redesign.
Very cute update! I really like the art in the before photo. Where did you get it?
Love this little update! Job well done!!
So nice, good for you! I had iron-on hems in curtains for about 20 years, washing them as needed. The iron-on tape did well in the washer and dryer and looks way better than my sewing at the time 😉
Yes!! Love it! BRB…gonna try it myself! 😉
So cute!
Would you mind sharing where your black light fixture on the ceiling is from?
Oh my gosh this is WONDERFUL!
I am in early phases of a to-the-studs DIY remodel of a bathroom, and I’ve been planning to do a most-of-the-room peg rail – I am so happy to see these photographs. I really love how it looks. Seeing your shelf makes me wonder if I should add a little shelf to my current plans….
How was the beadboard cut?
Not Lea, and I don’t know how they did it, but you can cut beadboard with just a circular saw.
Turned out super cute!
To anyone copying this: please please please don’t use liquid nails. We tried to take out some beadboard installed by a previous homeowner (it was old and filthy beyond what we could clean) and because they used liquid nails for installation what was going to be a minor change with repairs turned into having to re-drywall the entire bathroom because the liquid nails pulled the wall off with the beadboard. ?
I had no idea what liquid nails were and was a bit confused at first when reading this post, but I googled and it’s basically glue? Why not use just regular nails? Is it because this is a bathroom? I don’t really understand, but sounds like it isn’t the best choice if you someday need to take the beadboard down.
Liquid Nails are used to hold something up while it’s being nailed in, to reduce the number of nails and nail holes, to create a good hold in places where foundations/walls move due to the soil, and to keep out some of the moisture in humid rooms. Having to redo the drywall when that wasn’t the original plan doesn’t show that liquid nails are a bad choice, merely that more info was needed before that project was begun. Liquid nails may make remodels more involved but the product is not meant to ease future projects, it is meant to make the current room work as it is. For *that* function, it works very well. I don’t like using it much myself, but it is the sensible choice for plenty of situations. Not every project is easy peasy, nor do homeowners of today have any responsibility to make everything easy for future homeowners.
Lea, is that the “Amber” color for the linen you used? I love it (I want to make a pillow from it haha).
Beautiful, timeless and cosy : congrats !
Hi there, Where are the curtain rod and hooks from for the DIY cafe curtain? Looks lovely, by the way! Thanks!
My apologies. Just saw them listed. Well done, anyways!
Hi,
I love the tile floor and was wondering whether it is easy to keep clean. I am looking to do a redo of our small bathroom and need something that will look good and clean easily
I hope you can let me know