Design
How To Make A High-End Designer Kitchen On A “Builder-Grade Kitchen Budget”
We have finished my sister’s kitchen, and I’m so excited to show-and-tell. But we are going to need to “backstory” and “deep dive” a bit, which is my forte (you may or may not want to sit next to me at a dinner party, depending on your stamina for gabbing). It looks so pretty, warm, and high-end and 100% from Lowe’s (who sponsored this project and post!), so yes, you could technically deem it “builder-grade” but withhold your judgment for a bit. The whole process was extremely streamlined, using Lowe’s as our main support on labor as well (and not a stitch of family drama). Here’s how it all went down…
My sister, Michelle, and her husband, Garen, bought an early 1900s English Tudor 22 years ago and a few years ago were finally ready to embark on a remodel. They gutted the whole thing and made all their dream plans, but as they were mid-remodel, their financial situation changed as Garen’s mom needed memory hospice care. If you have the misfortune to know how financially draining that can be, you are not alone. So, like many people, finishing their remodel went on the back burner. I knew I couldn’t help his mom, but I could help get them a functional, beautiful kitchen because of this unicorn job of mine. As we brainstormed what they wanted and how we’d execute it, I felt like it was the perfect opportunity to work in a more major way with a brand that I love – Lowes. So I pitched them this kitchen remodel, from start to finish.
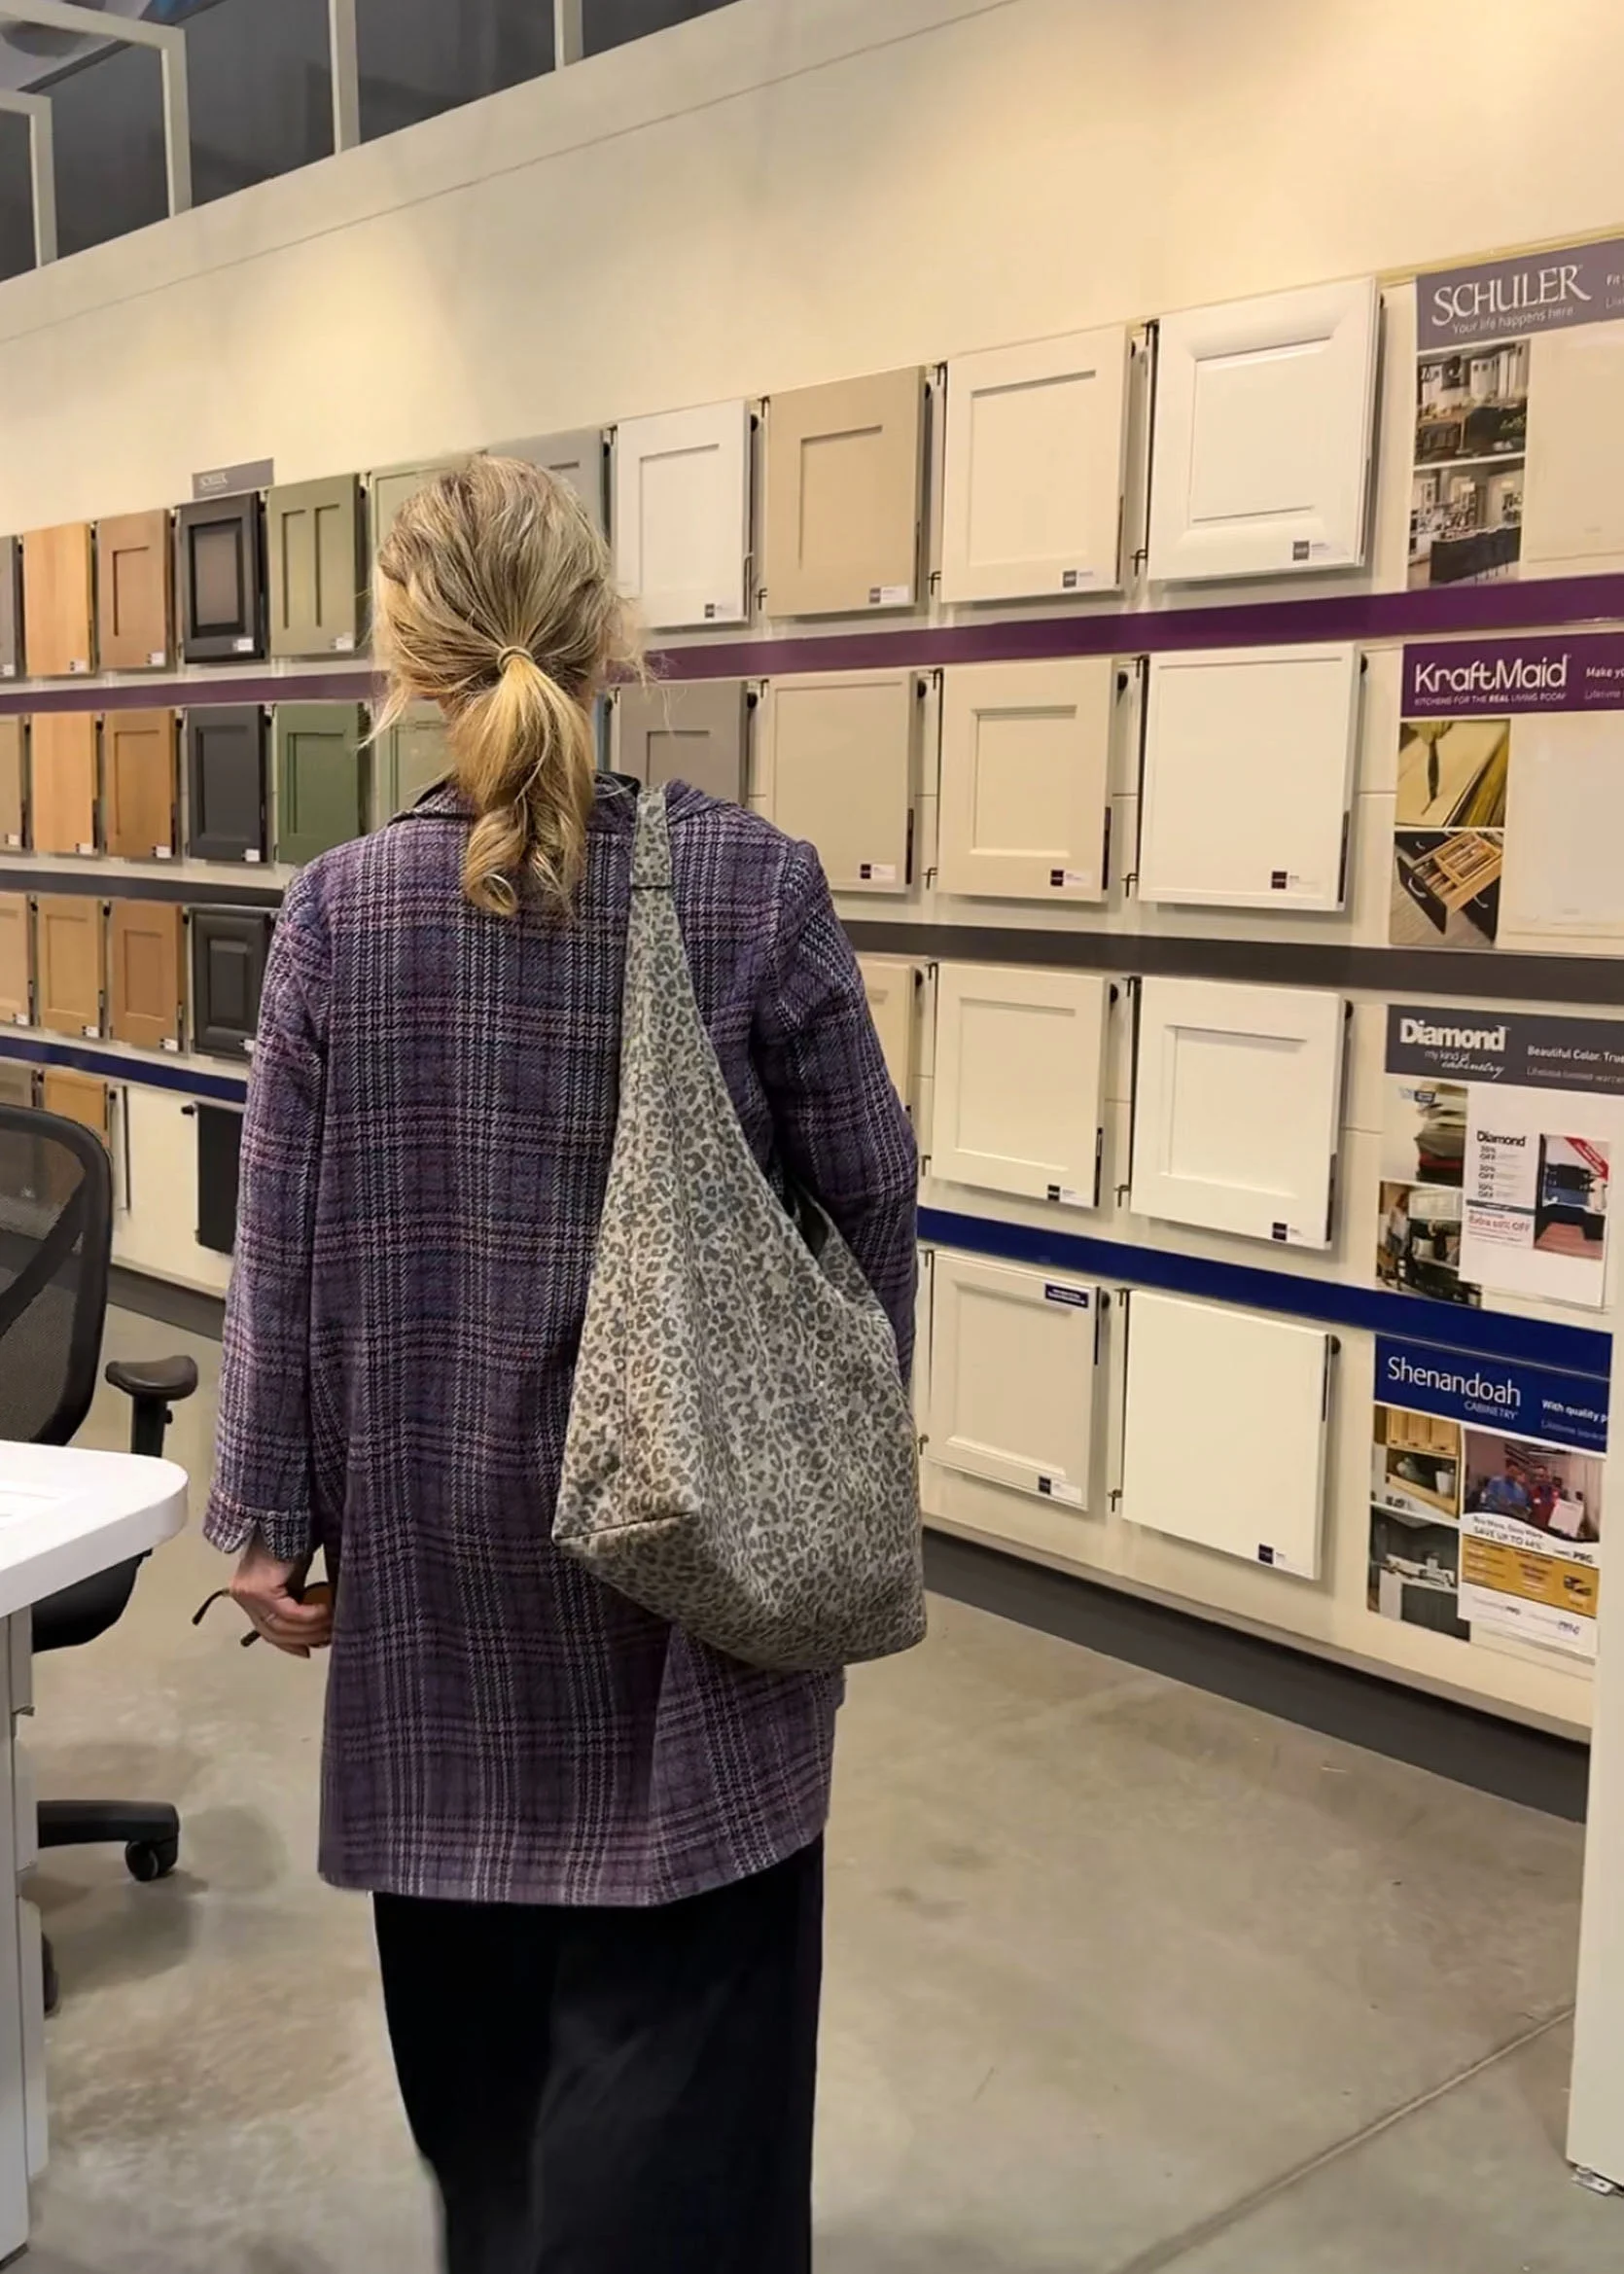
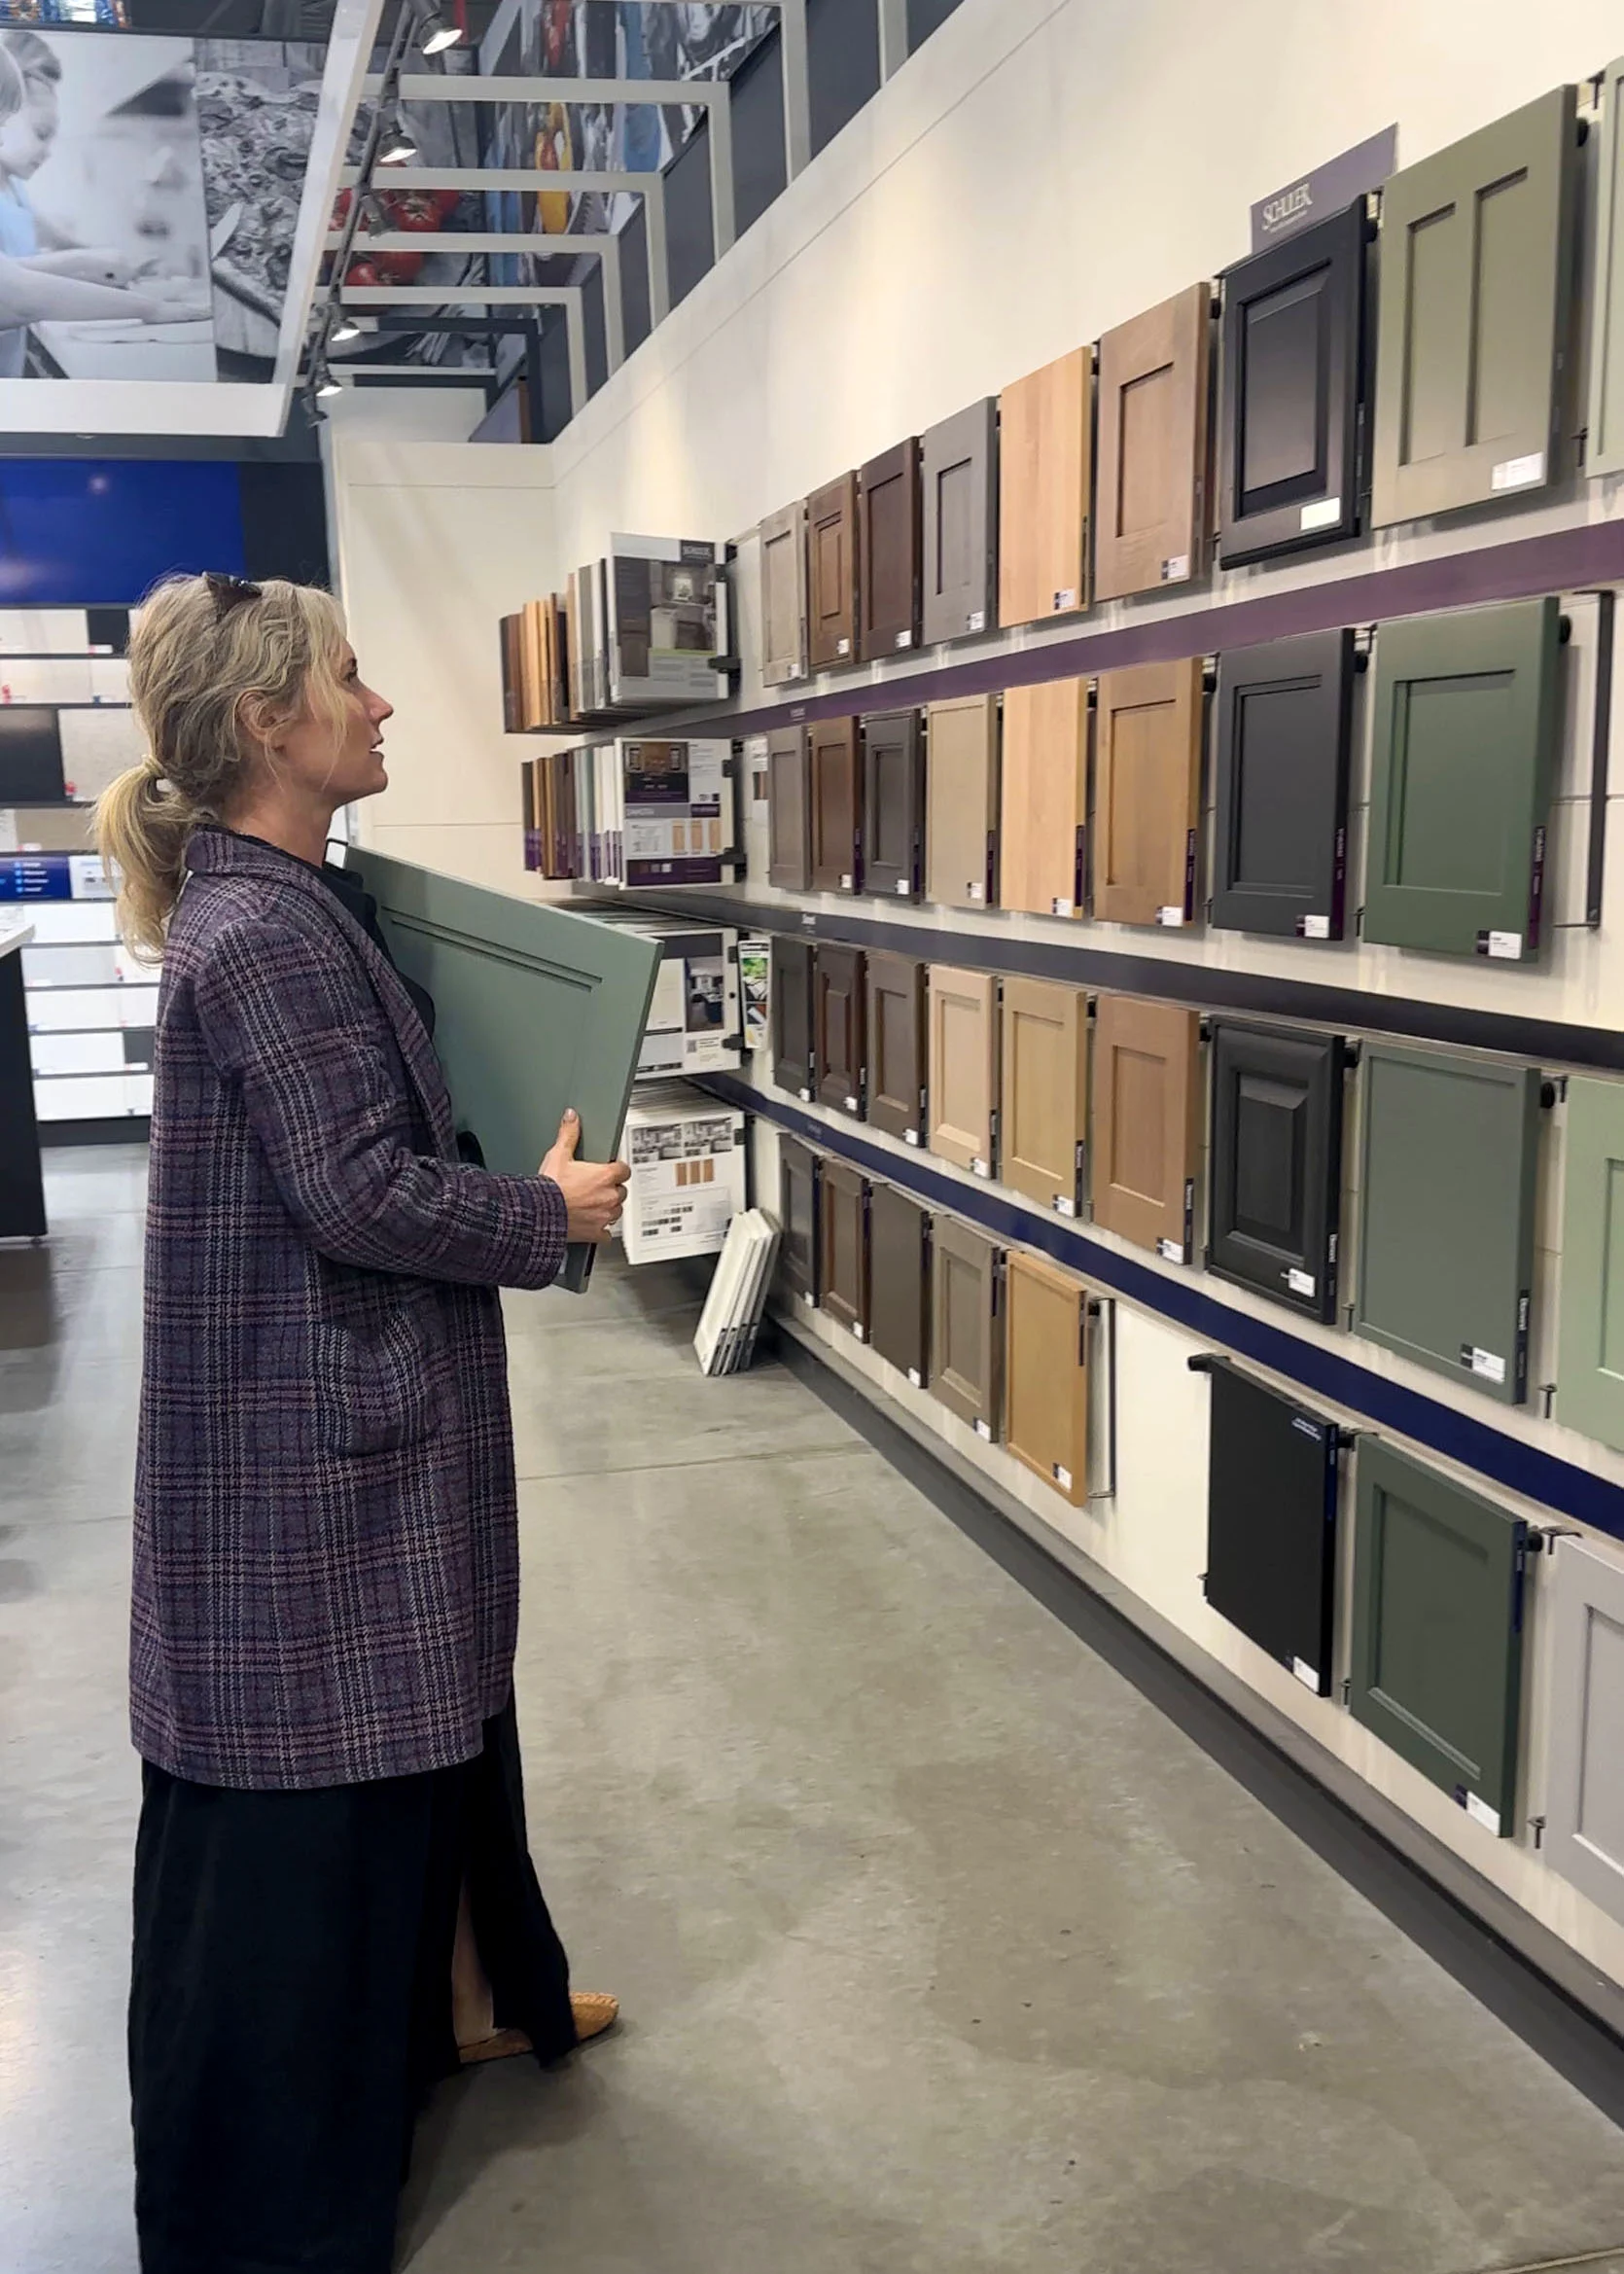
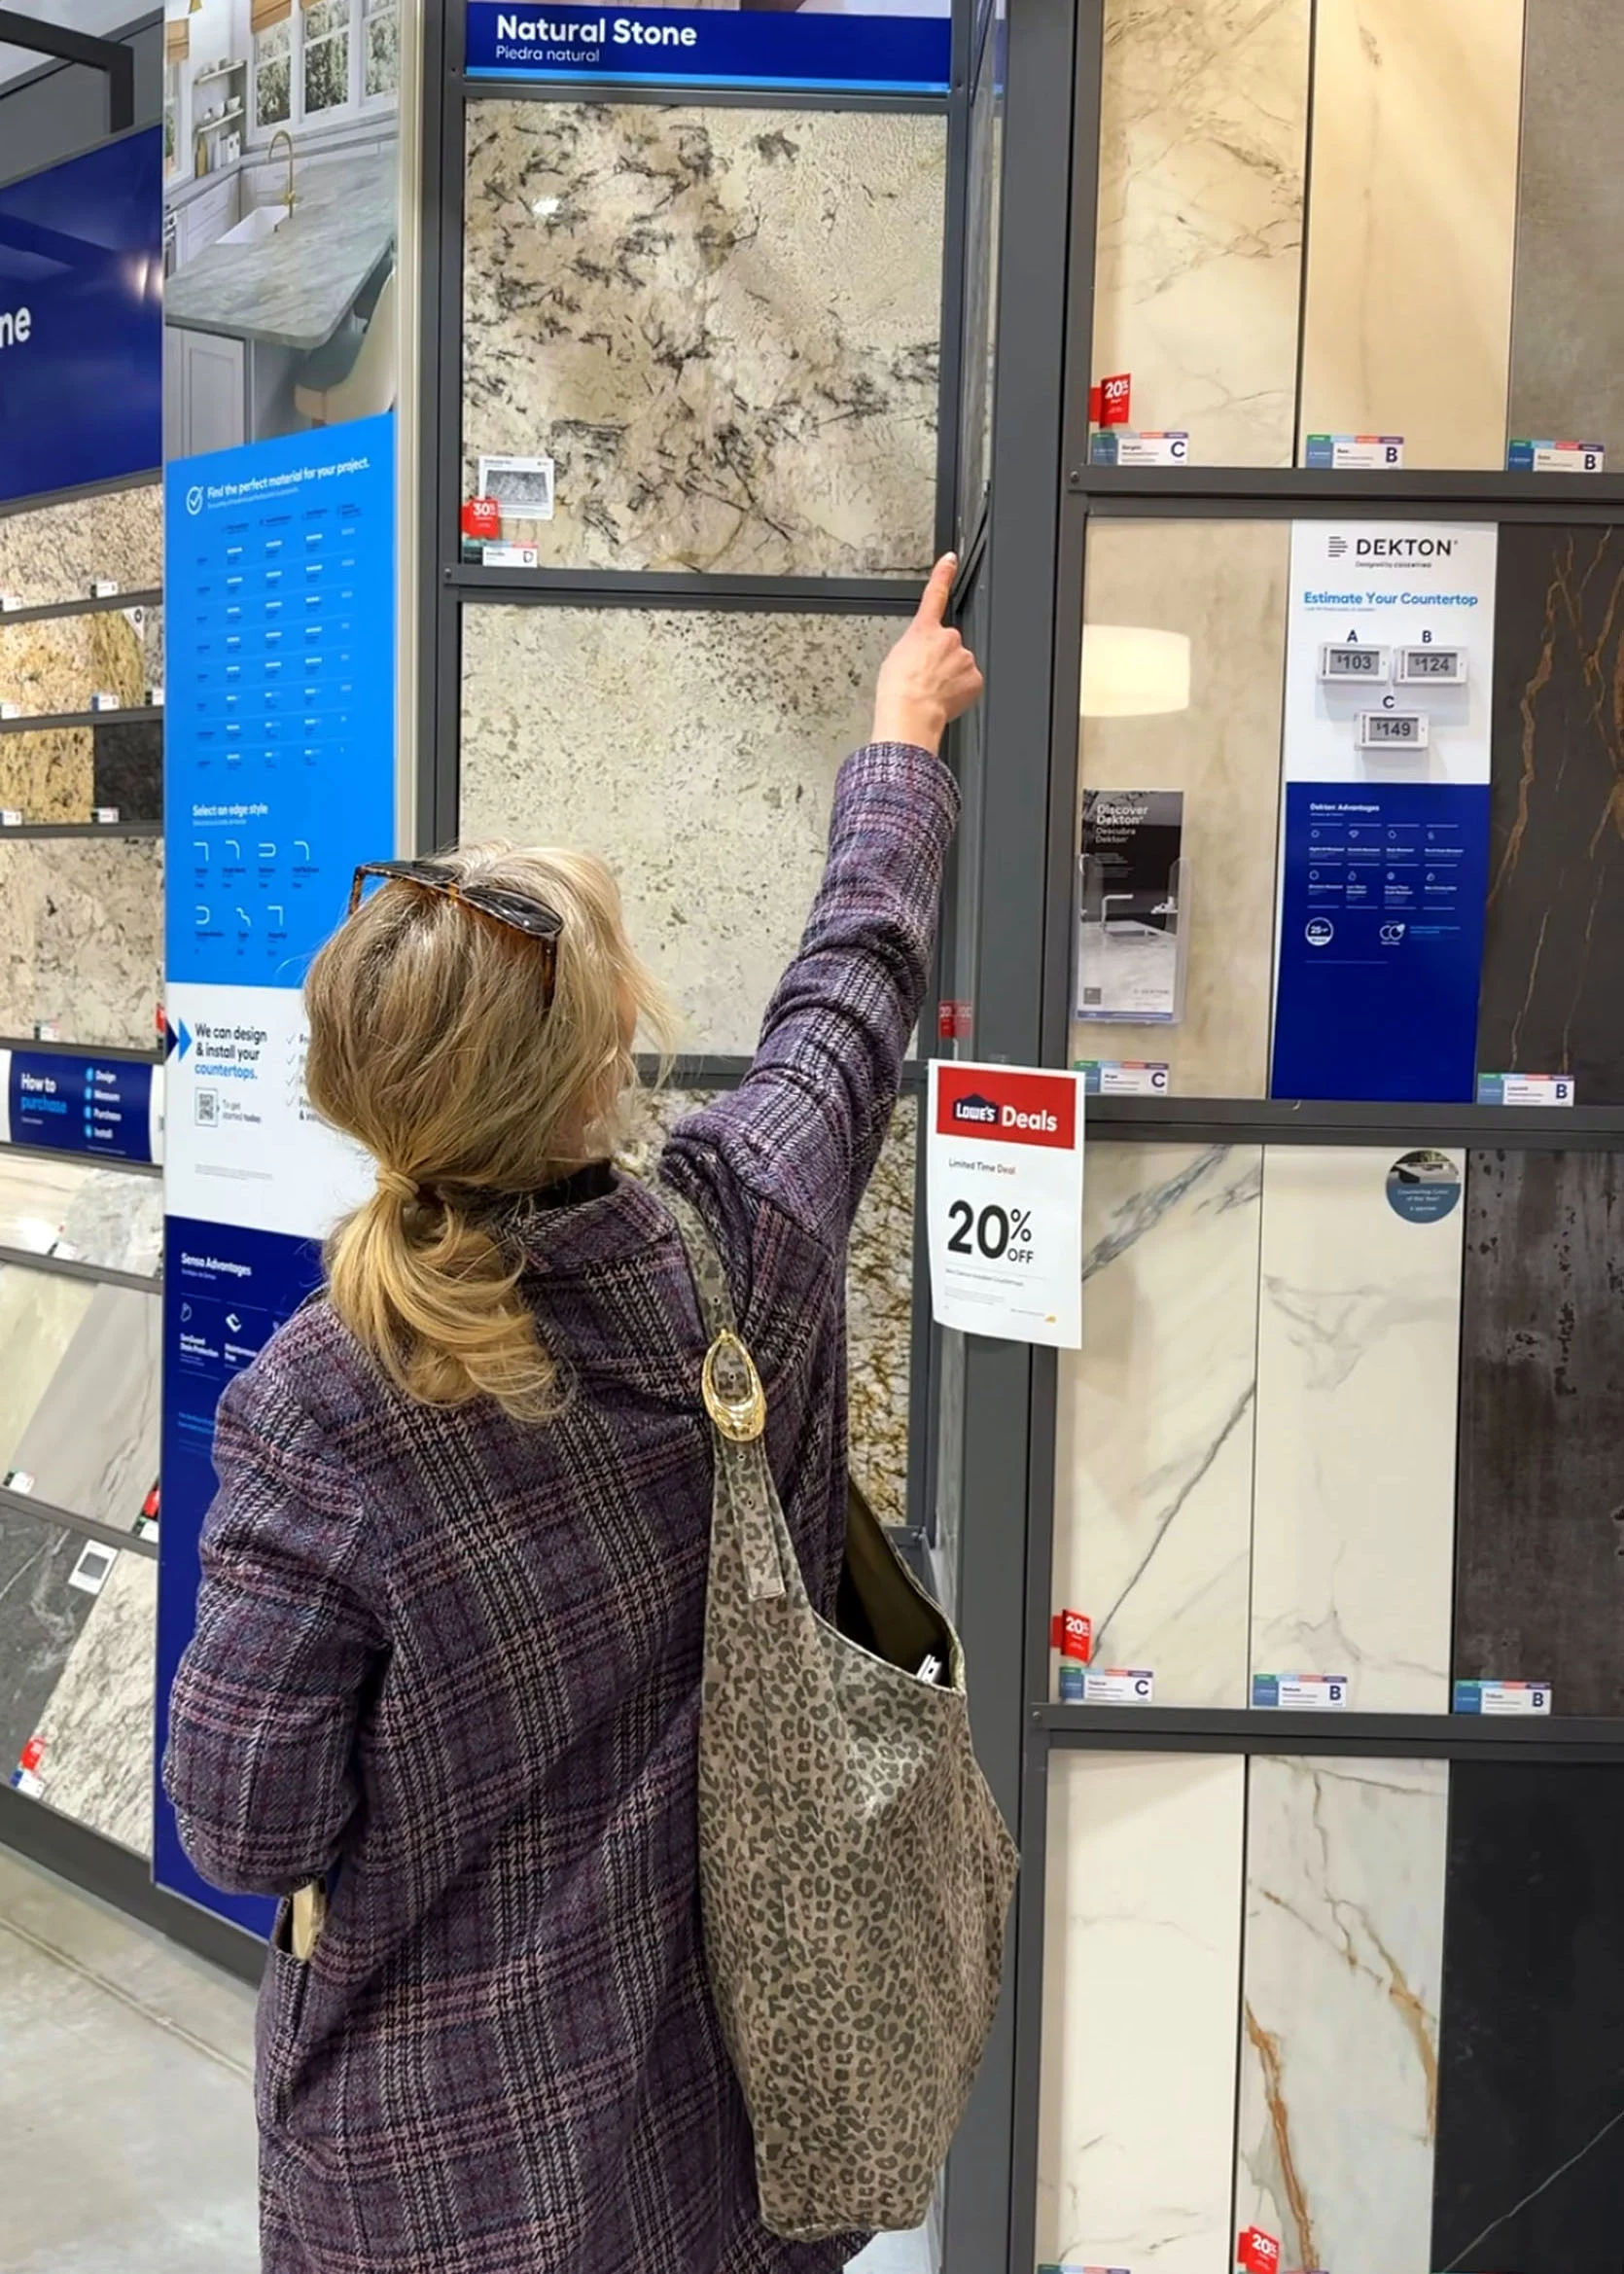
I had gone into the Lowe’s kitchen remodel department and shopped around, making sure that their design elements and services were right for this project (and frankly good enough for me – I had never really relied on a big-box store for a kitchen design before). I, too, was curious just how streamlined and beautiful a 100% Lowe’s kitchen remodel could be. I think we all assume that designers usually lean custom and stay away from anything that could potentially look “builder-grade” (me, too). But most people don’t have the budget (or time) to do a fully custom kitchen remodel. So I wanted to know if I could make this 100% Lowe’s kitchen look high-end and design-forward.
You’ll have to judge for yourself when you see the reveal in a few days, but for now I will say (and I’ll scream it to the sky) it was the most streamlined remodel I’ve ever done because of Lowe’s kitchen design services, and even better, I absolutely love this kitchen so much (and so do Michelle and Garen – thank goodness!).
The Before – Where We Started
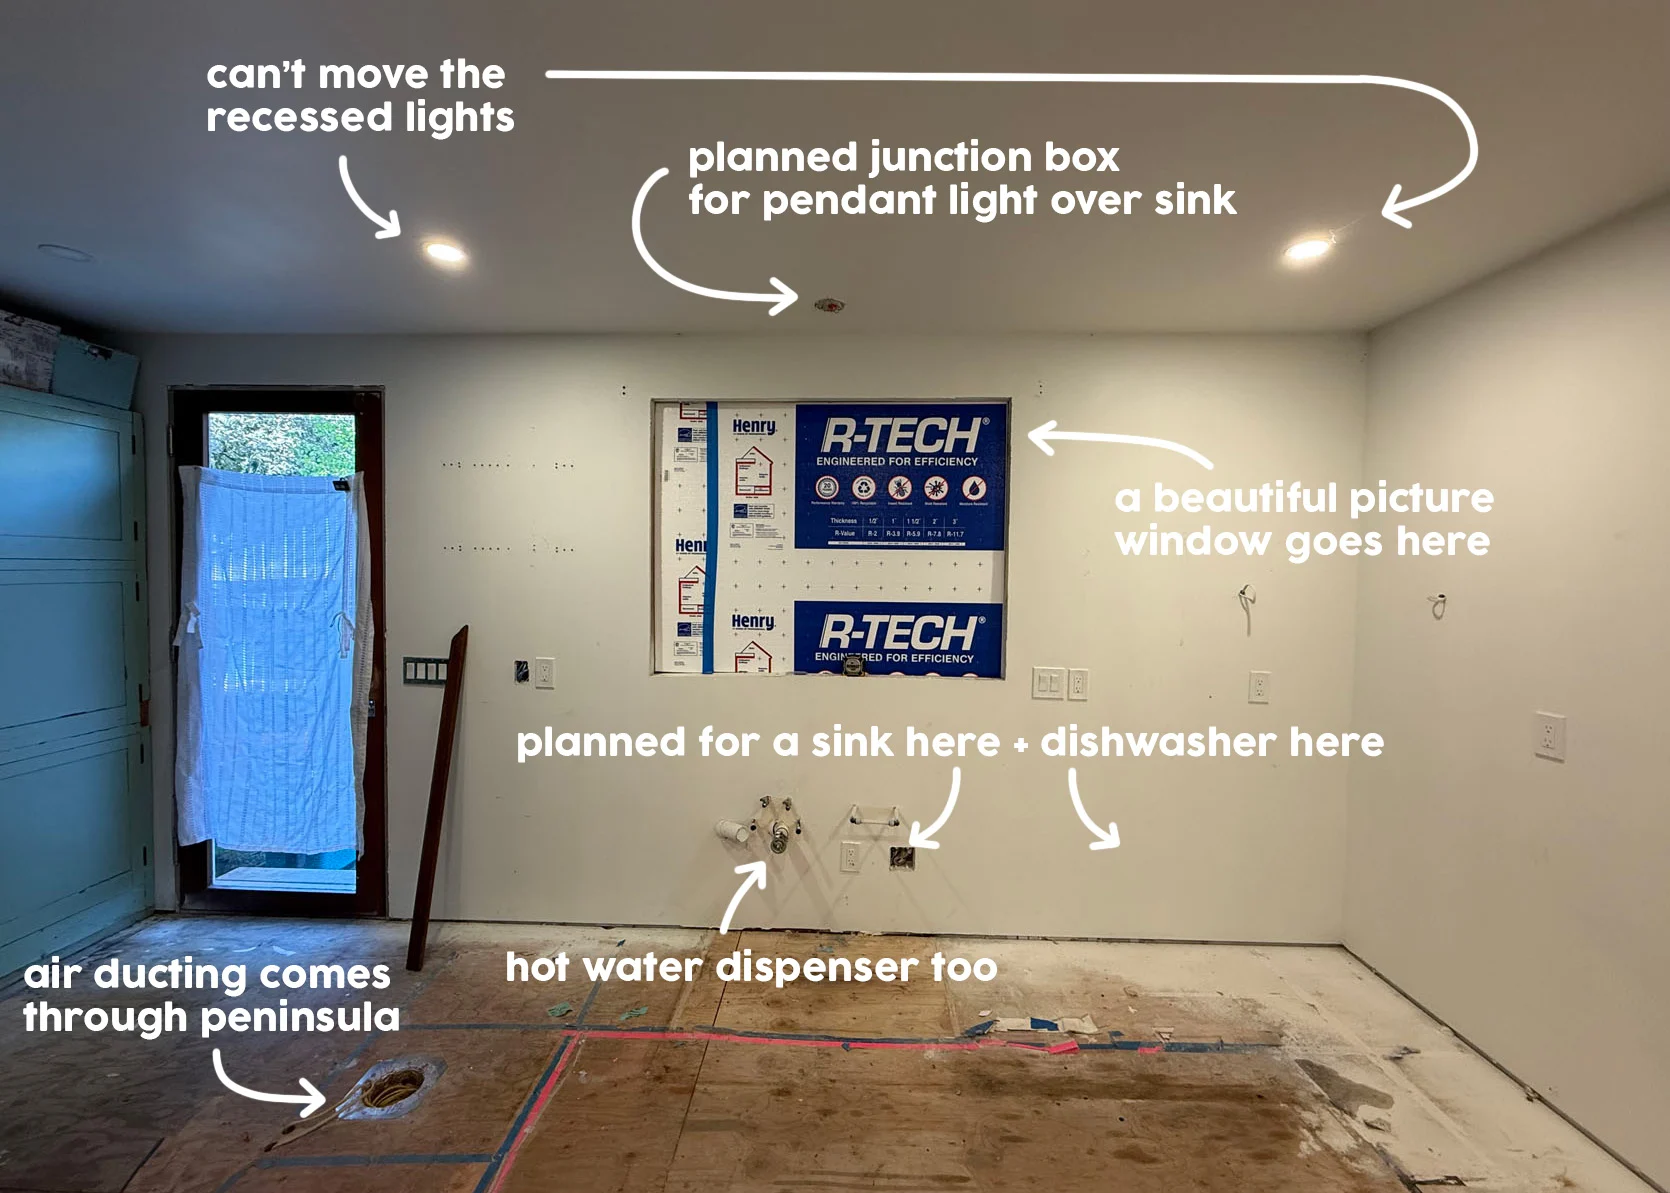
When we started, the kitchen was just a white box, roughly 12’x12′ with one big window. Honestly, it’s a real dream to come into a project after a lot of the annoying stuff was done behind the walls. Here is how they had planned it:
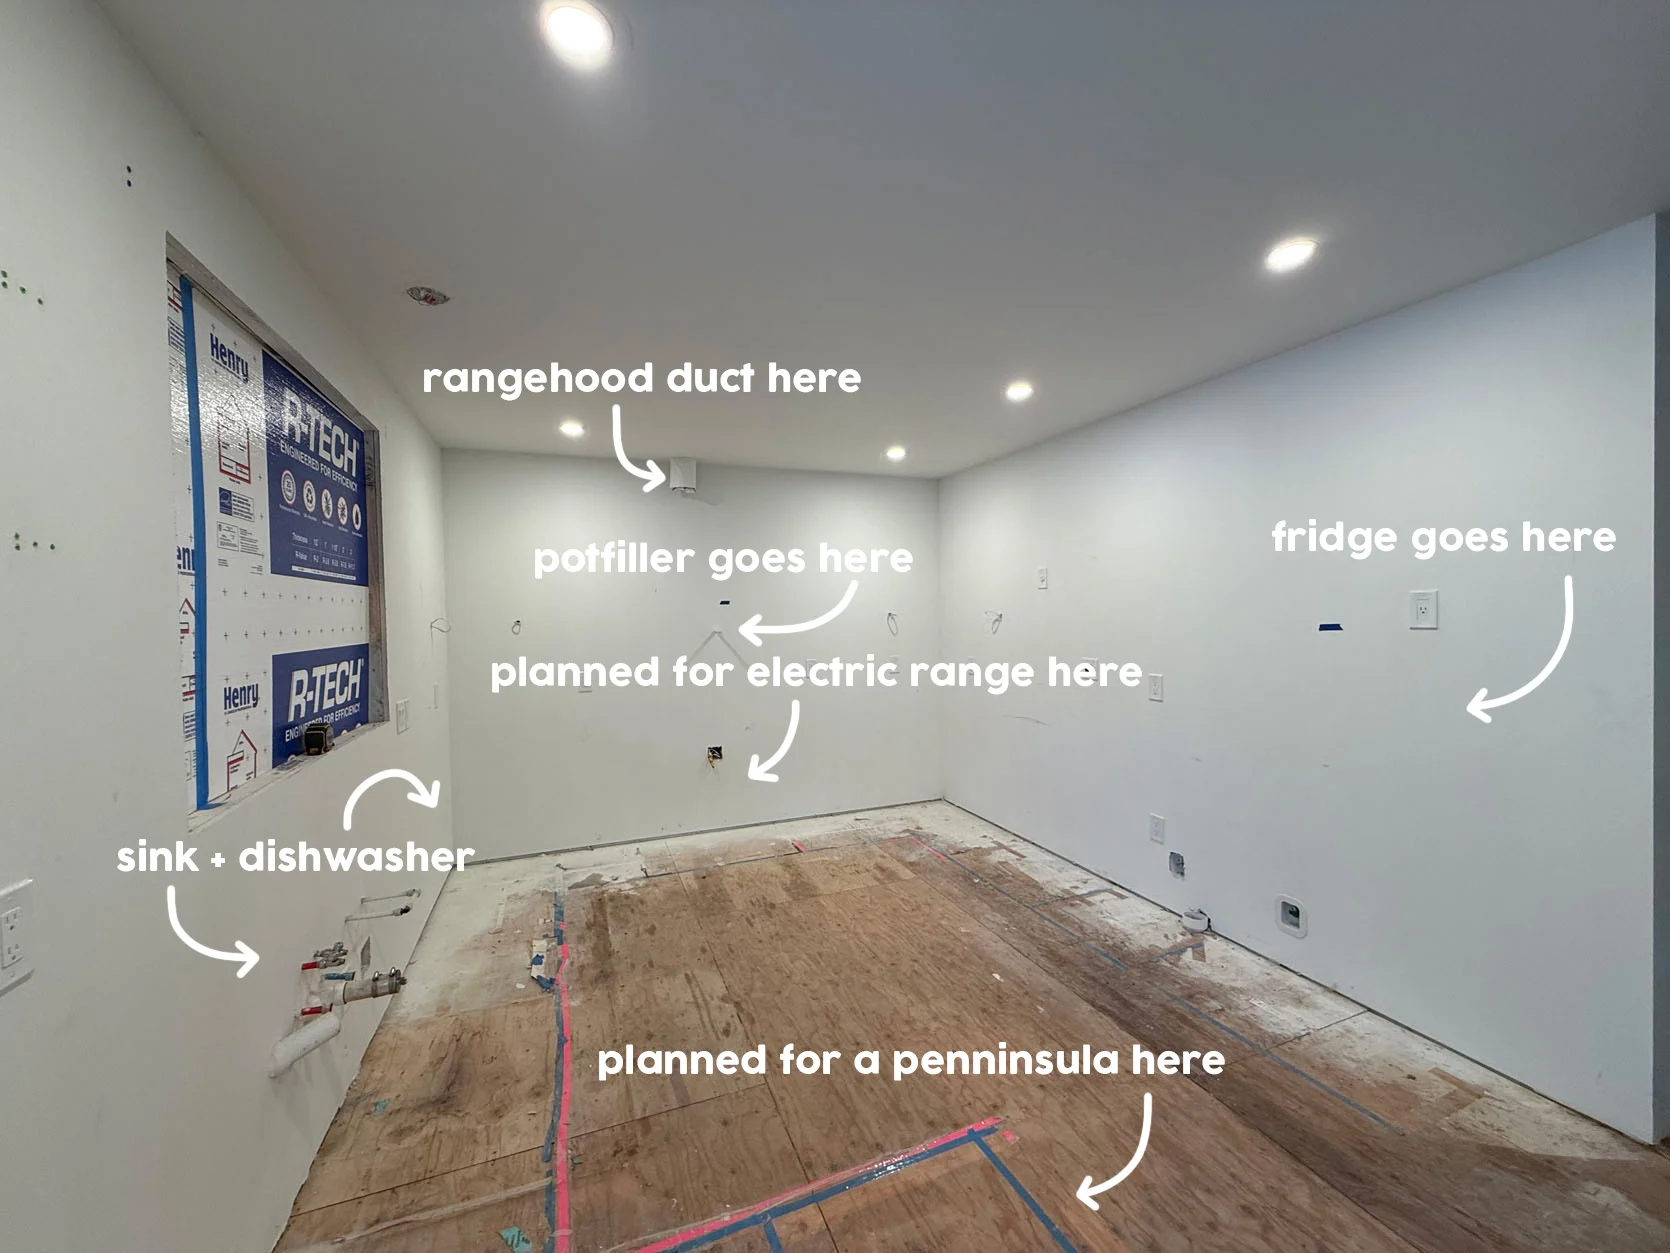
They had done a great job of placing the appliances and cabinets; no red flags there. As you can see, there is the “kitchen triangle” and enough counter and storage space. There really weren’t challenges with the space at all or awkward angles, no important pass-through areas or even enough room for an island. So it would be straightforward, which was obviously easy to get our brains around.
The layout was fully set, and the rough electrical and plumbing were done. Here were our goals:
- We’d keep everything exactly where they had intended it. We’d work within the footprint, not moving any electrical or plumbing locations, so not even an outlet would move (we looked into raising them to create more of a backsplash, and it would have cost $1,800 for all to come up a few inches = not worth it).
- We’d design it as simple as possible, without it just being a drywall box. We all know that labor is where most of your remodeling budget can go, so how can we execute this without paying $5k for tile install?? While I love design bells and whistles, I know far too well that this is where so much of your stress and money goes. Their first priority was a finished, functional kitchen; I was determined not to make things harder on them by showing off my fancy design desires.
- We’d keep it classic but colorful. They didn’t know what the future would hold, so it needed to work for them and also for any future buyer. The house is from the 1920s, and I knew I could make it modern but appropriate to the style. And Portland buyers like color (but not too much), so I’d have to walk that line.
- Simple but not boring. Interesting but not custom. Utilitarian but not basic. But honestly…
- They were so grateful that Lowe’s and I were doing this kitchen, so they kinda gave me carte blanche to do what is best for the partnership and our audience. Outside of some quick approvals (on colors, hardware, appliances), we took over and reduced their stress, while having so much fun.
- Oh, and we’d keep the big vintage cabinet they had salvaged from an old school (shout-out to the ReBuilding Center). They both wanted to make sure that there was some vintage soul in this kitchen, so we’d paint it, but it would stay (fine by me!).
Challenge accepted.
Some Quick FAQs – How Long Did It Take To Complete And Did You Have A Contractor??

- We started designing in early April and shot the finished kitchen in mid-August. That’s only a few months, but the only reason it took even that long was because of my travel schedule and some last-minute tweaks. Lowe’s made it so streamlined, we couldn’t believe it. Now, if you are starting from scratch, needing to demo, plan, move plumbing/electrical/walls, you should plan at least 6 months (honestly, up to a year if you are doing anything custom). But starting where we did and using 100% Lowe’s, we were able to execute so quickly.
- We had help from a contractor, but not much. My brother, Ken, is a contractor, so of course he was going to help where it made sense, but to be honest, Lowe’s kitchen services arranged most of the subcontractors (flooring, cabinet and countertop install). So Ken was involved in reinforcing the walls so we could hang shelving and then managing the finish carpentry and painting. Having his expertise during every meeting was so helpful and fun (a real family affair). But even he was like, “You kinda don’t need me because Lowe’s does so much”. Now, I’ll say it again: the demo, framing, permits, proposed layout, rough electrical and plumbing were already done. So I’m not suggesting that you don’t need a contractor, but since we came in after drywall, there were fewer technical things to manage.
- You are probably wondering how these partnerships work, budget-wise. In this case, Lowe’s would provide the budget for the product (to a point, it wasn’t Supermarket Sweep) with some additional allocations for installation, but the labor outside of the Lowe’s installers would be on us. This was the main reason why we were trying to reduce unnecessary expenses at every turn. My company gets paid for producing photography, PR, and social media content. You all get new, fresh content outside of my house. It’s the win/win/win/win that we specialize in.
So in April it began. Let’s get into it.
1. Dark Green Appliances:
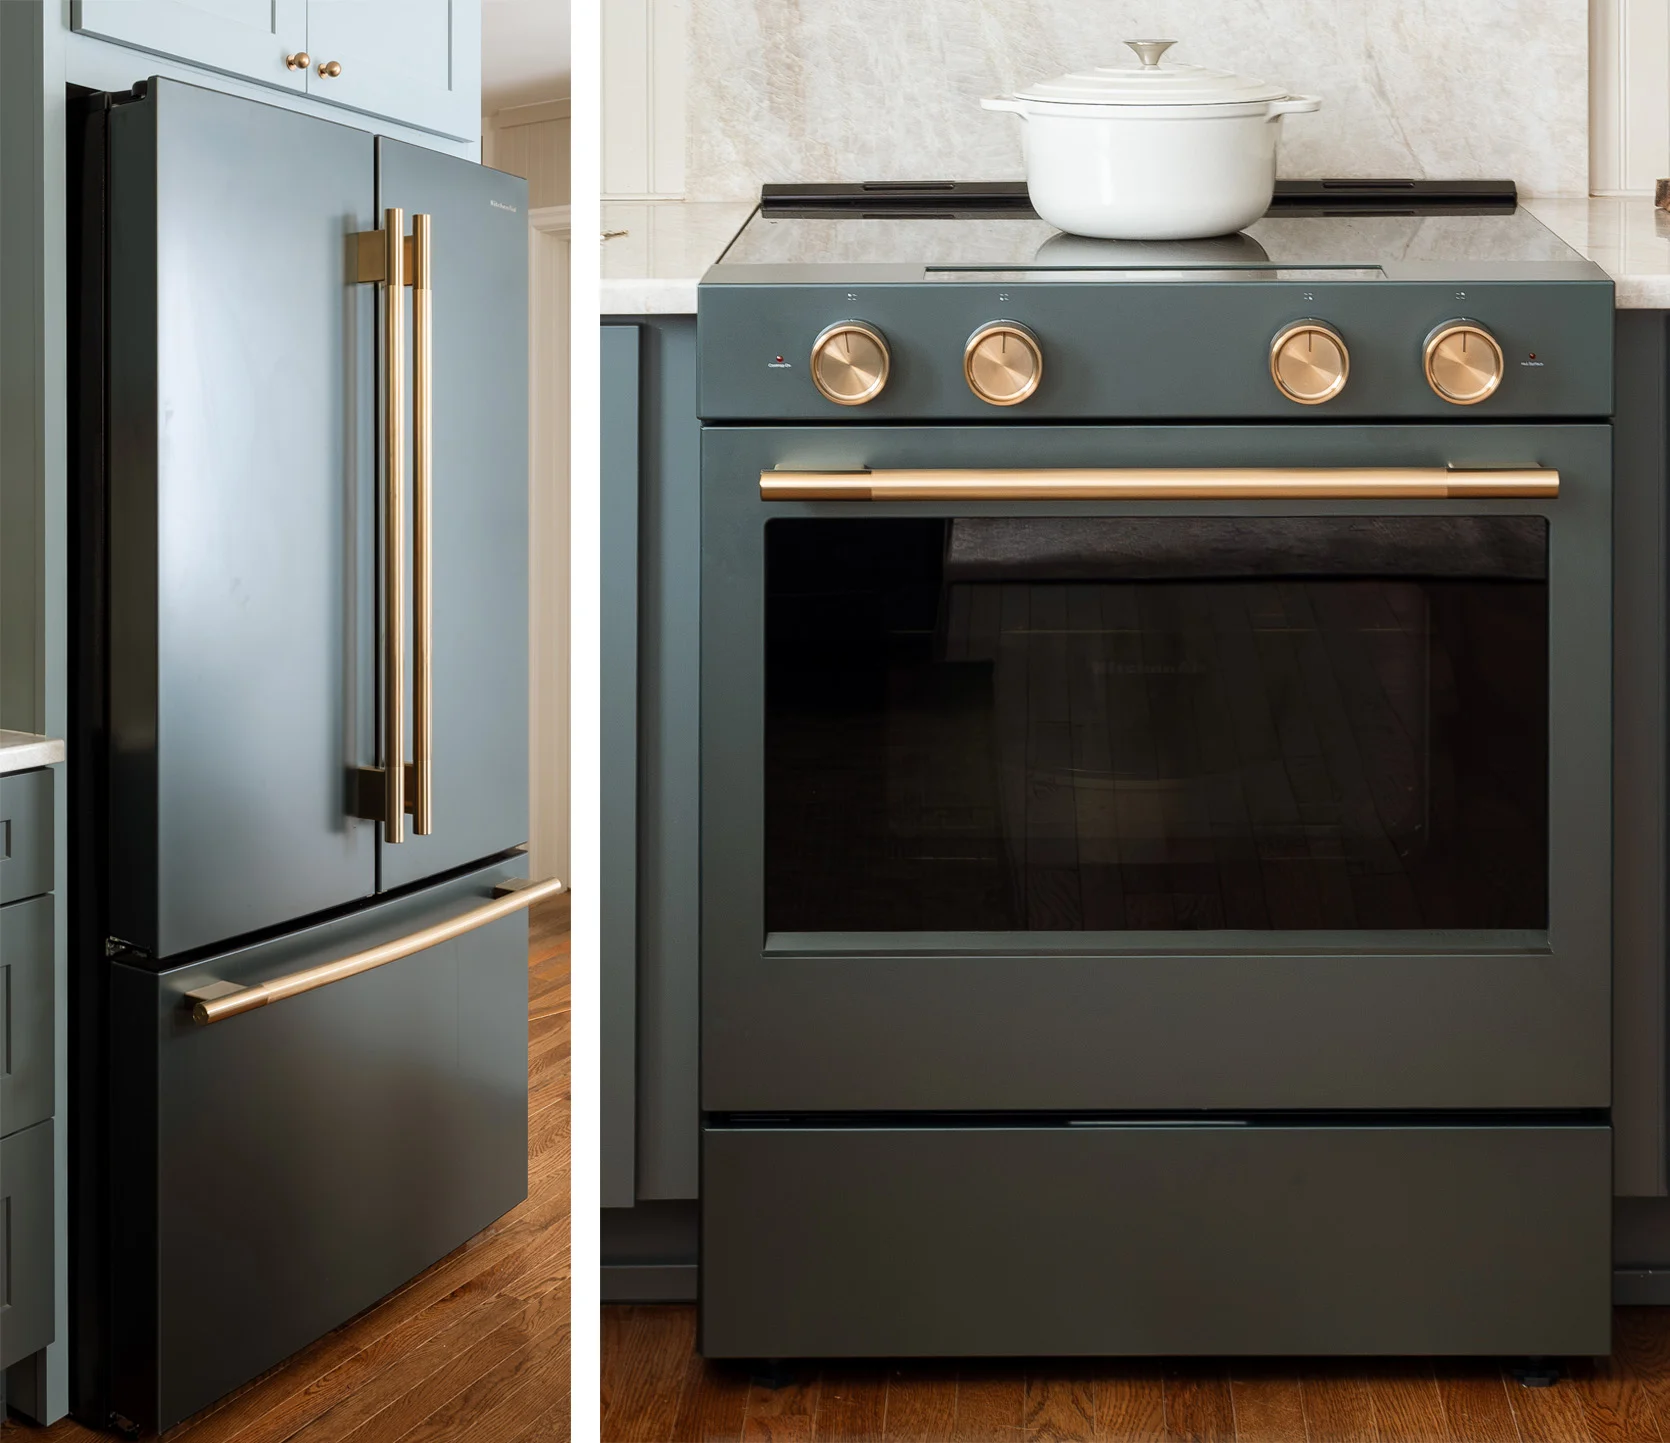
While I was scouting, I found our appliances, and for the first time in my career I actually designed the kitchen for them. Michelle loves blues, greens, and pops of color, and I had a rough mood board going that felt cottage-y and sweet. So when I found these dark Juniper green beauties that had the whole suite (fridge, dishwasher, and 30″ electric range), I marked off appliances on my bingo card. Being on a budget, I knew we couldn’t do panel-ready appliances, and being a smaller kitchen, we wanted to make sure that the vintage style felt streamlined (i.e., not letting stainless appliances take over). So this color, juniper, was our actual jumping-off point.
Fun fact – you can choose the colors of the knobs. We chose this brass, but they also come in black and chrome. So simple. So pretty. Thank you, KitchenAid (not sponsored by them, but when a major appliance brand designs something really simple and yet design-forward, I want to give ample encouragement). While I have kitchen brands’ attention – reminder: we do not want more smart appliances with more apps. Just appliances that look “look good and cook good”.
2. Laying Out The Semi-Custom Cabinets (In Two Colors!!)
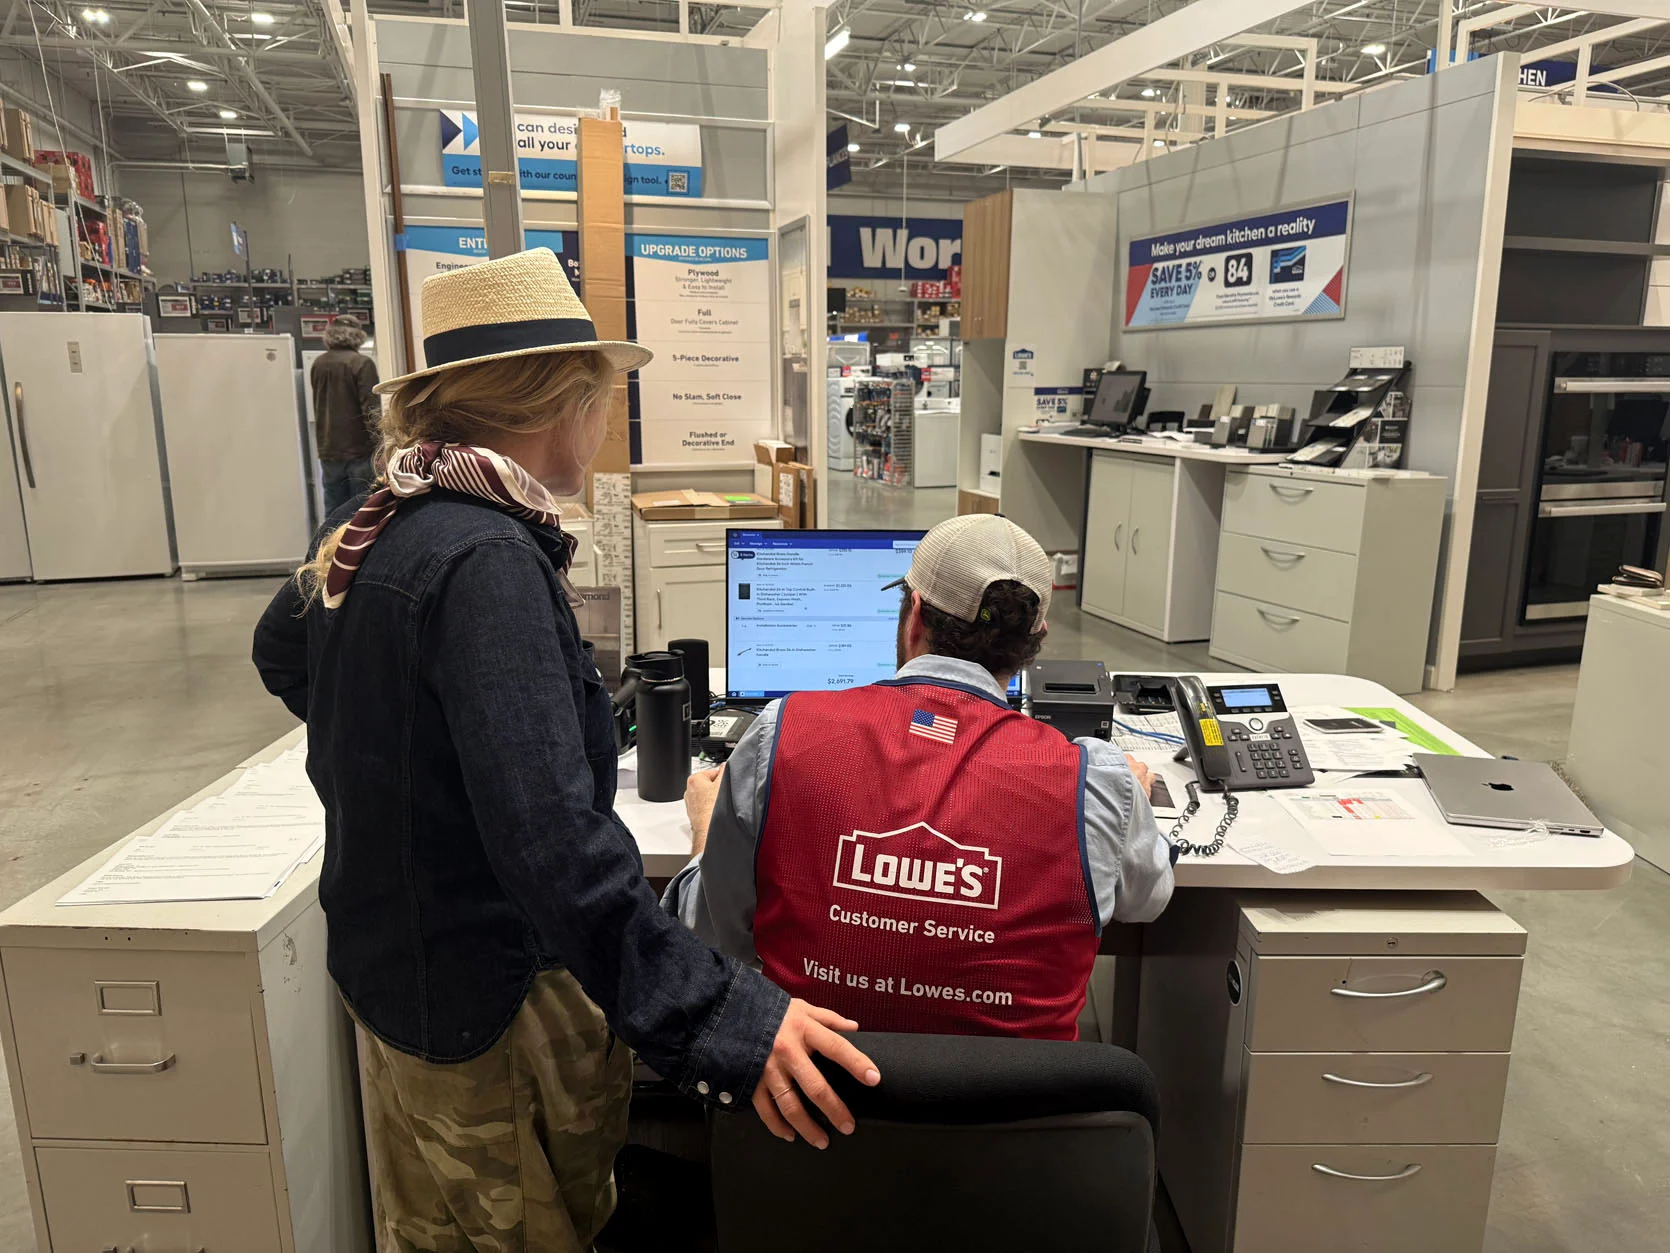
With the layout predetermined, we took the exact locations of each element (fridge, sink, range, pot filler) into Lowe’s with the overall measurements and designed the cabinetry, laying it all out in just a couple of hours. My goodness, it was efficient.
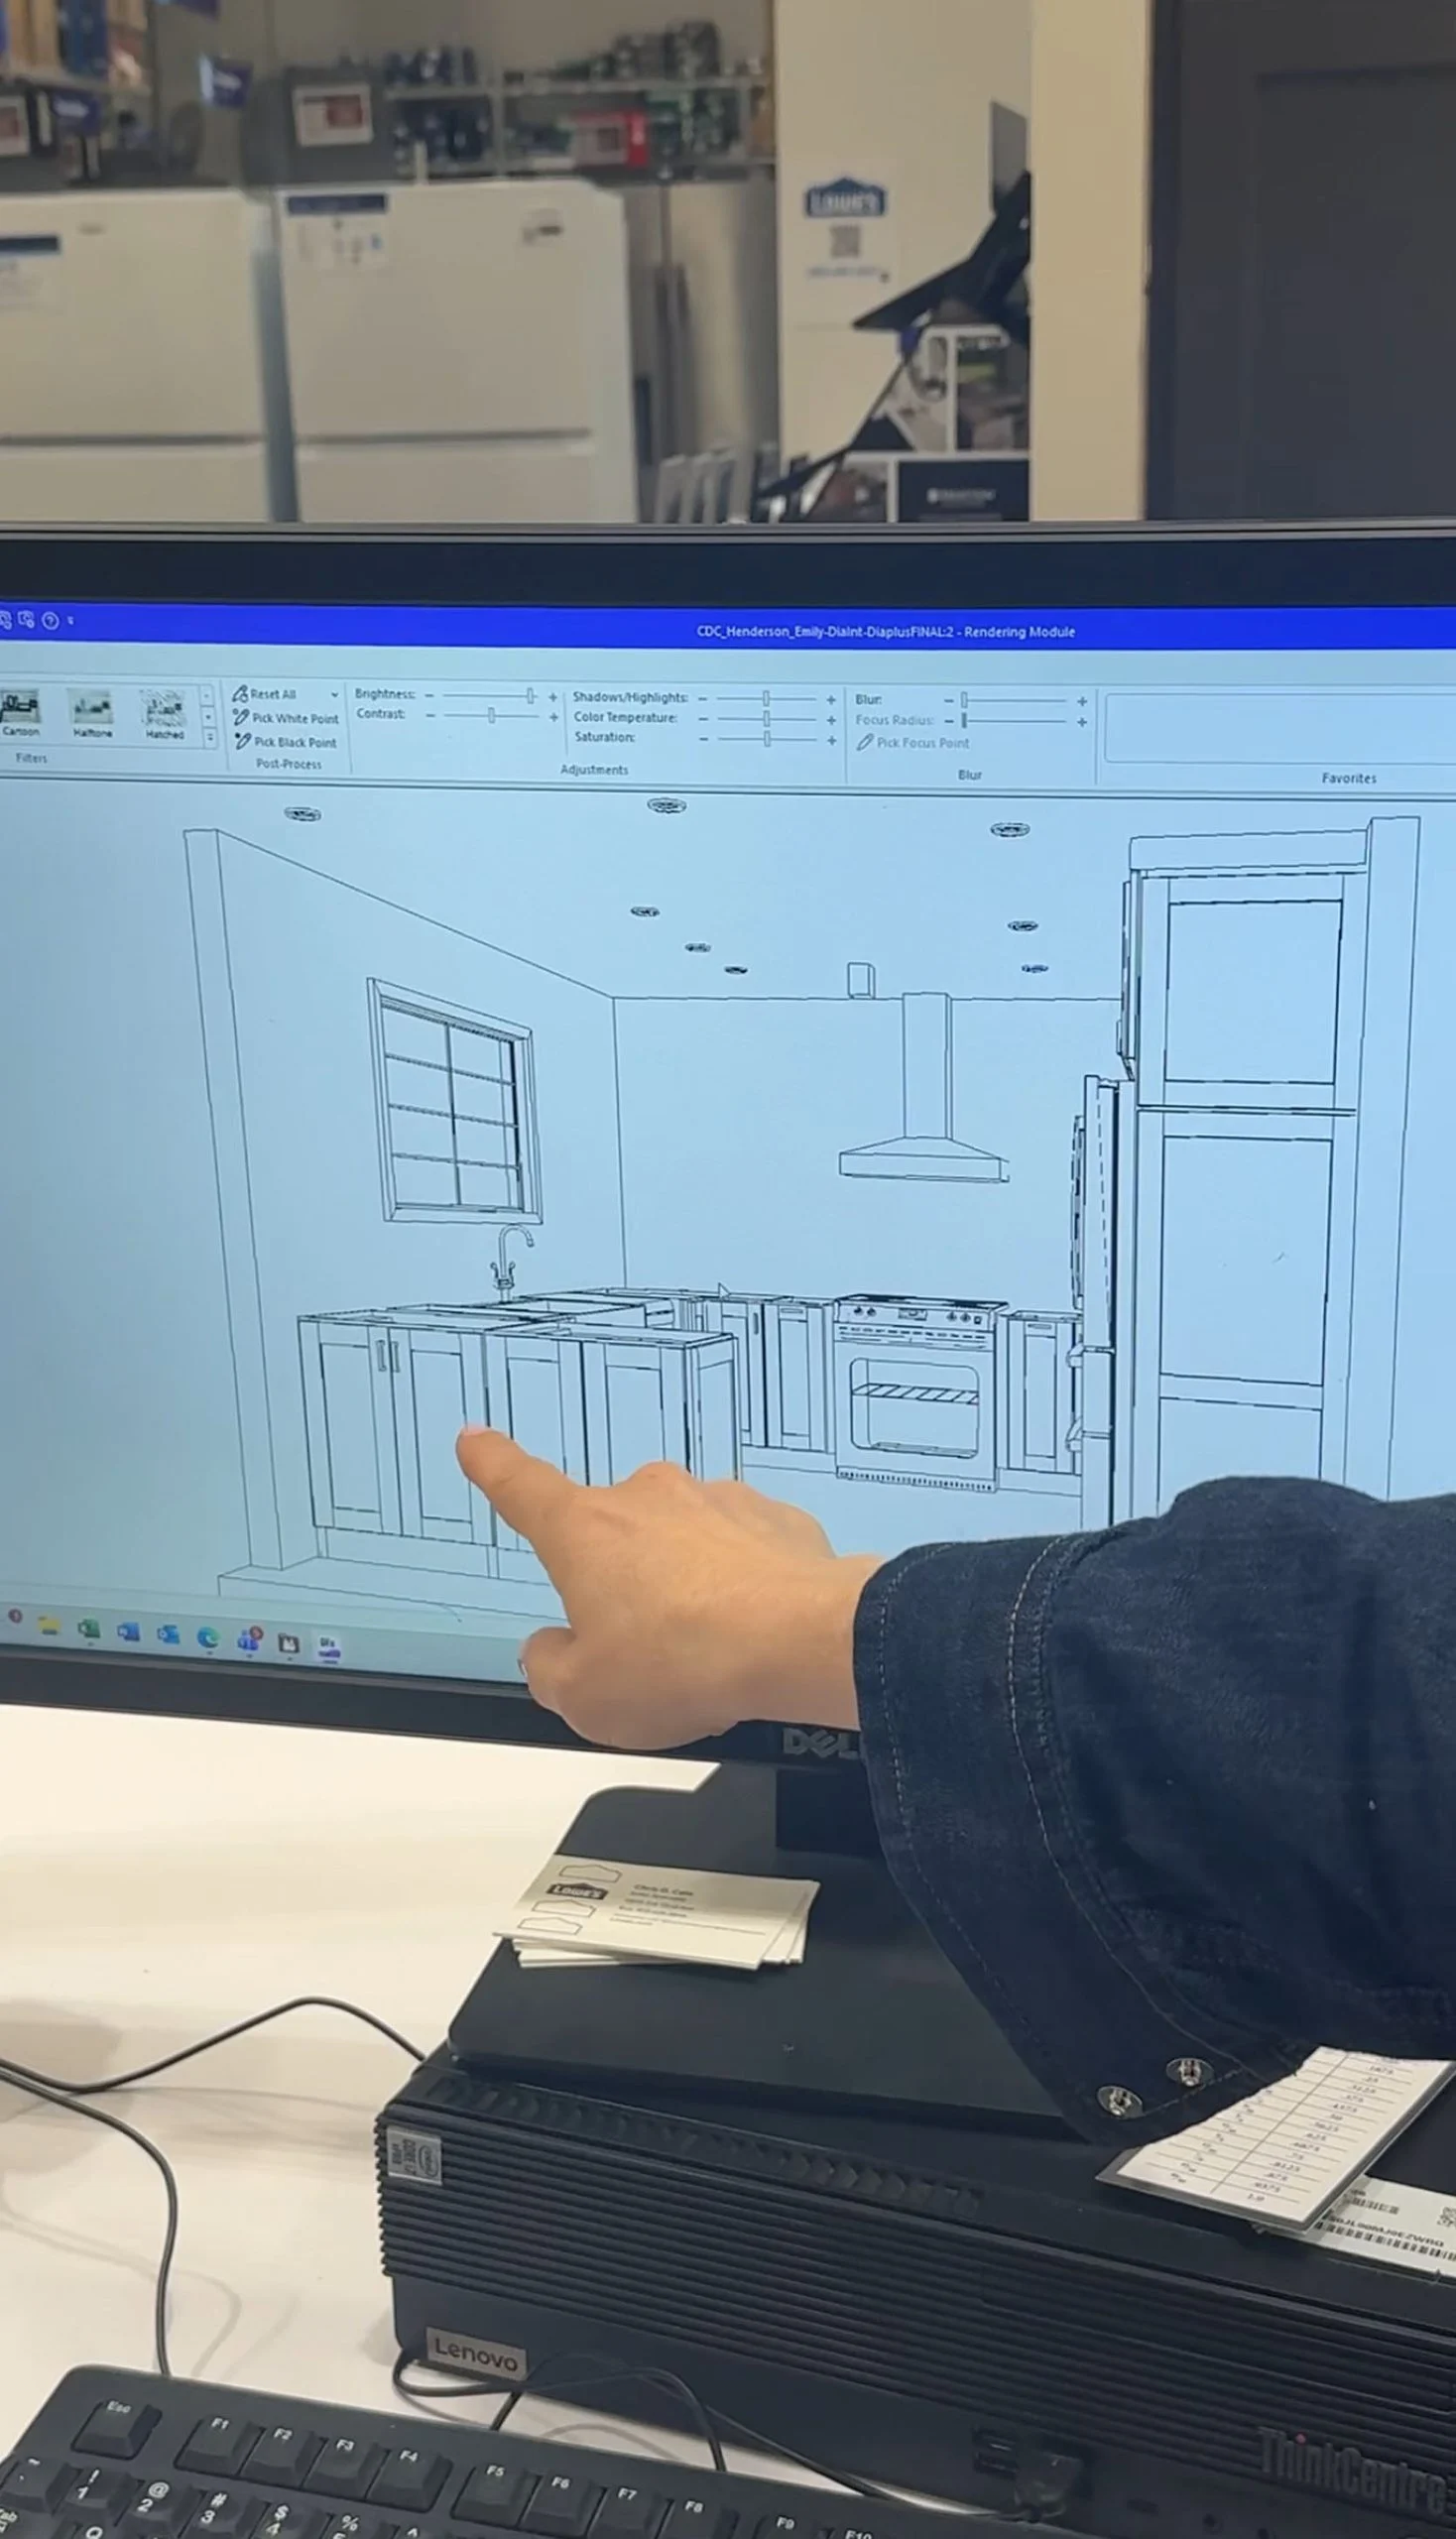
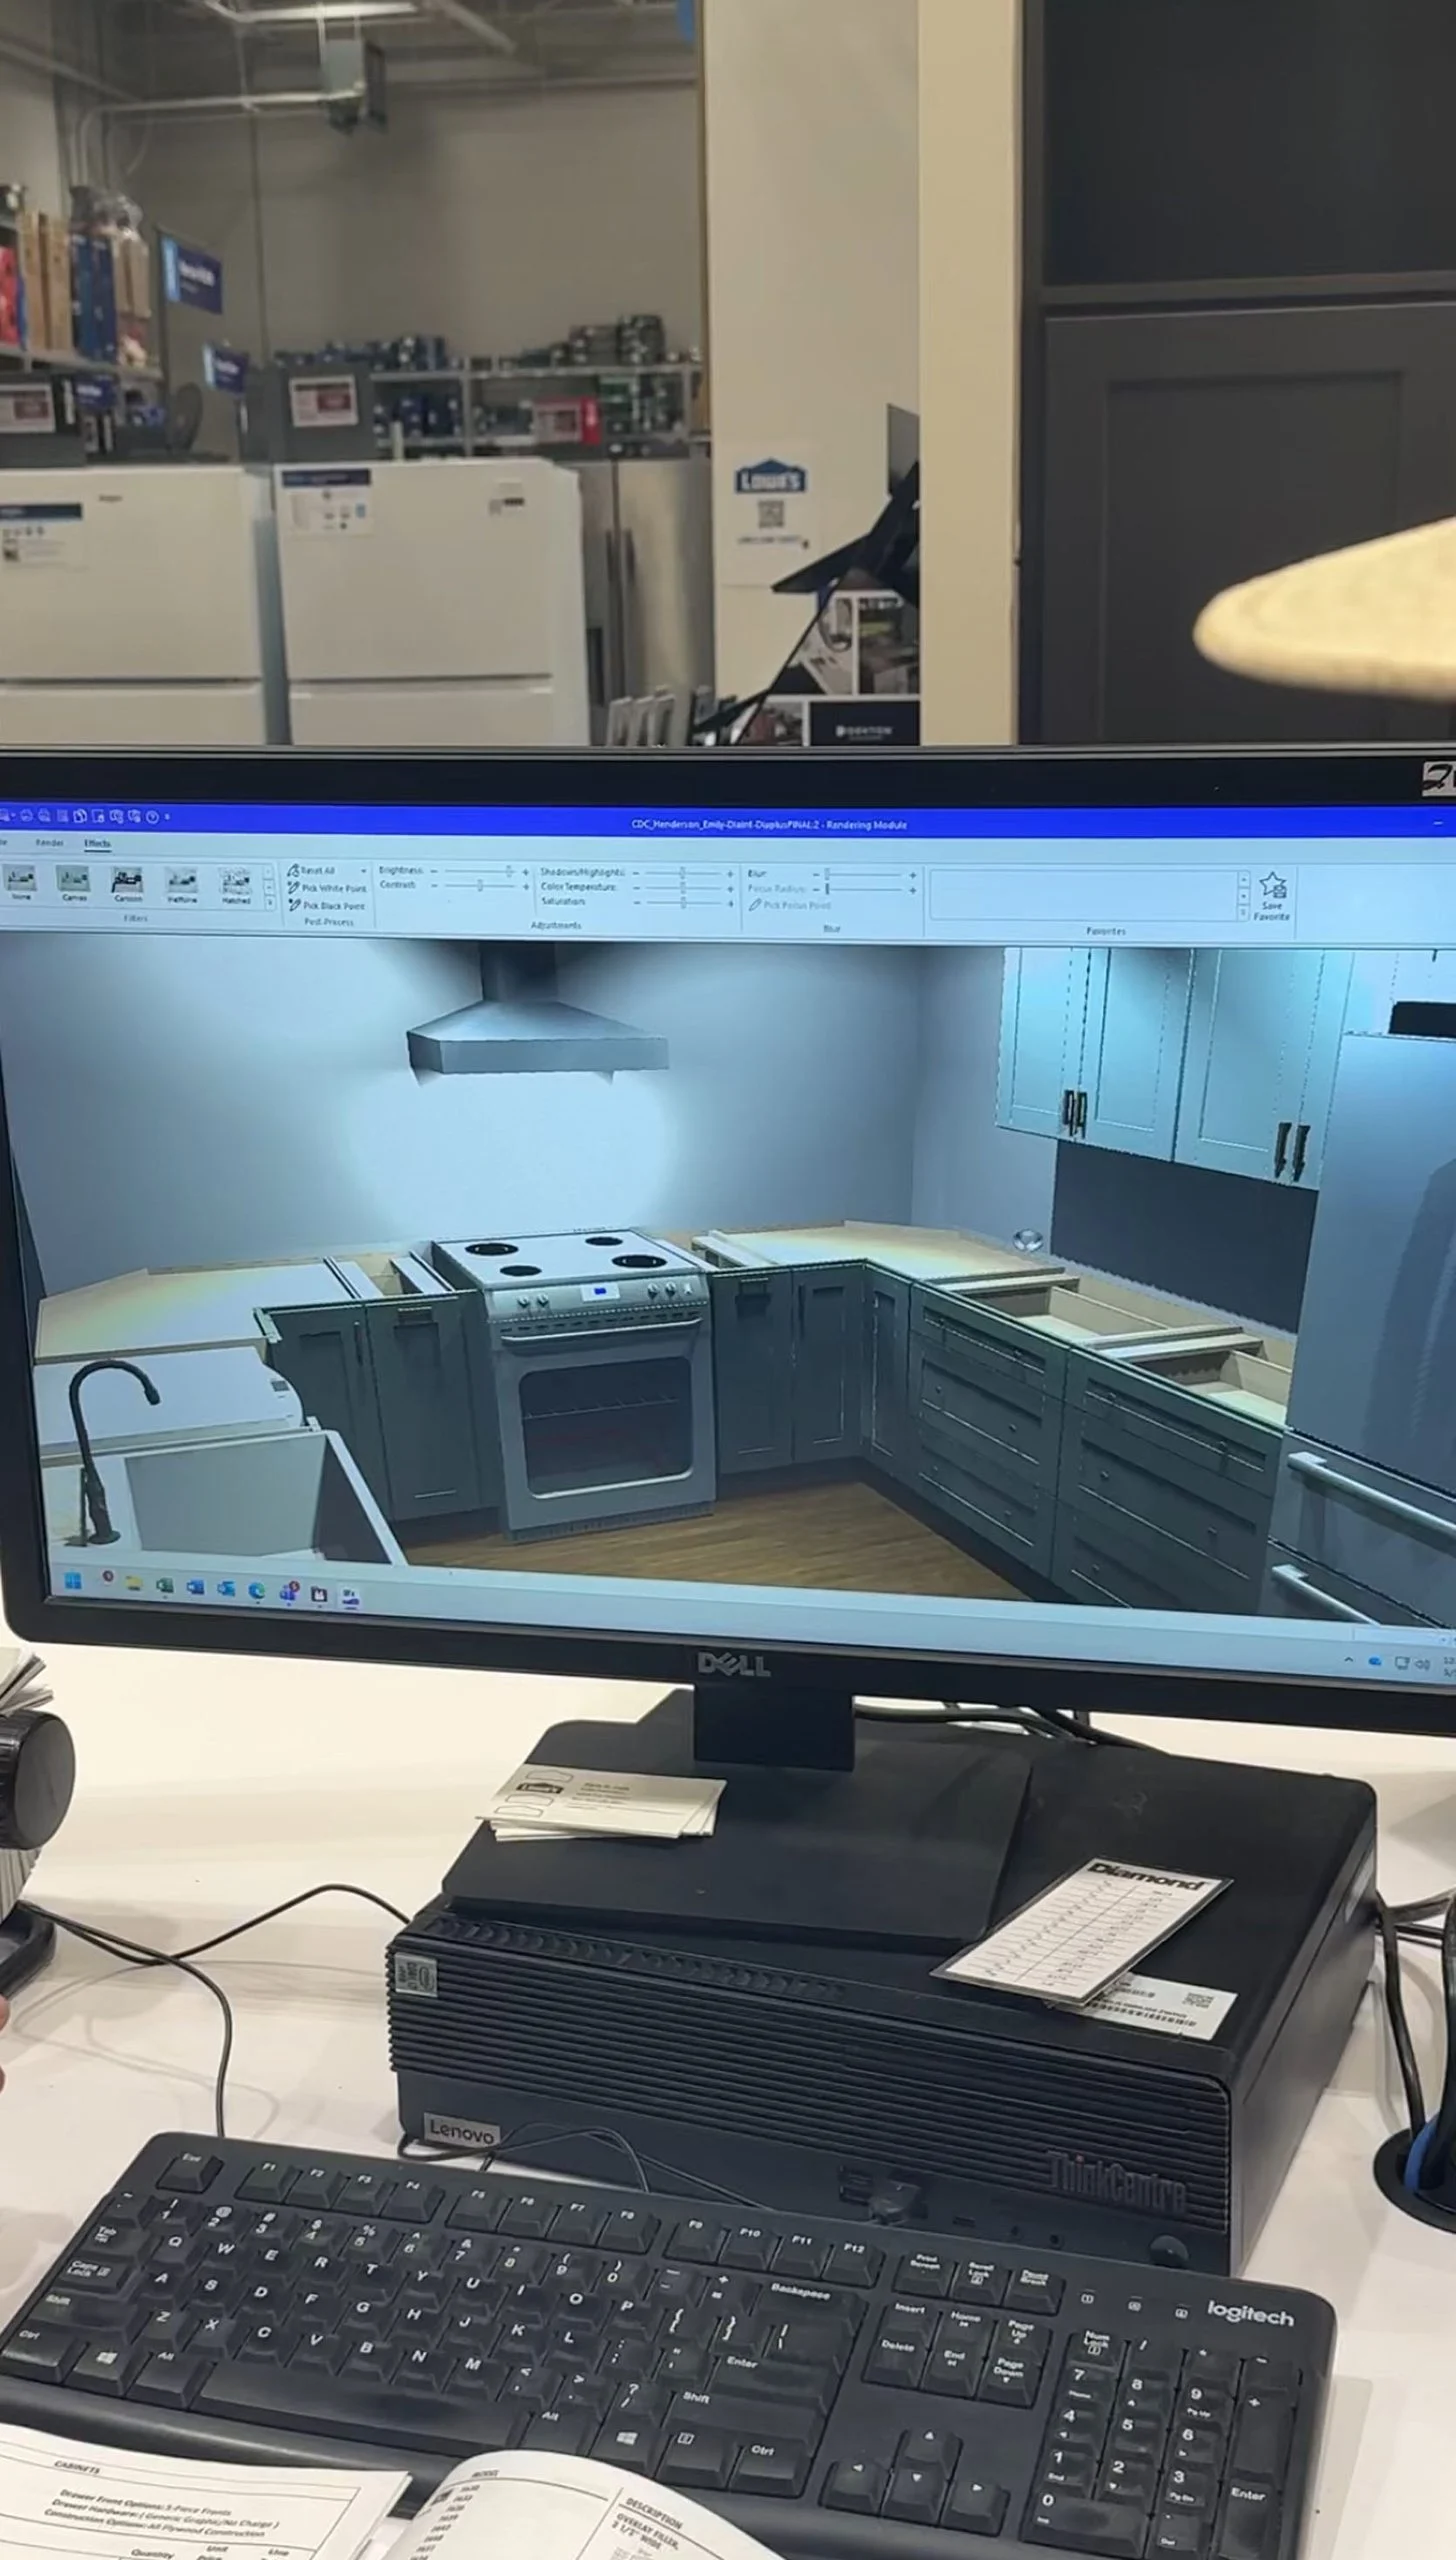
In real time, Chris (our kitchen designer at the Tigard Lowe’s) sat with us in the store and built the kitchen cabinet by cabinet and drawer by drawer, throwing in the exact specs of each appliance, then configuring the remainder of the cabinets to meet all of our needs. I LOVE laying out cabinets and thinking through how my sister would really use each drawer and cabinet.
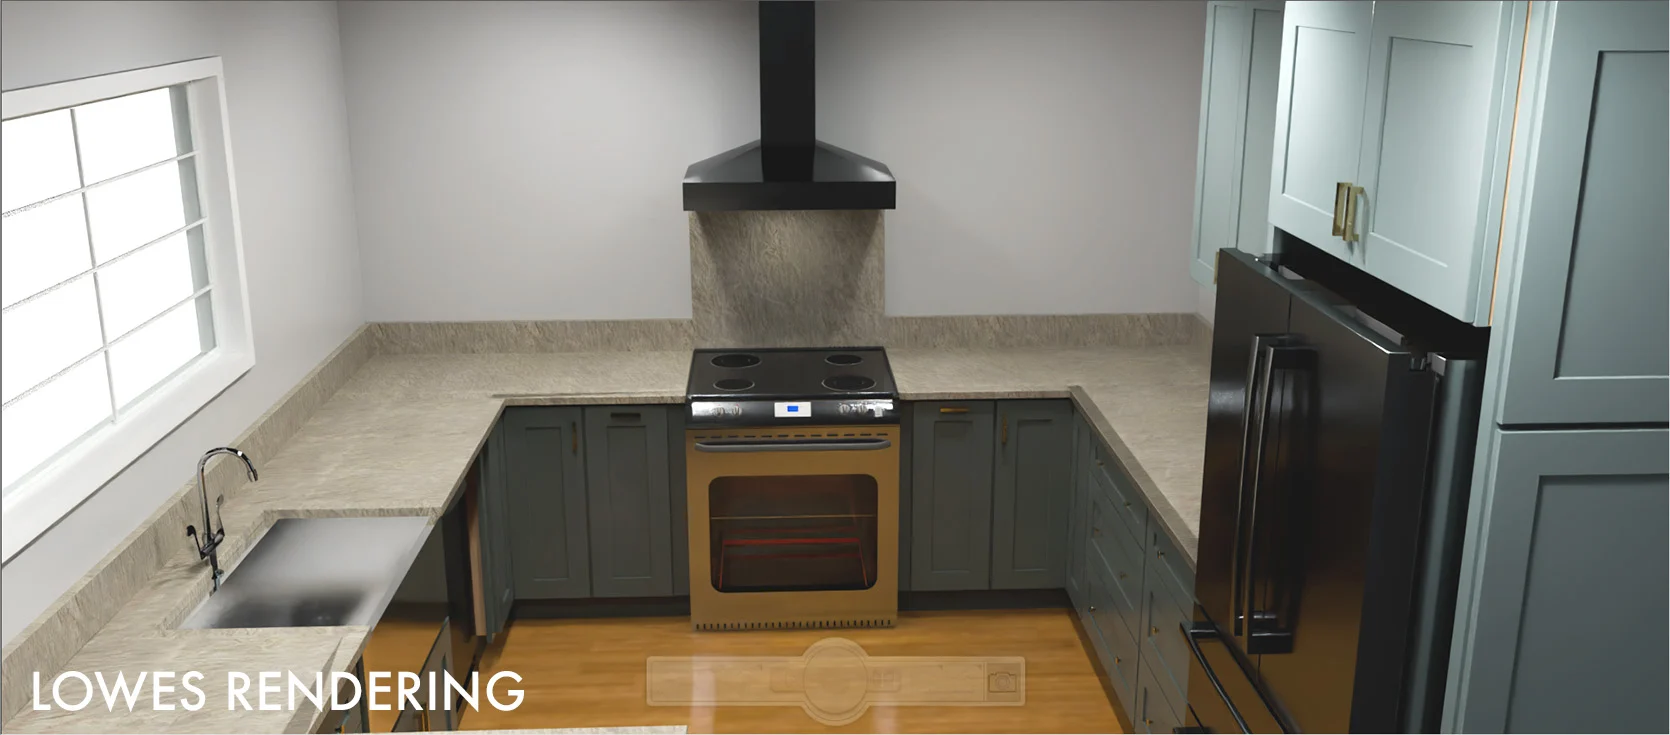
We knew we wanted to flank the range with symmetrical cabinets since it was centered on the wall. So we worked our way out from there, placing things intuitively as you would use them while cooking. The sink would go under the new big window. The fridge, stove, and dishwasher created a little triangle. It all made perfect sense to me.
On Making It Look Custom:
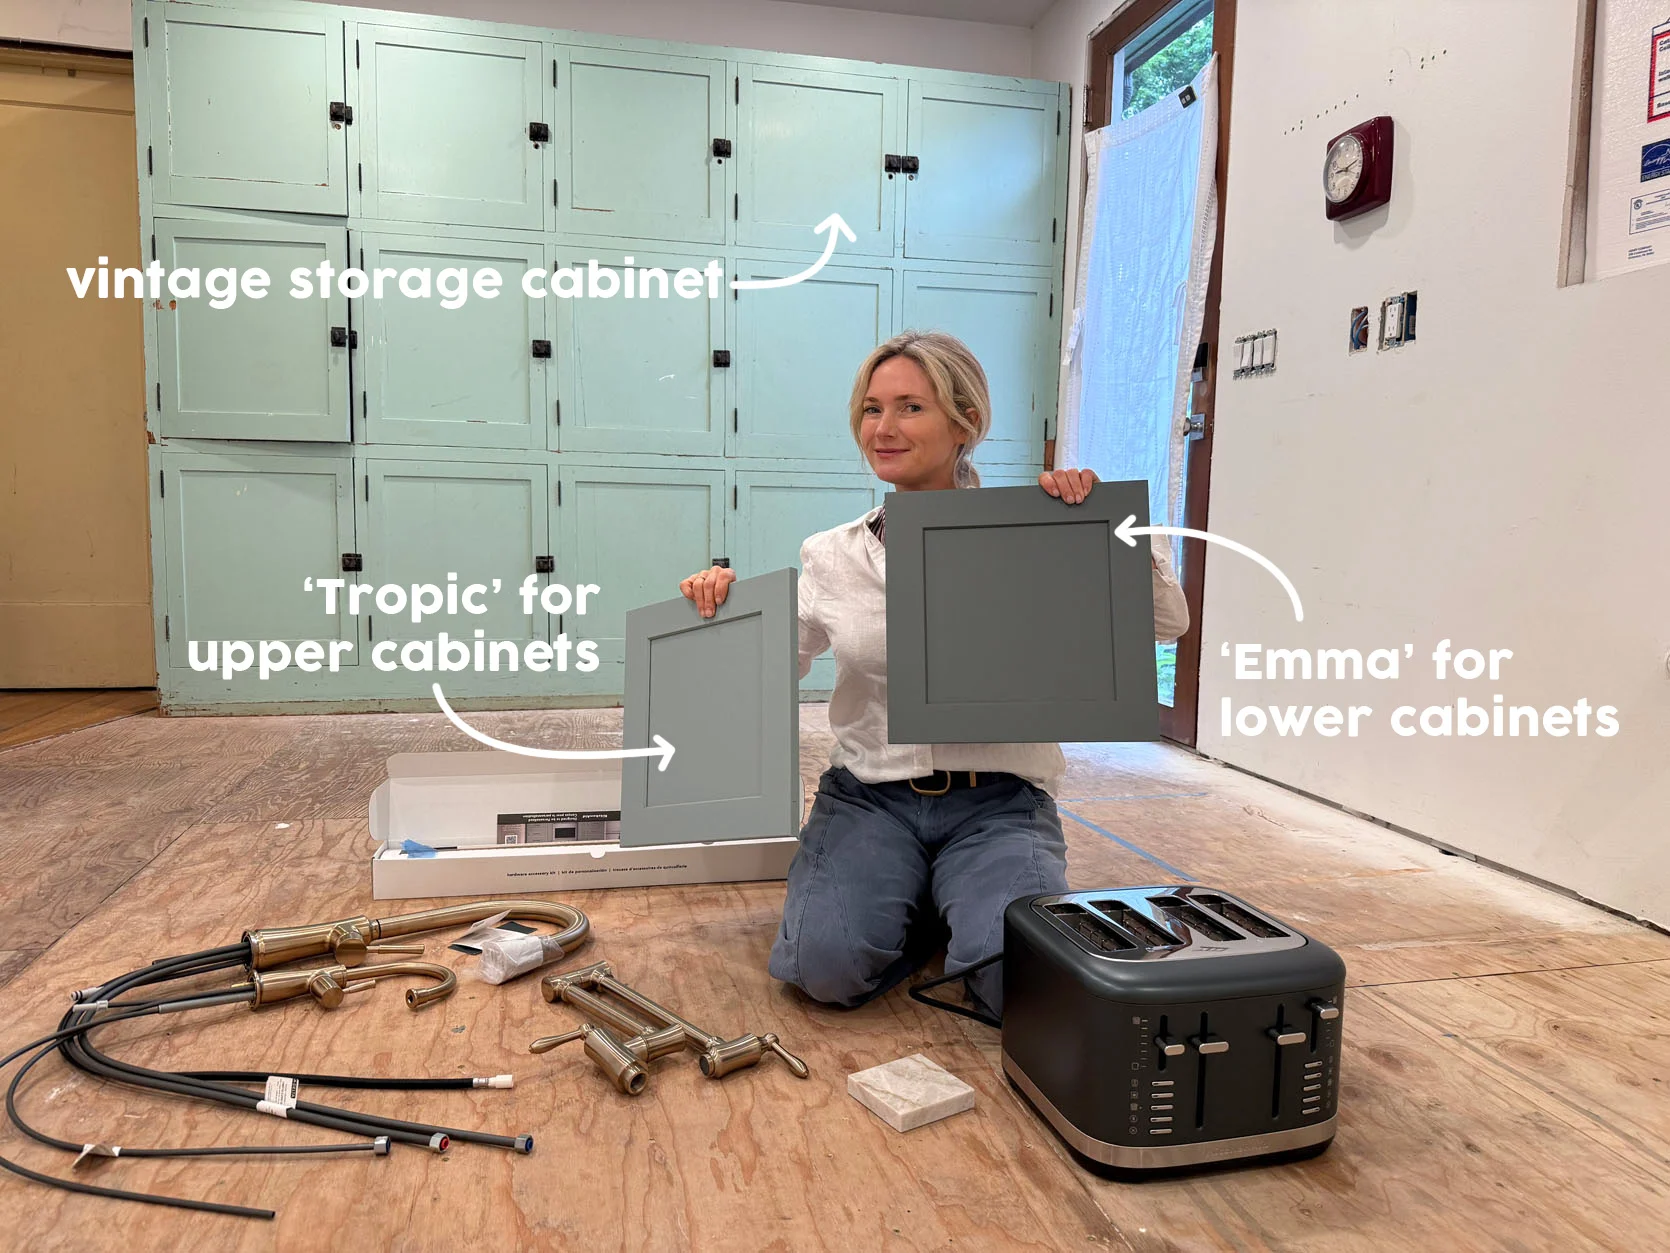
As you know, we all need storage (and they had a whole wall of vintage storage for pantry goods), but you don’t want a small room filled with uppers and lowers (just feels so small and tight). And since my sister wanted to use the product budget to splurge on the real stone, we saved on uppers and only had a couple near the fridge. This felt like a great opportunity to mix colors, but not be high contrast. I’ve done tuxedo cabinets in the past (light on top, dark on bottom), and it’s not my favorite look anymore, but I loved the idea of mixing two different really pretty tones just to add visual interest and an element that looked custom. It was a risk, for sure, but those risks are what can take a kitchen from builder-grade to looking more high-end, imho.
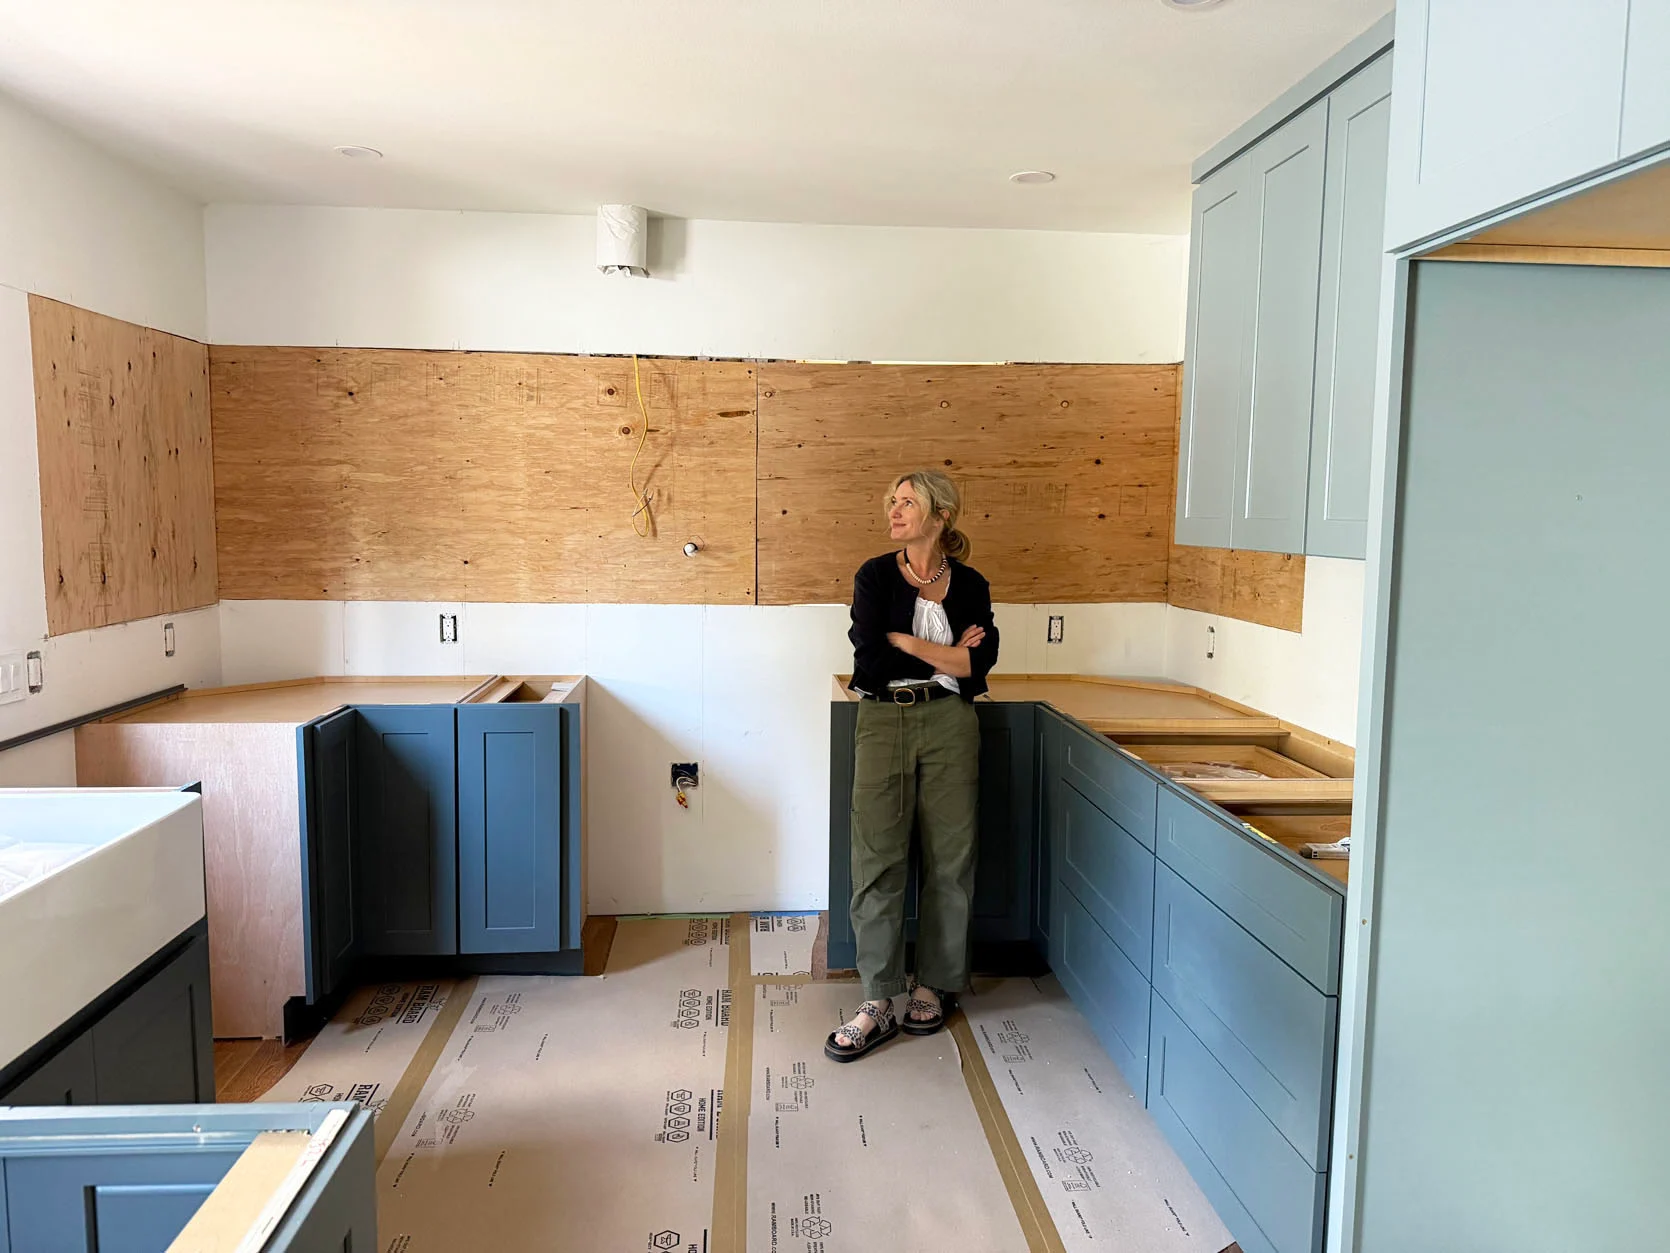
We actually mixed two different lines from Lowe’s because they really have something for all budgets. As you go up in budget, you have more options for colors, profiles, and bells and whistles, but we were super impressed with the starting line as well. We chose from their Diamond Intermediate line for the bottom in color “Emma” and from their Diamond Express line for the uppers in “Tropic”, with matching door profiles in the style “Gresham”, which is one of their shaker-style door fronts. Both looked really pretty with the Juniper green appliances. We were extremely impressed with the colors, styles, and quality. We chose flat overlay, which was perfectly executed and looks so streamlined (I know that “inset” is the cabinet profile du jour, but let this be an official announcement that a well-executed flat overlay can be just as good, on a much lower budget).
Choosing Flooring That Worked With Their Original Vintage Flooring:
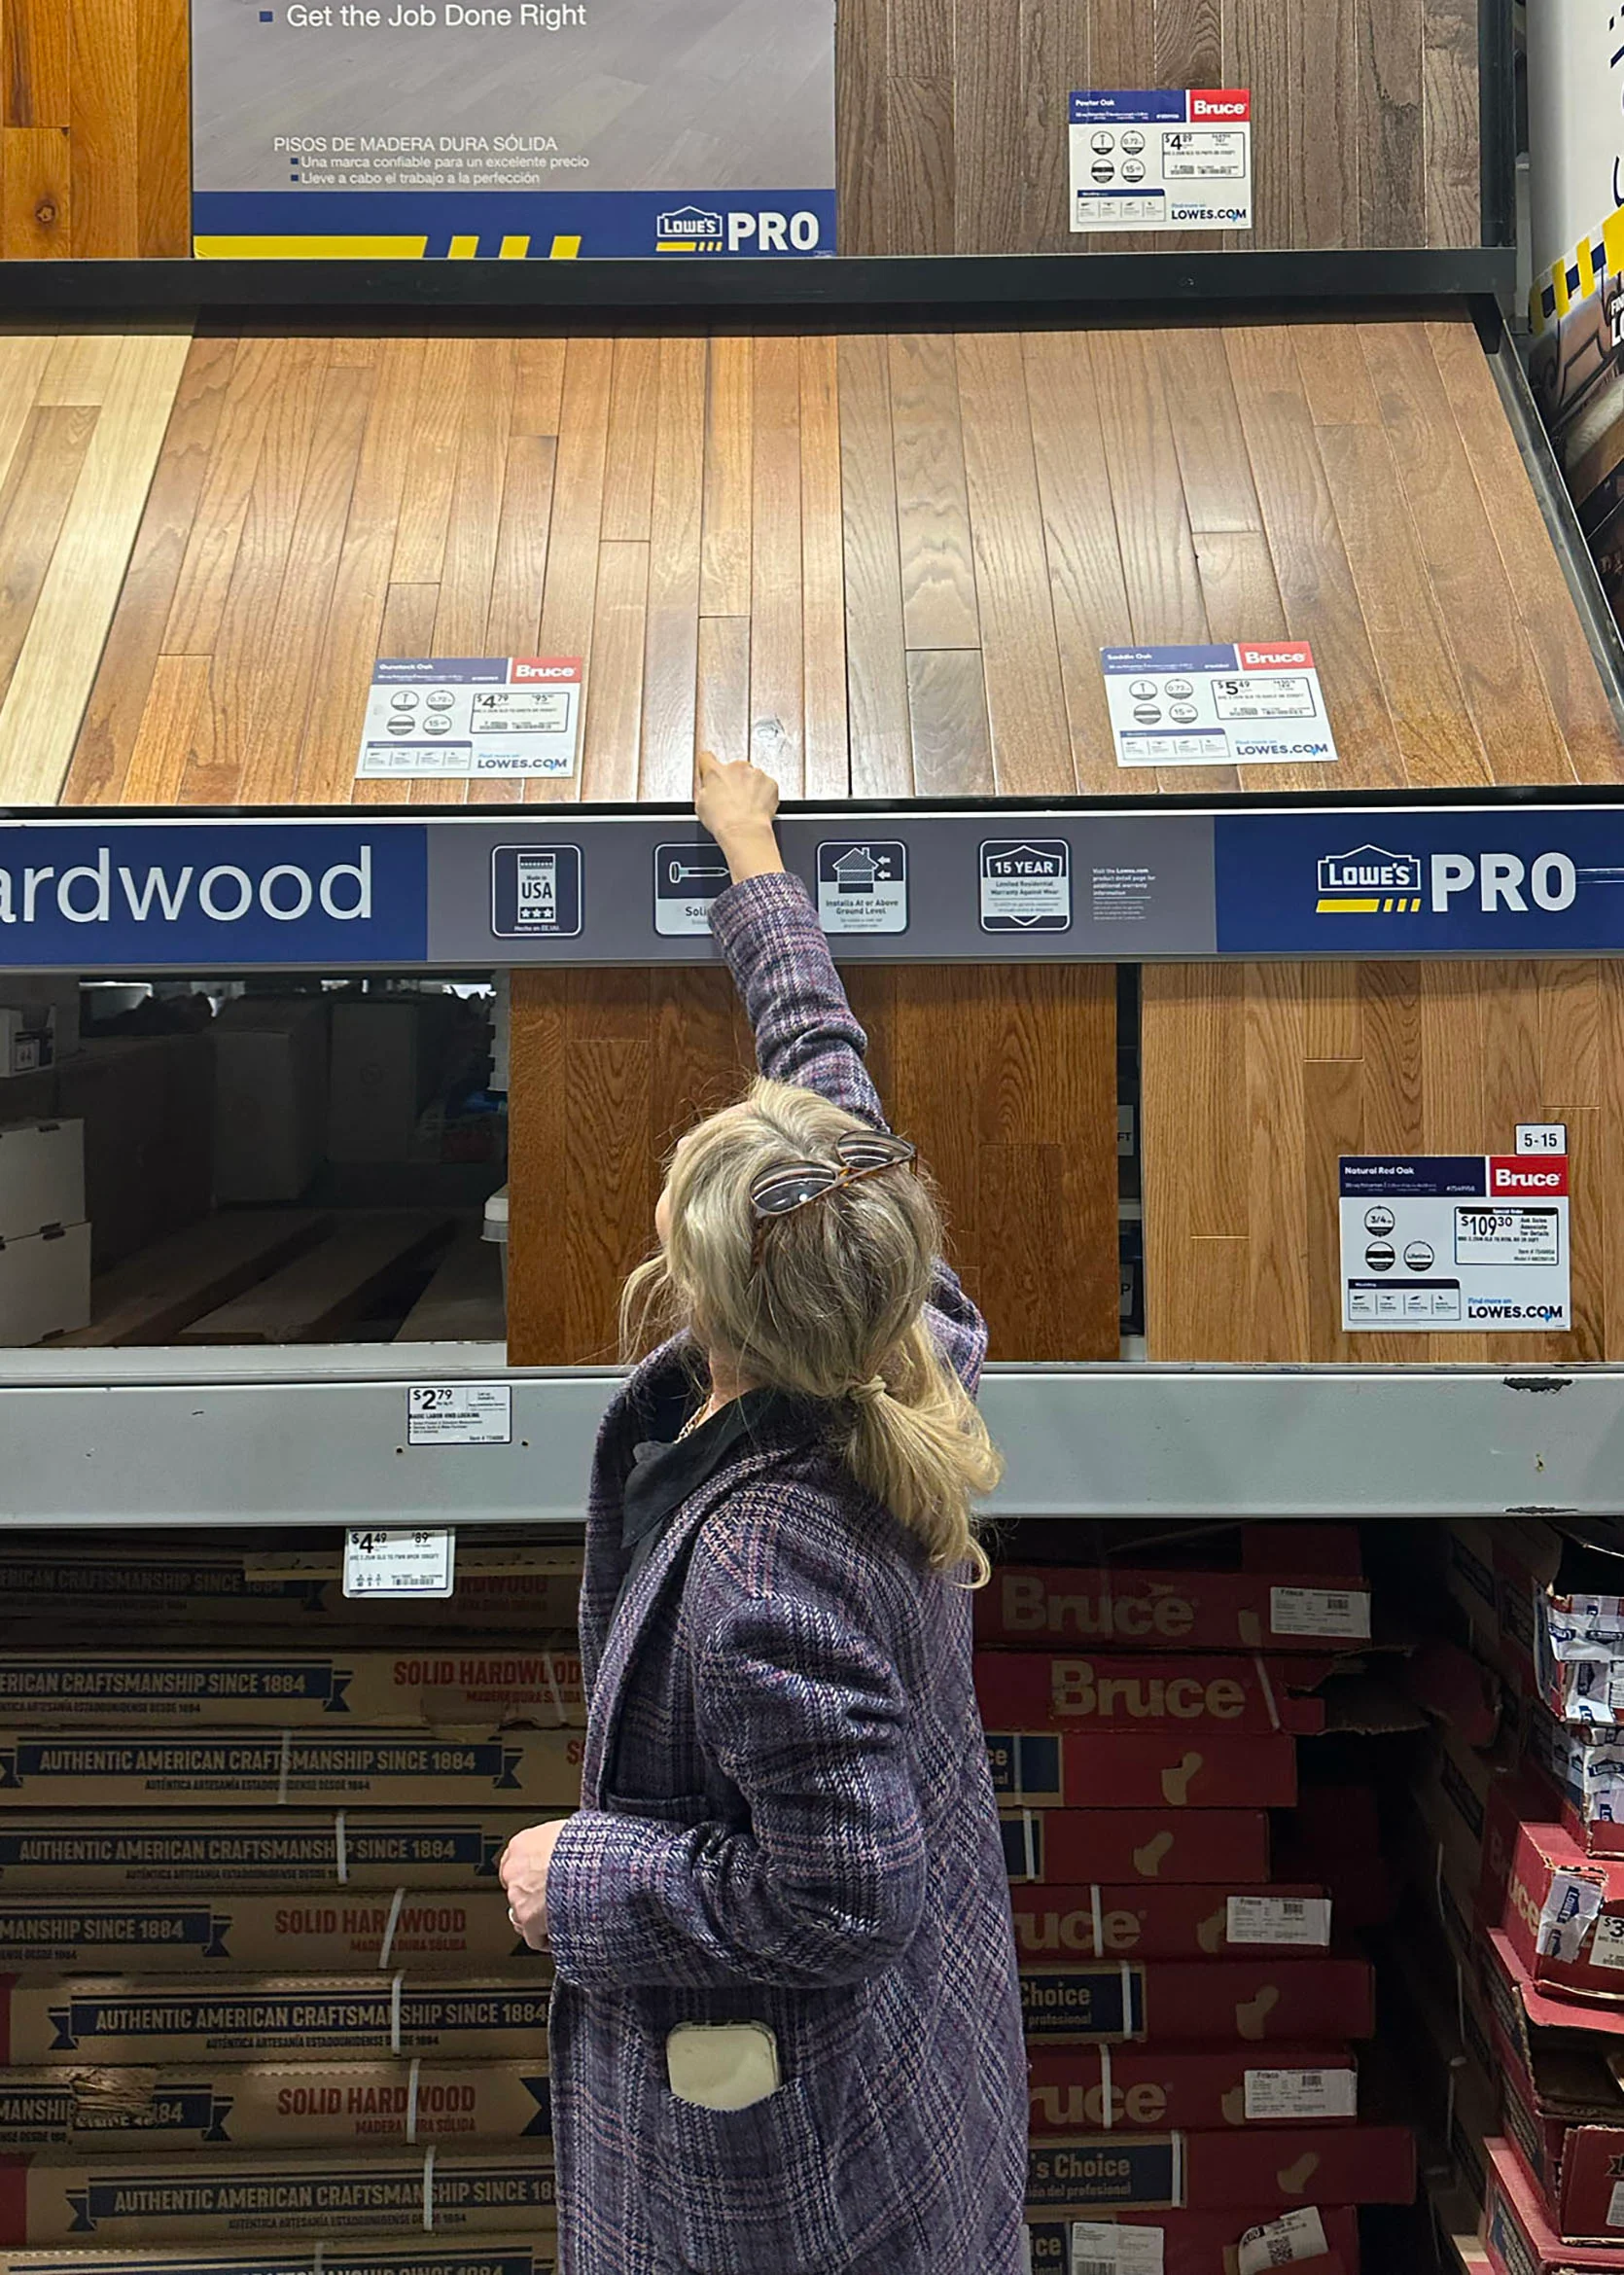
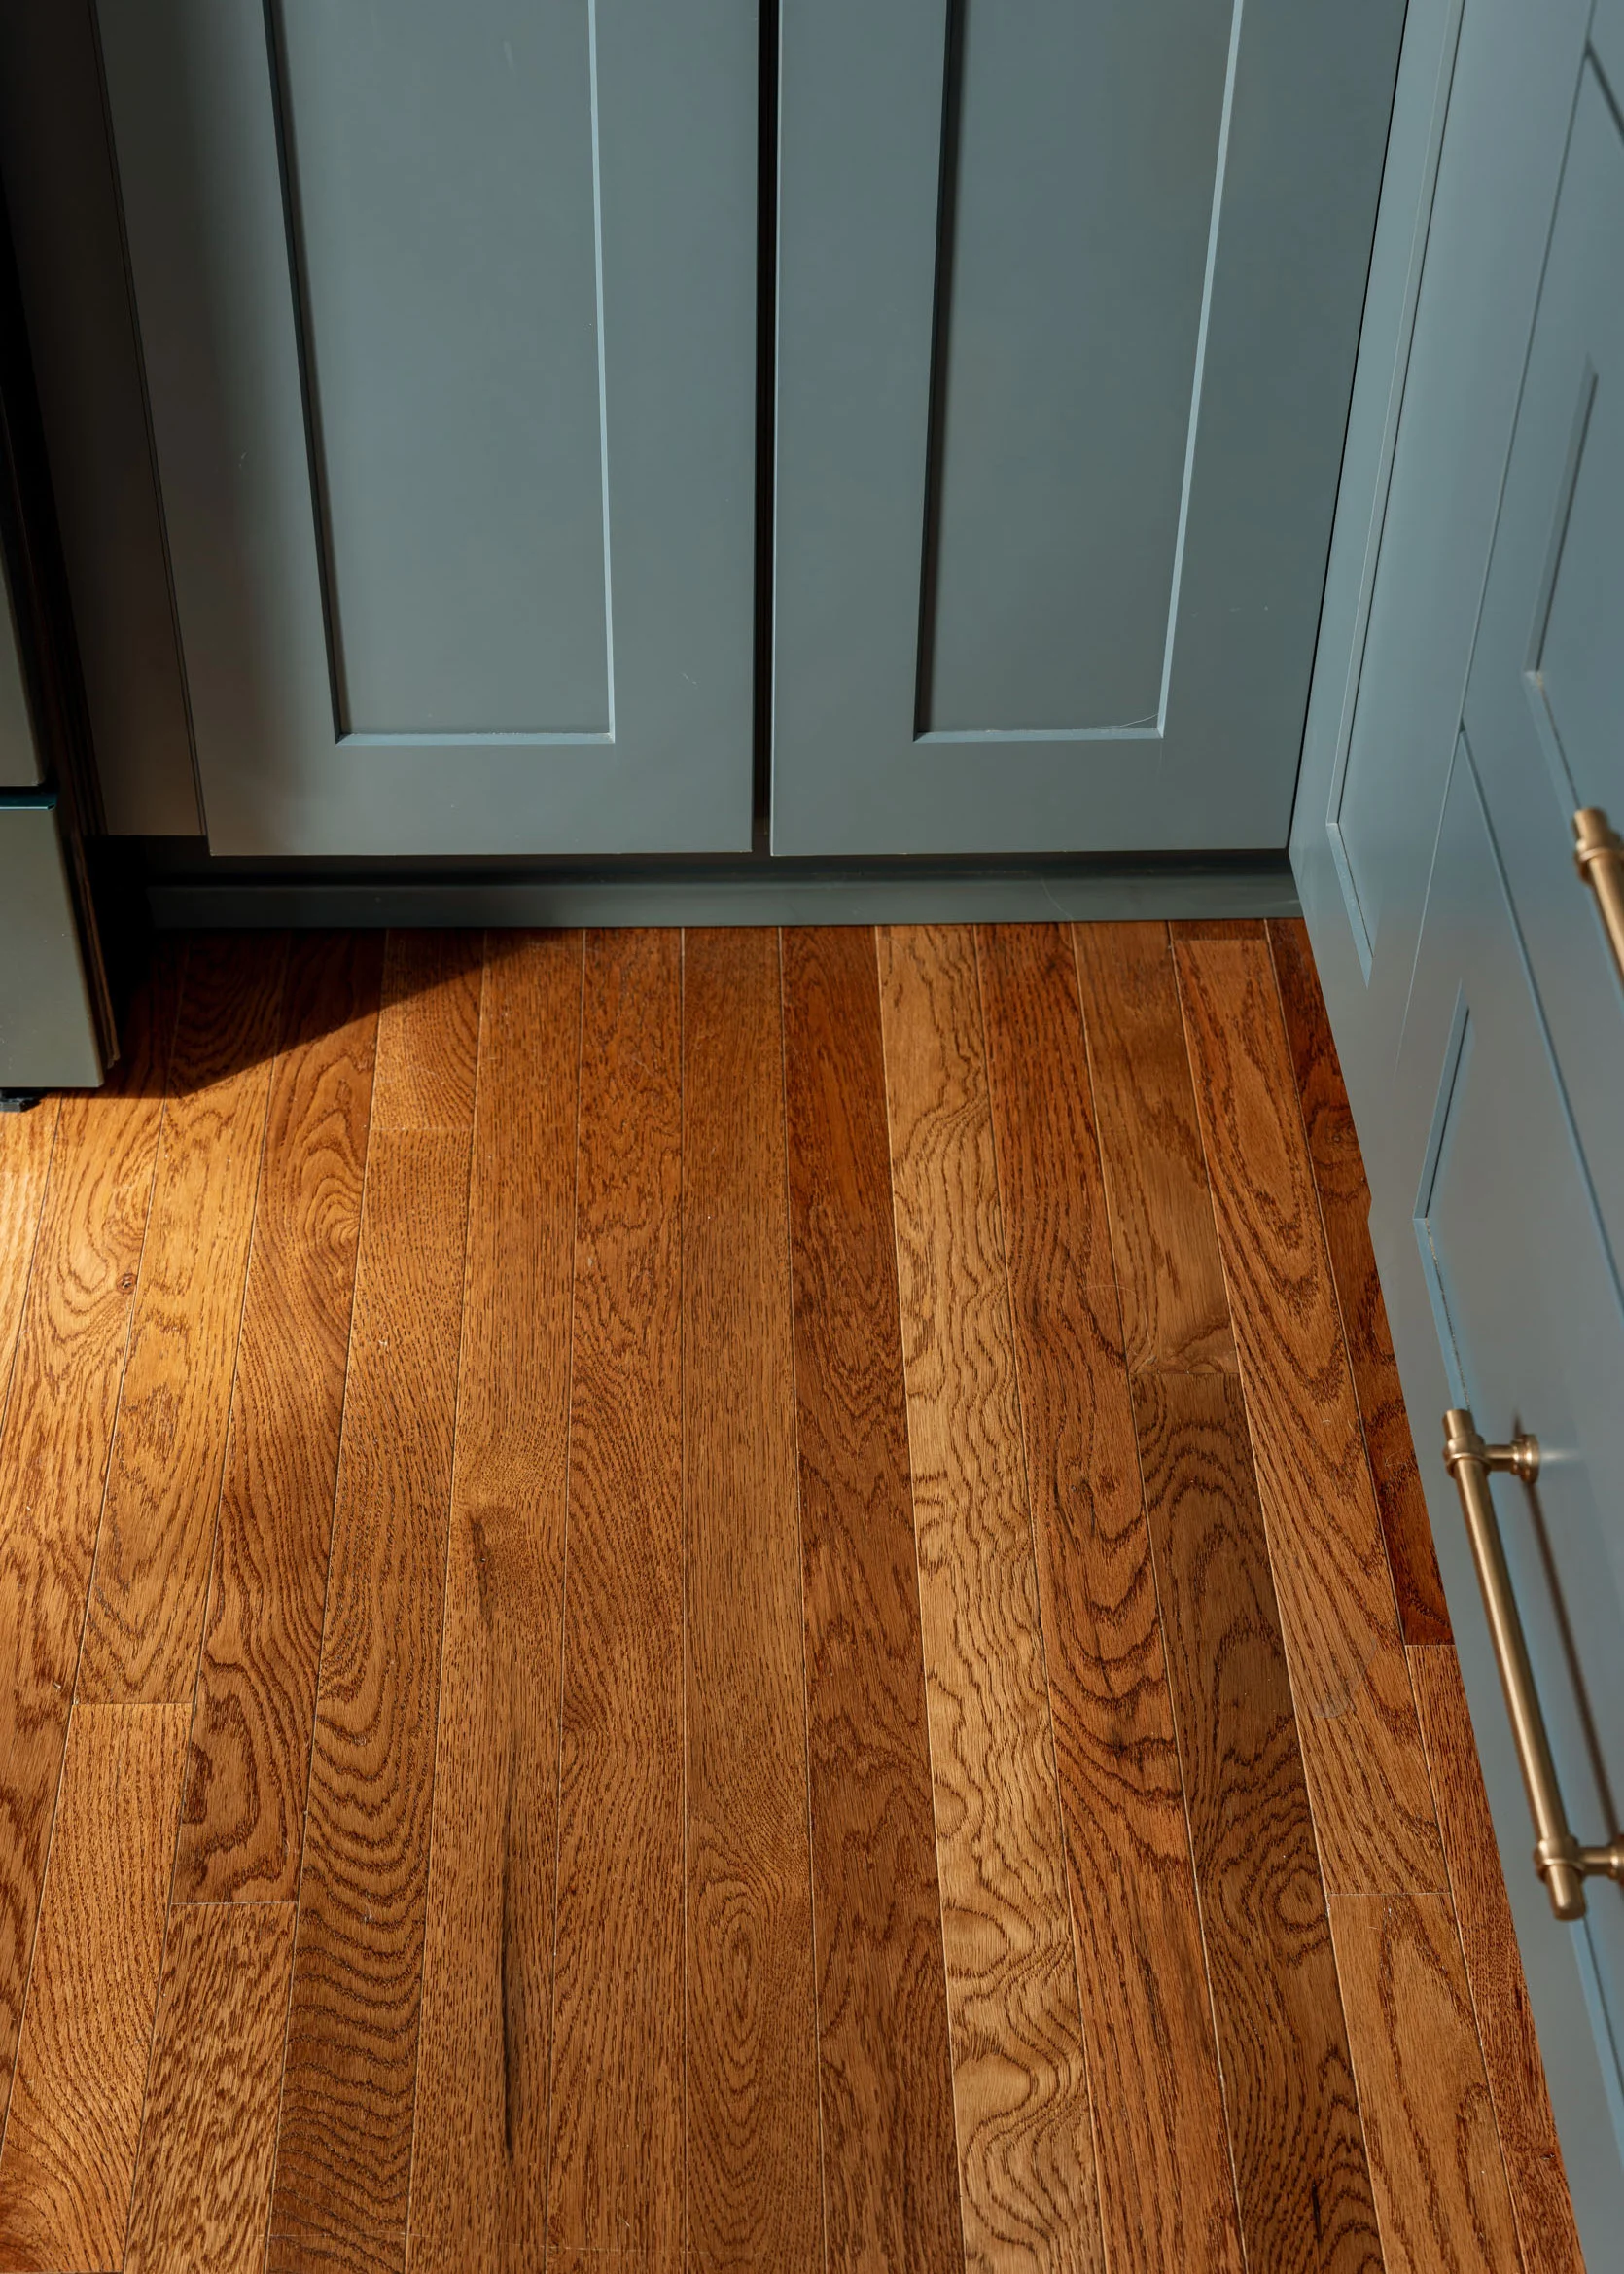
I was nervous about this one. Their house is vintage, and the rest of their flooring is the classic 2 1/2″ red oak. The kitchen only had subfloor, and Garen and Michelle had planned for tile, but with the new budget constraints, we knew that tile install would be $3-4k in labor for the whole floor unless we chose something big and generic. So we pivoted to wood flooring and, after looking at samples, decided on Bruce Solid Hardwood in “Fawn Oak” – which I thought looked close enough to the rest of their house, a classic 3″ red oak tongue and groove.
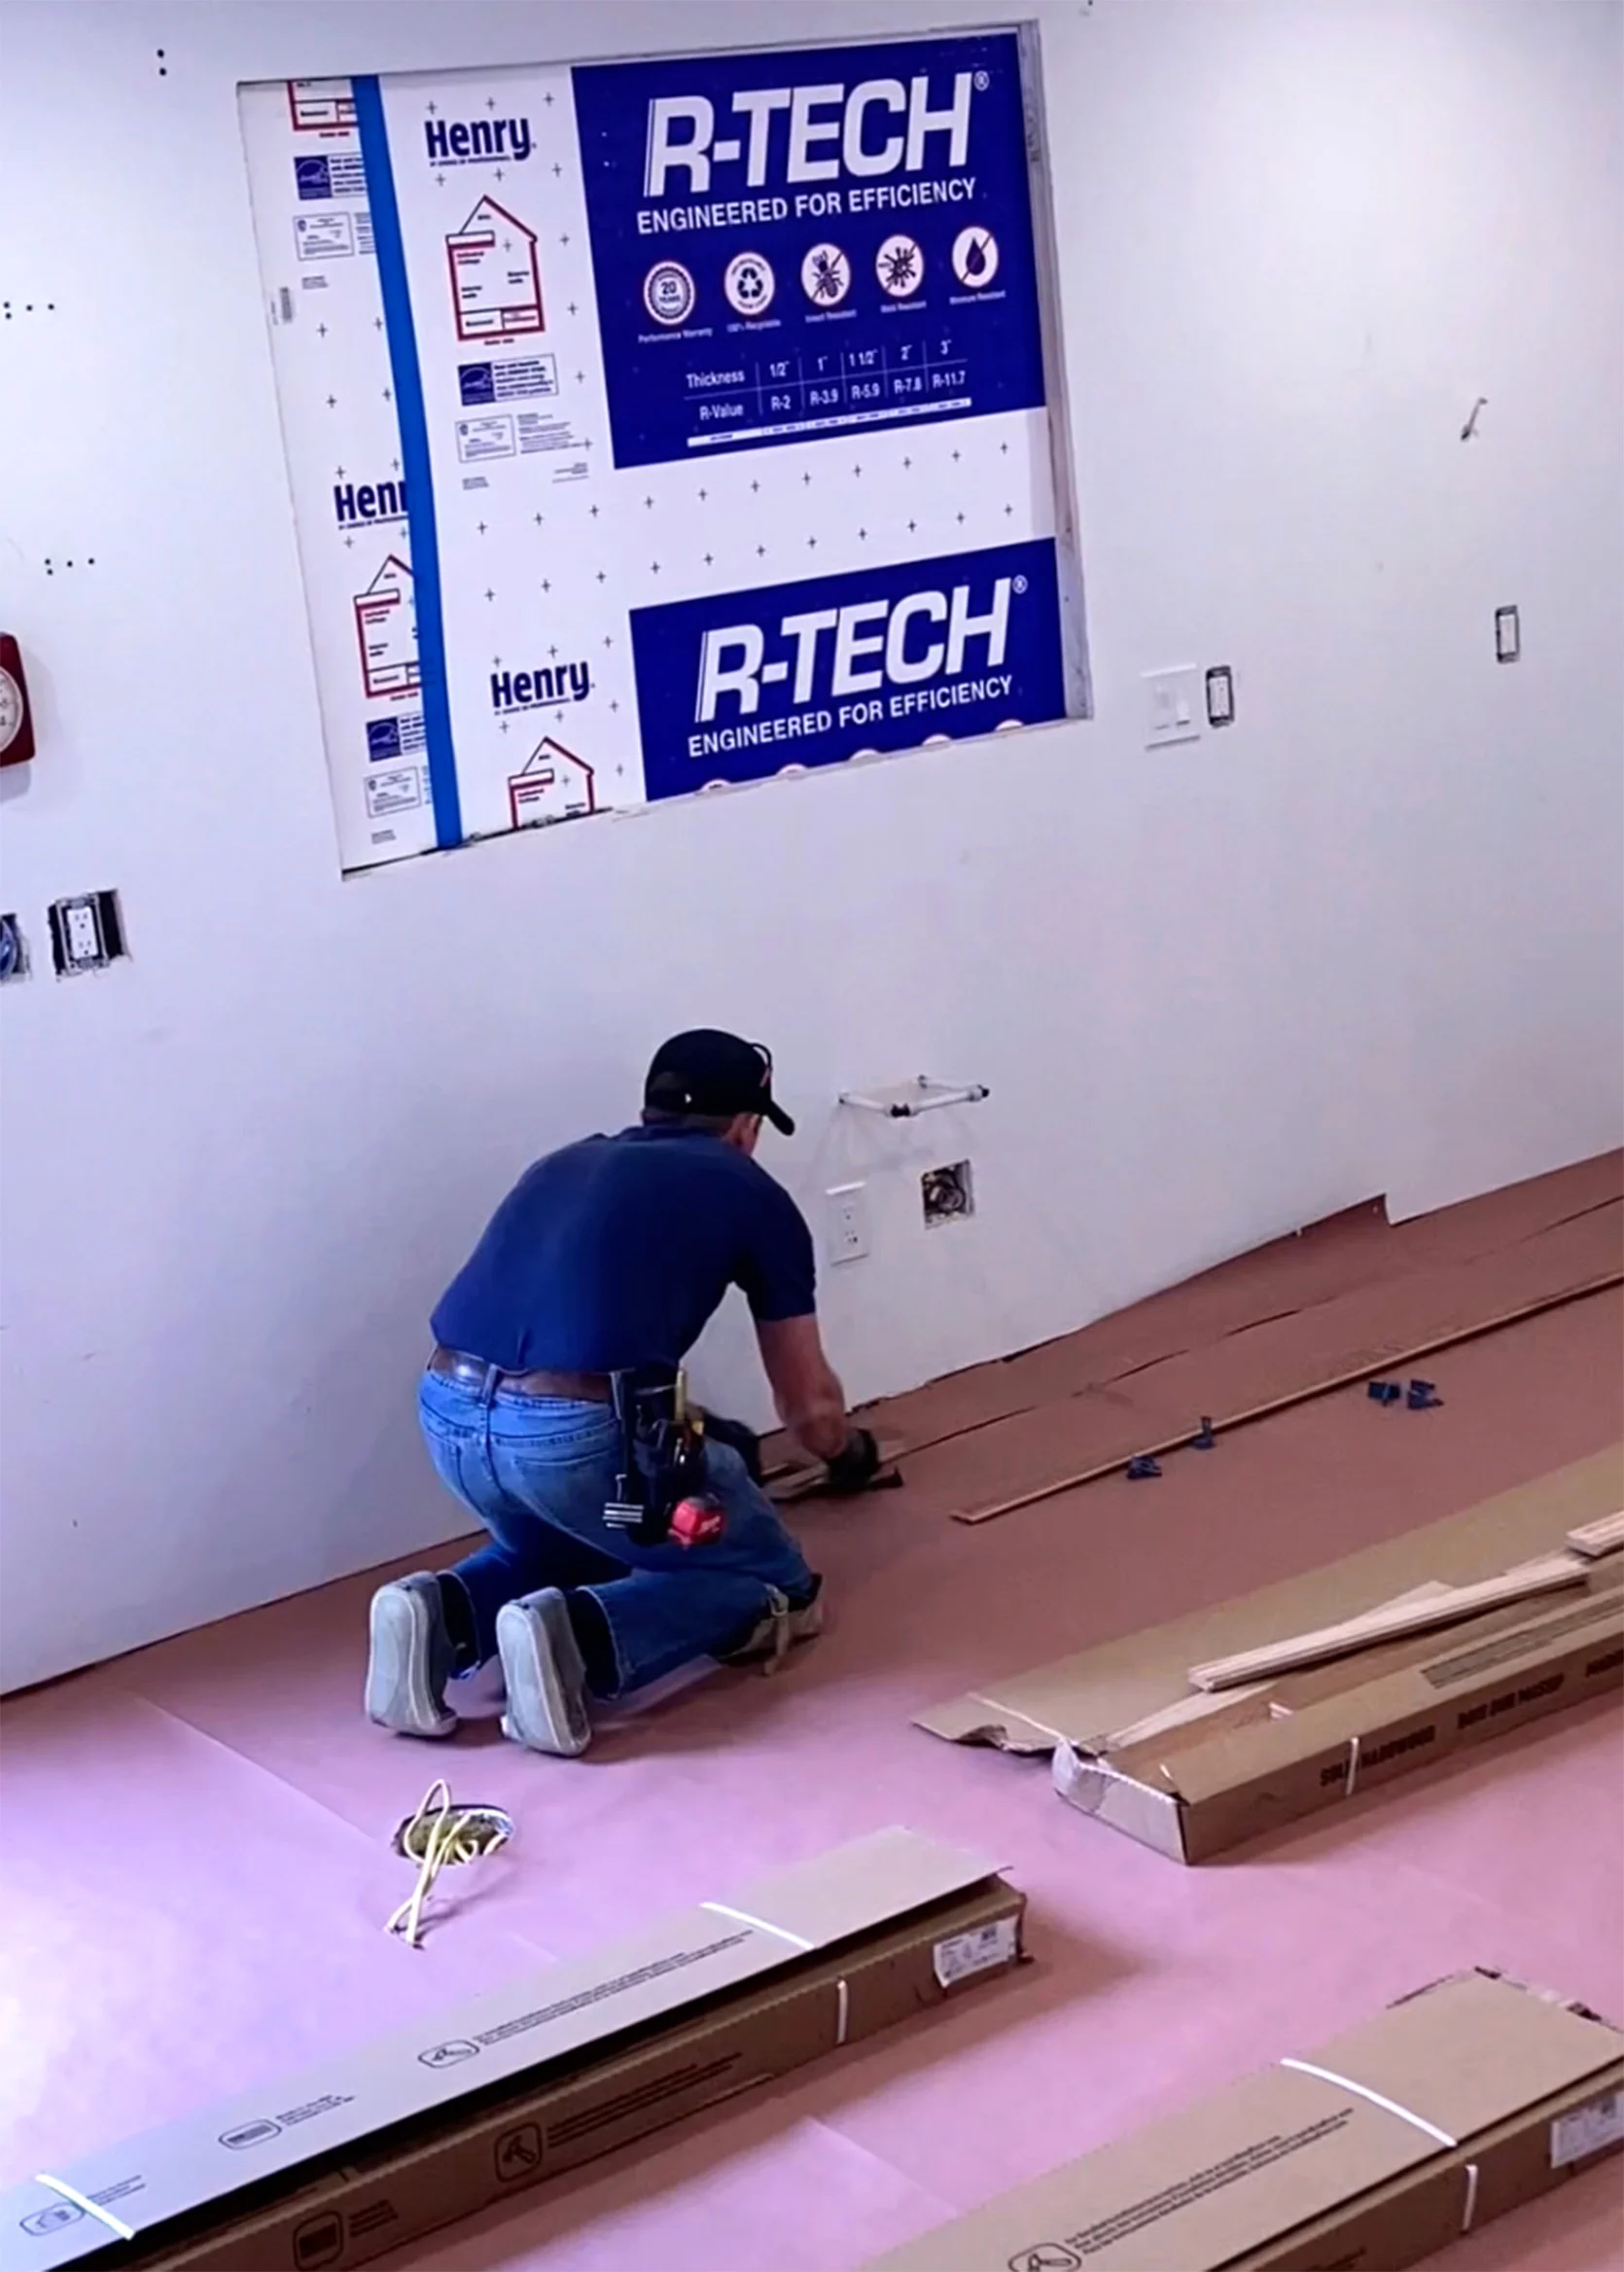
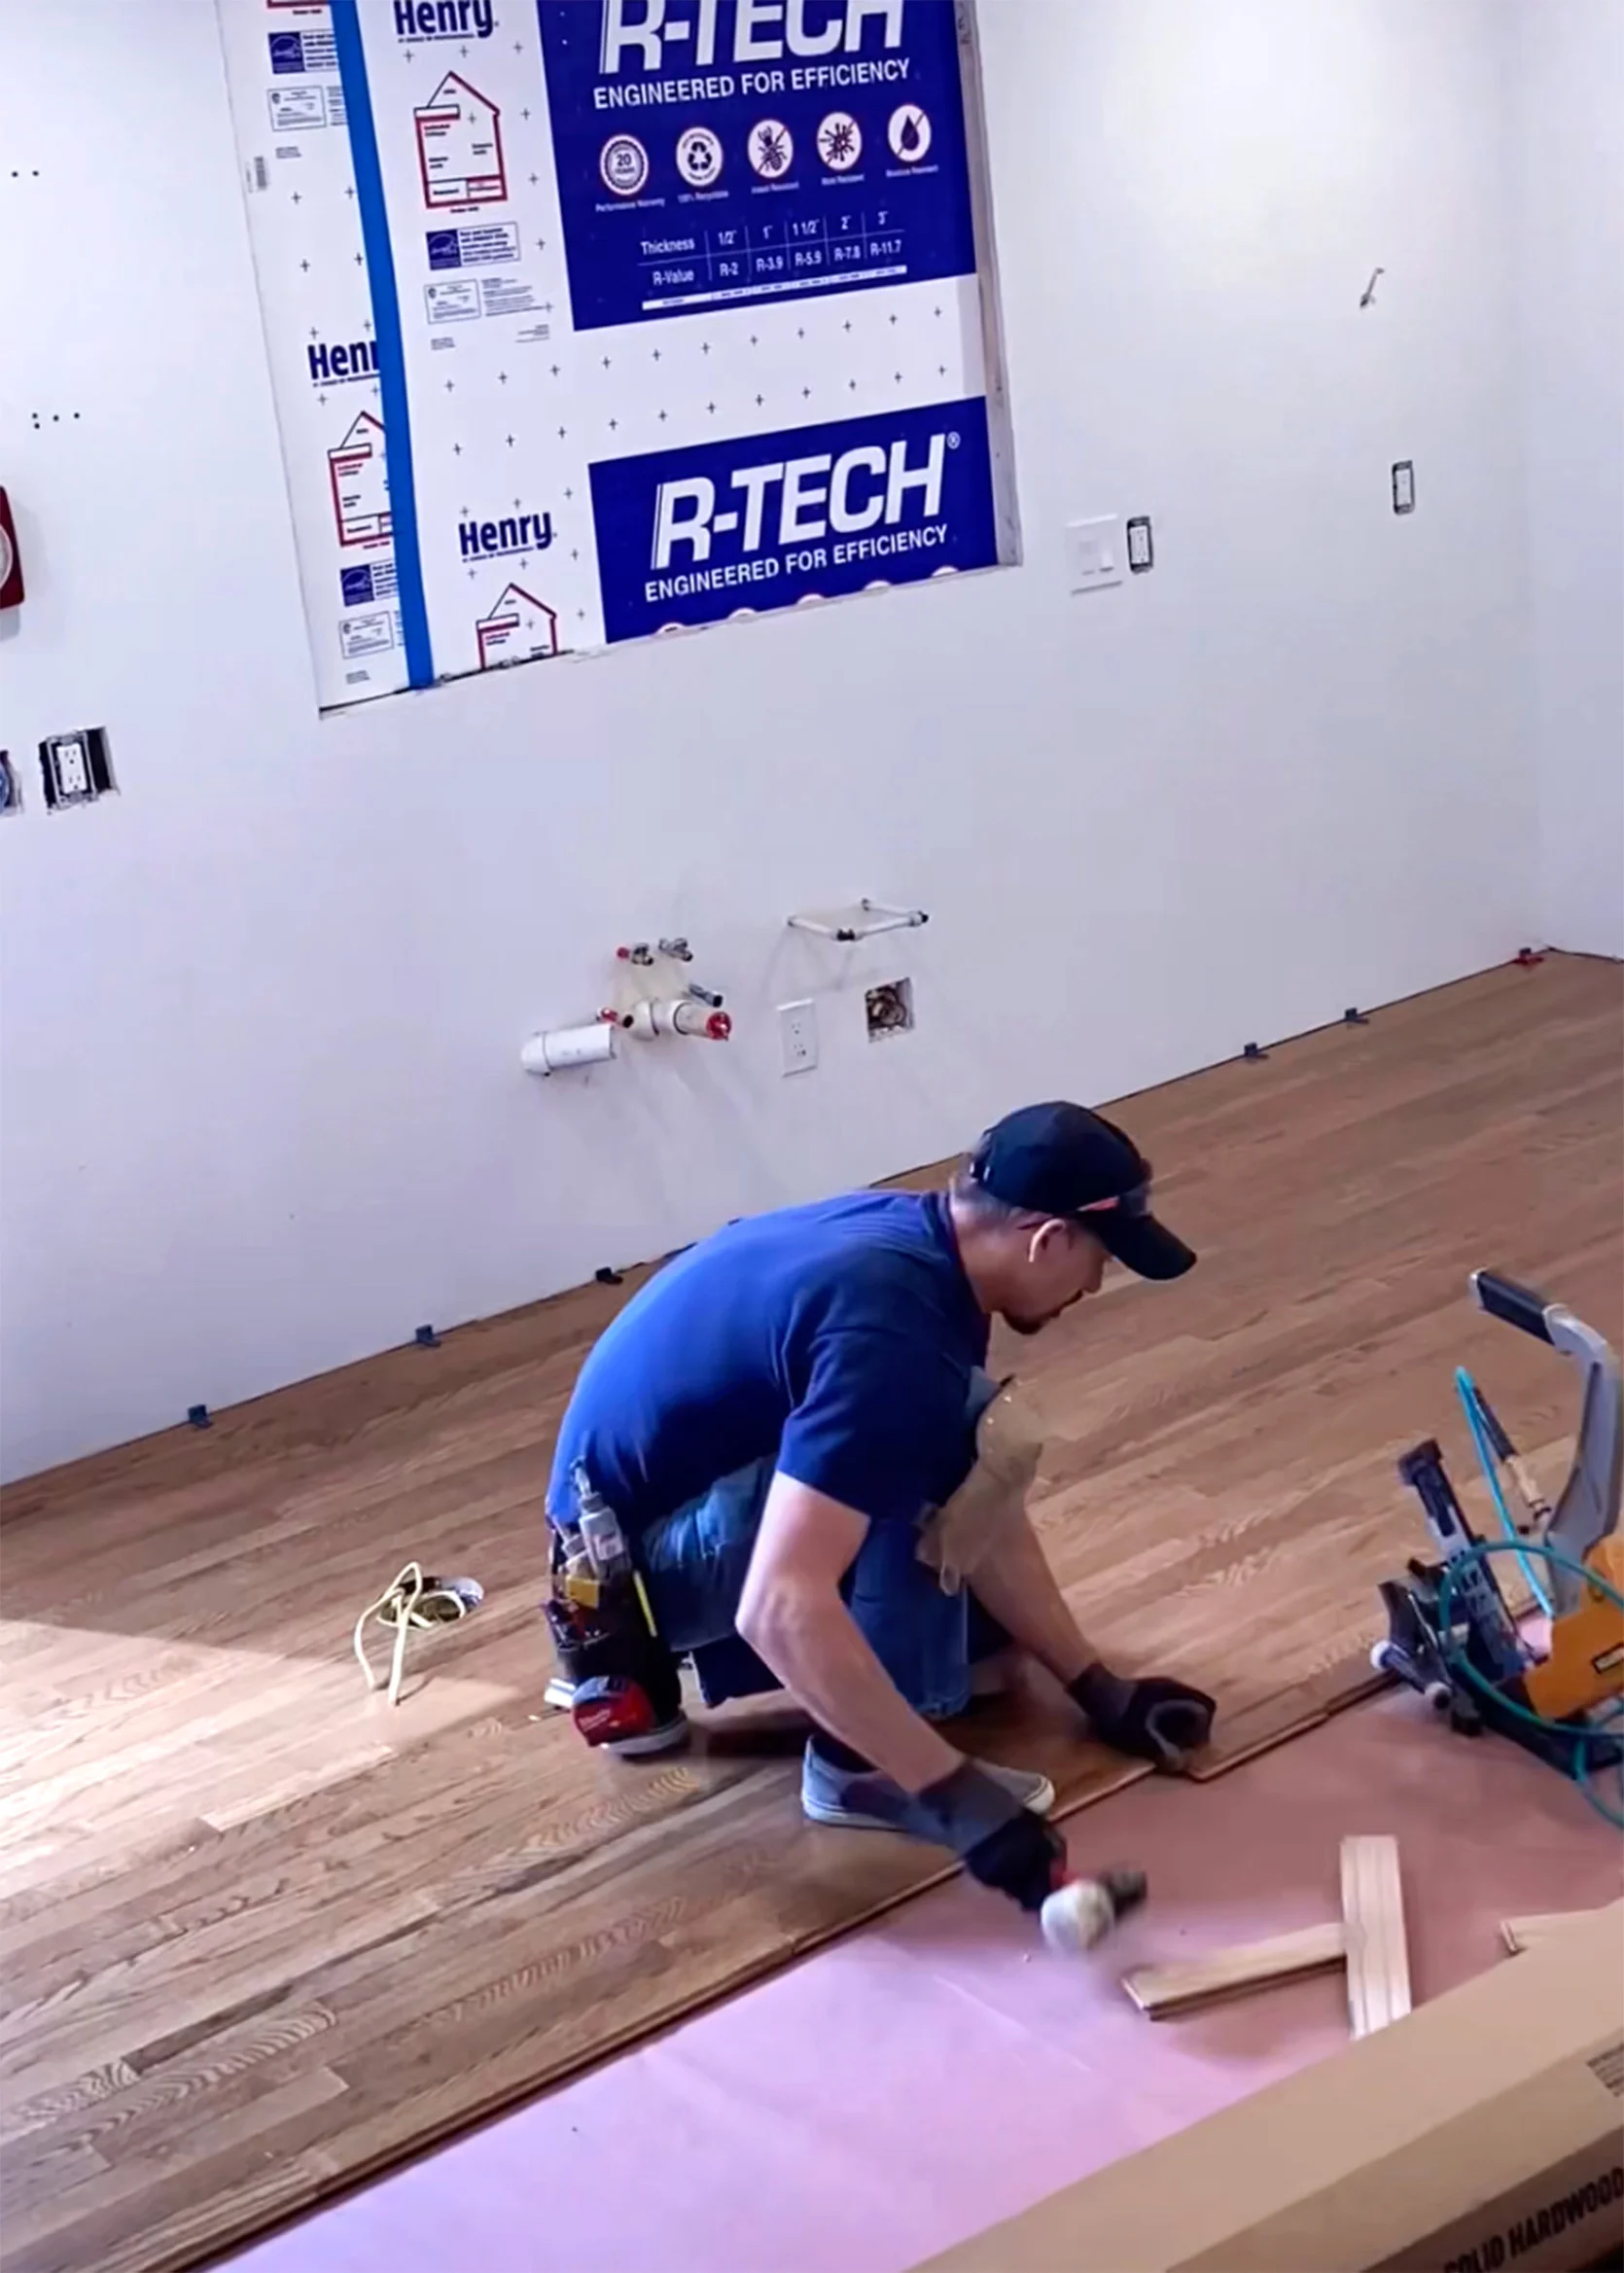
Lowe’s customer service set up the flooring install date a week later, and one talented guy came out and installed it all in ONE DAY. It looked incredible. I knew it was real wood, sure, but I was slightly worried that once we got it down it would look too shiny or the stain would read weird (as a snob, I had fears about $5/square foot wood not looking fake). Y’all, it’s just so pretty – the perfect warm, dark tone with a lot of color variation (but not too much). If you are trying to match your vintage 2-3″ red oak flooring (which is super typical for that age of house), I’m telling you, this “Fawn Oak” from Lowe’s is a fantastic option.
Real Stone Countertops:
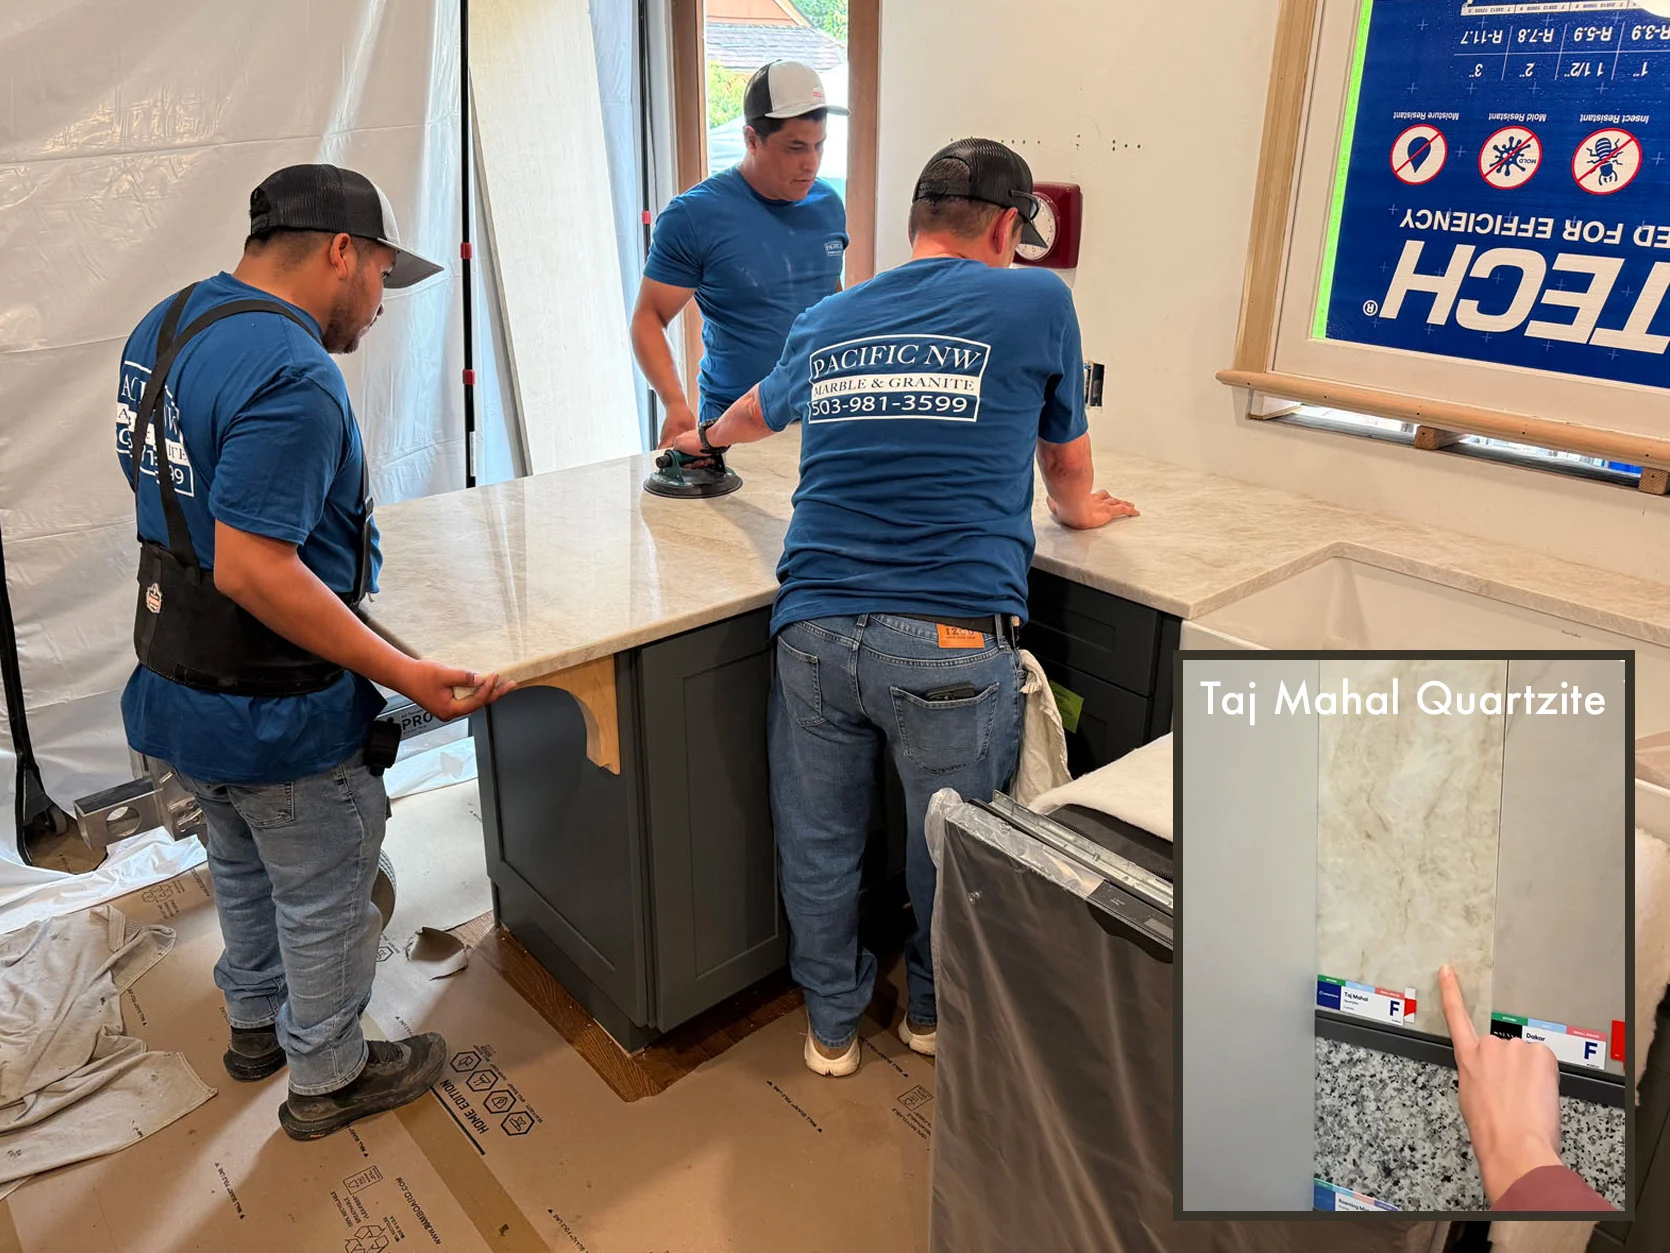
I thought we’d for sure go for an engineered stone for budget reasons, but as we were pulling together the elements, my sister really, really, really wanted real stone (vintage house = older materials), so we moved some things around (fewer upper cabinets = more $$ for stone). I honestly didn’t know that Lowe’s had real stone options, let alone a way to coordinate fabrication and installation. So this is the one product that we splurged on in our budget, and boy does it look beautiful (we knew that it would be our backsplash, so it couldn’t be generic – we needed the real veins). We chose a polished Taj Mahal that had really warm cream, taupe, and golden veining that warmed up all the blue and green and pulled in the wood and brass elements.
Plumbing Fixtures:
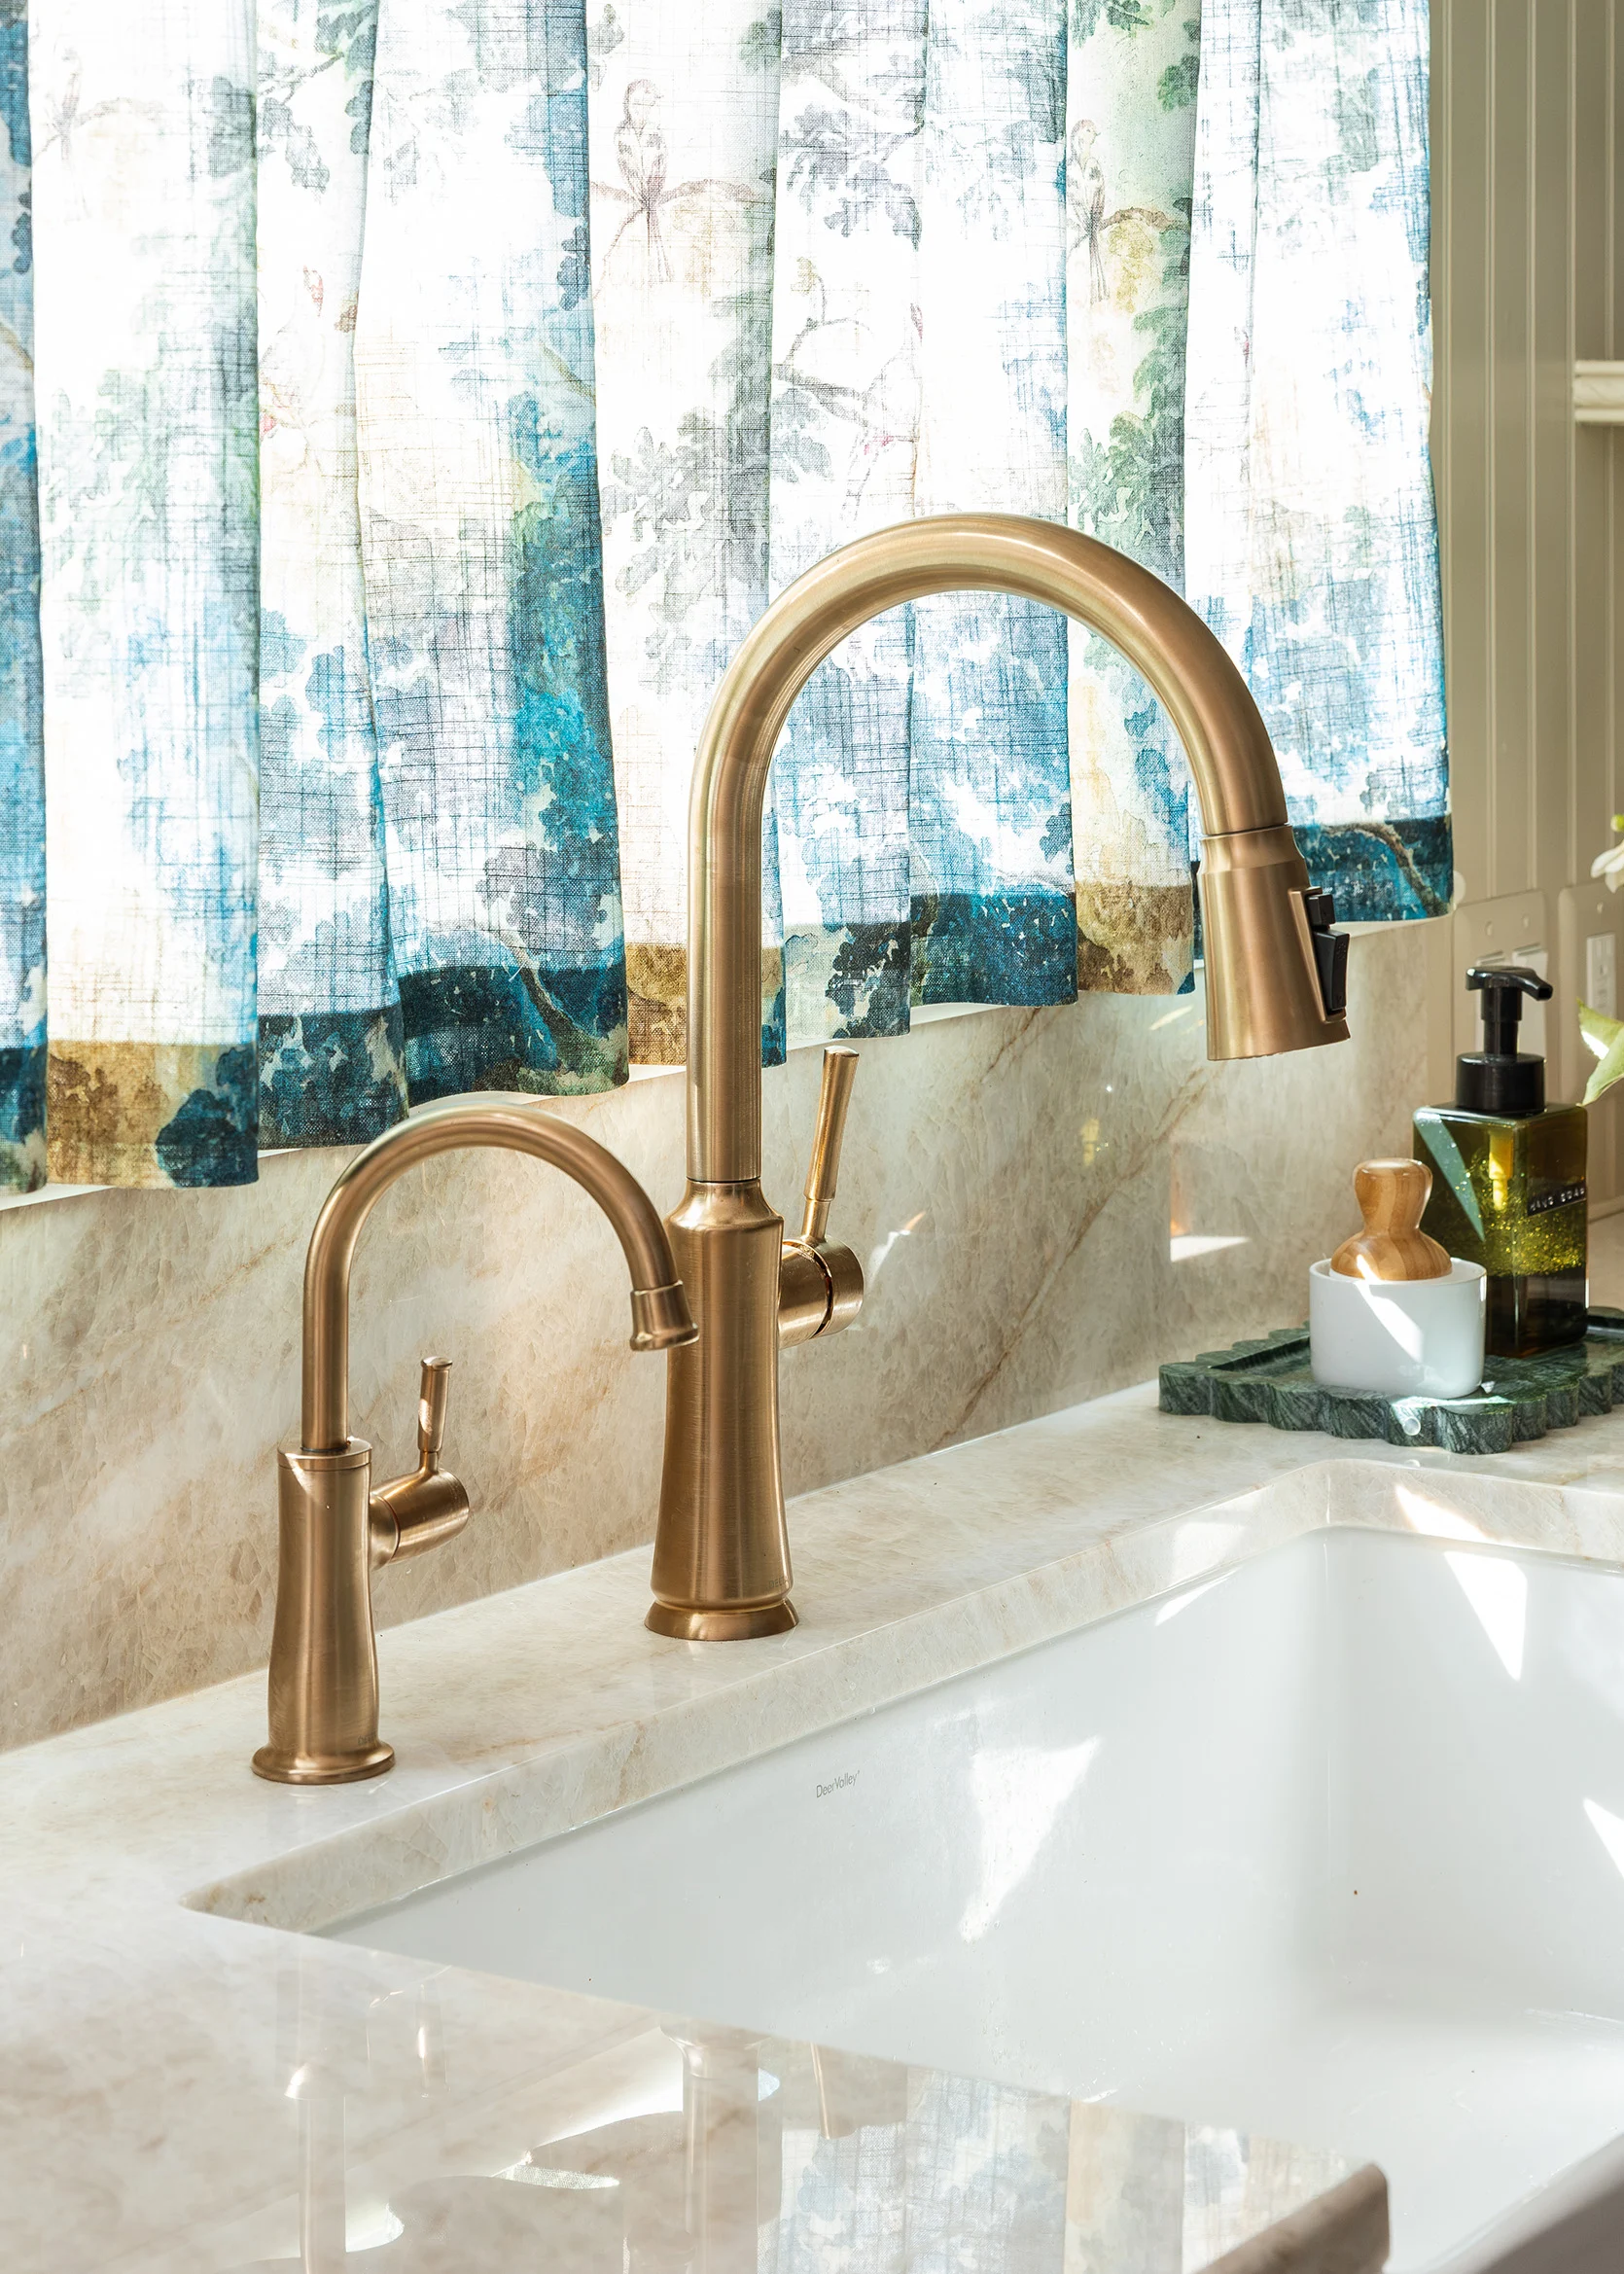
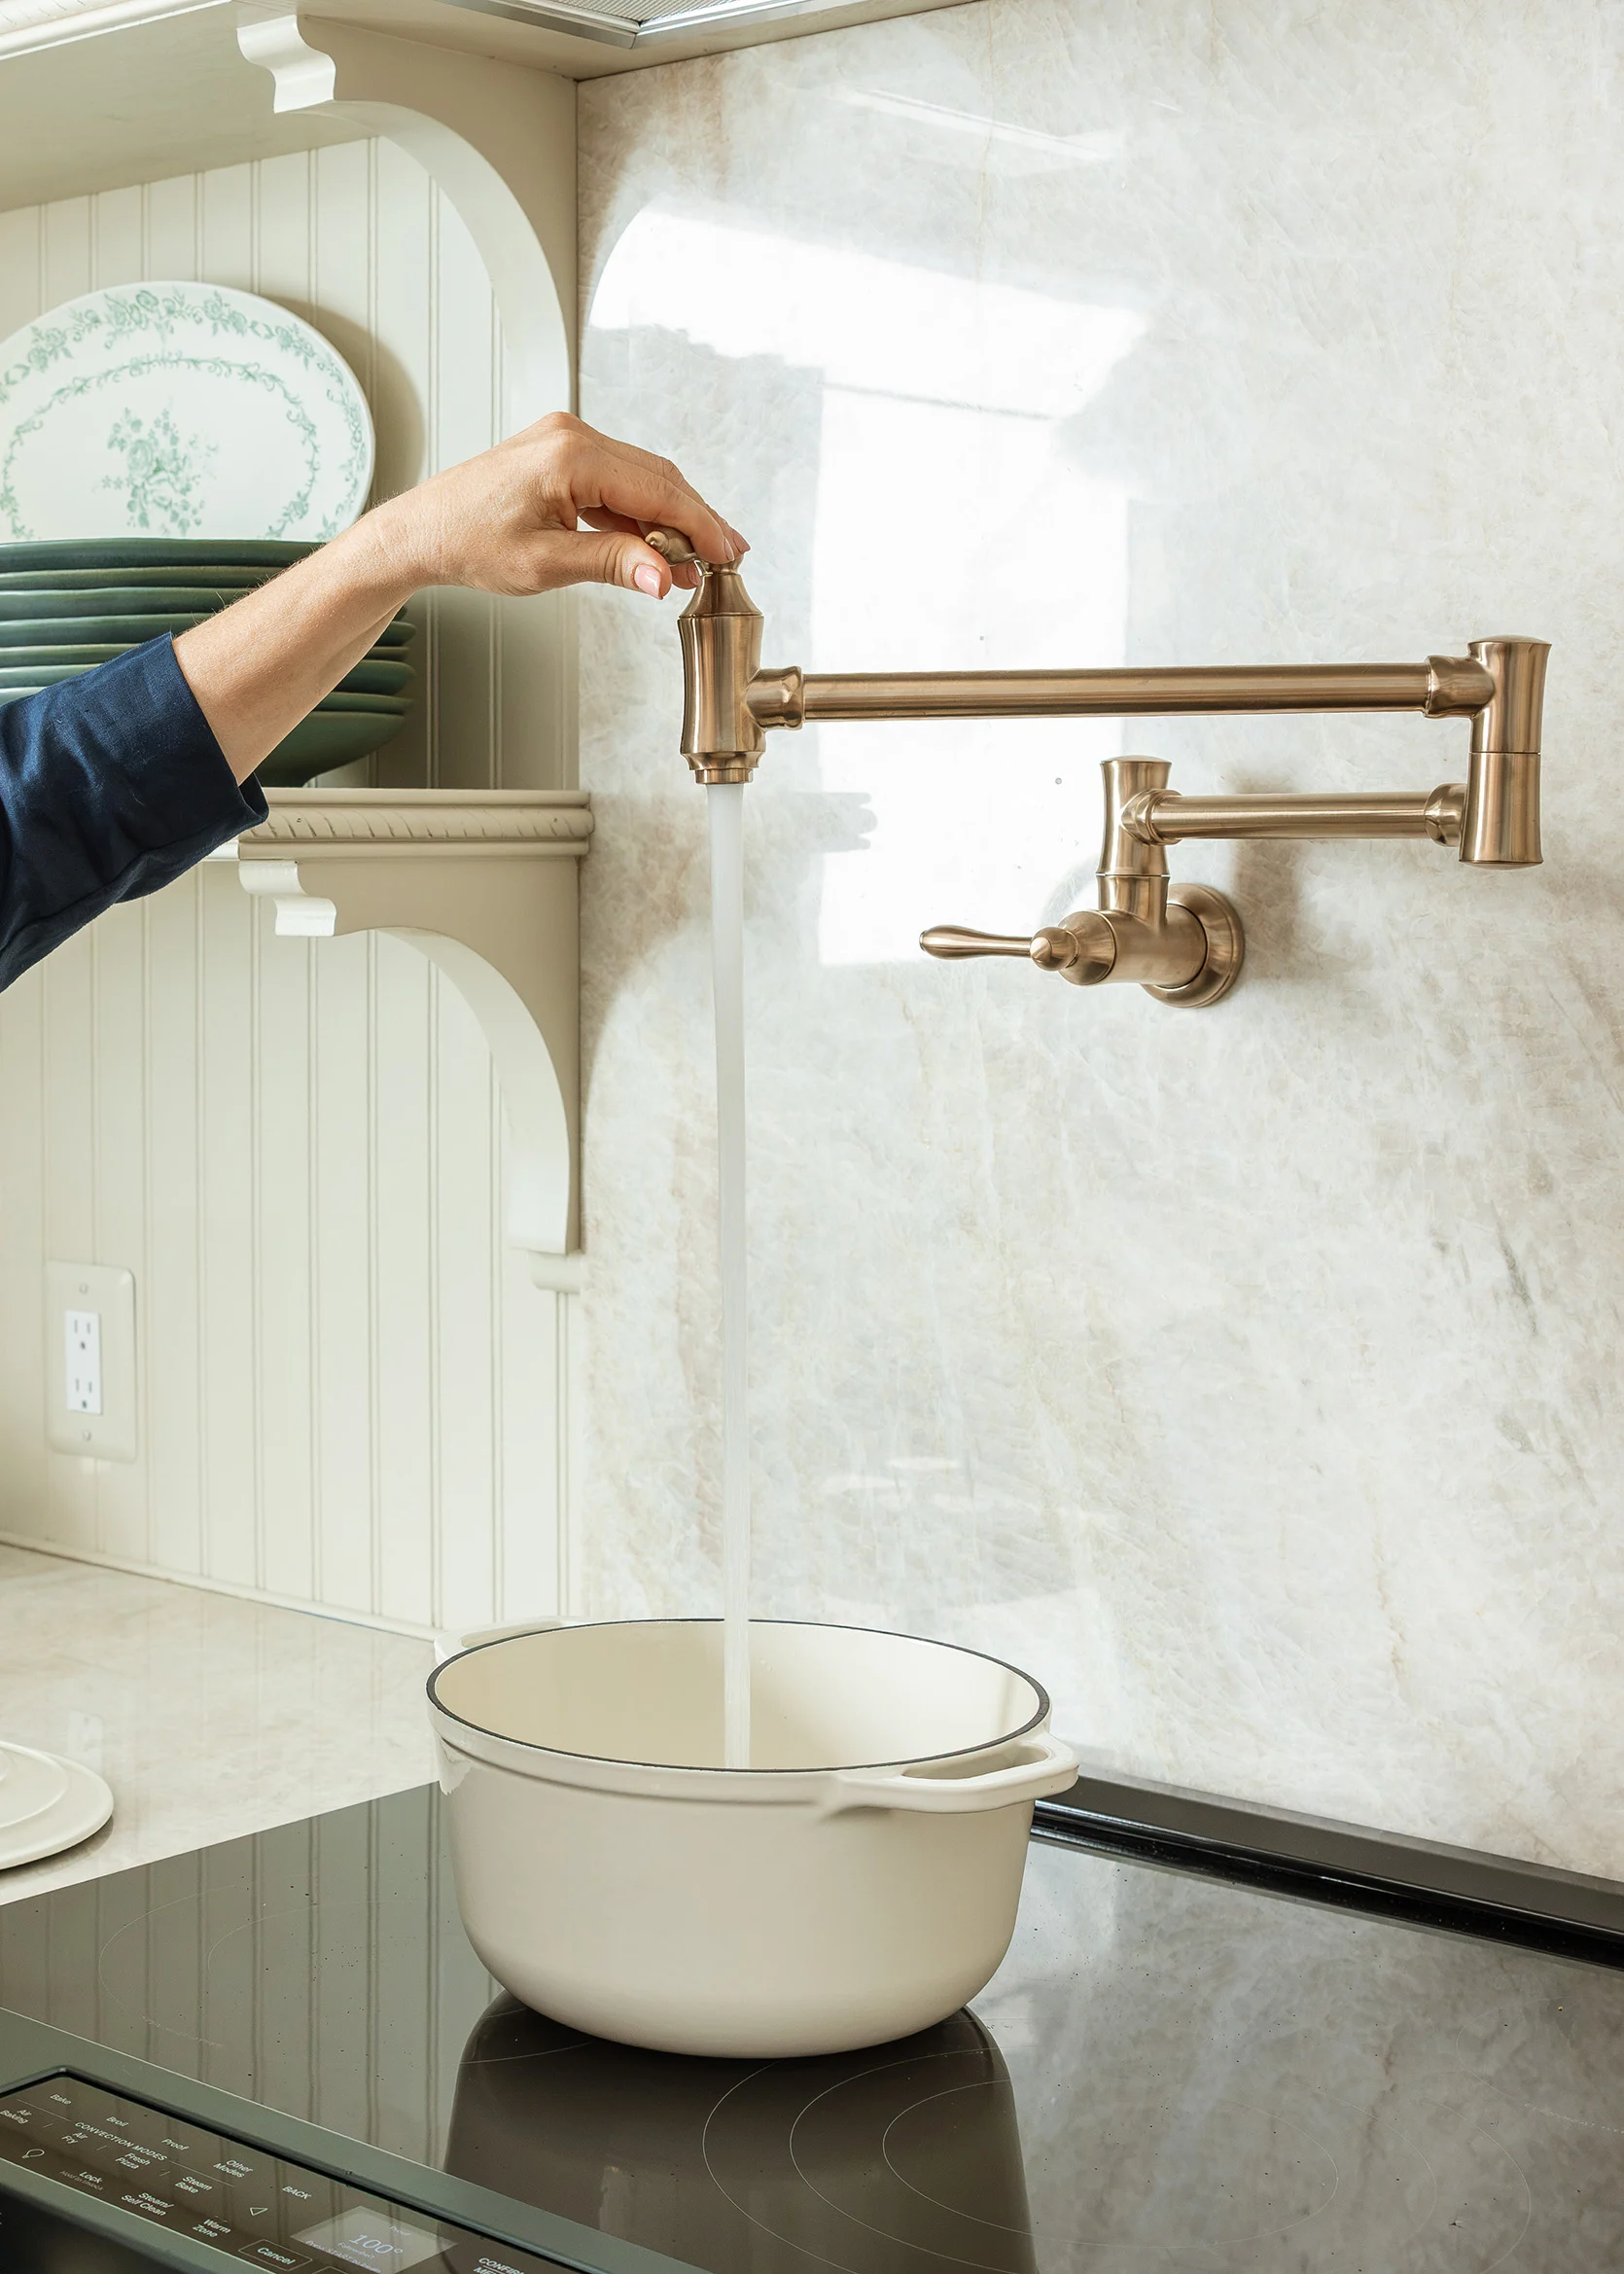
Faucet | Hot Water Faucet | Pot Filler
Michelle and Garen had plumbed for a faucet, a hot water faucet, pot filler, and ice maker/fridge water. Obviously, if you are typically on a budget, you wouldn’t need to go for the pot filler or hot water spout, but since they were already plumbed, we found a line at Lowe’s that had all of the whole suite. And y’all, this darker, warmer, almost bronze-y-toned gold was so pretty and looked more vintage-y and fantastic with the veining in the stone and the wood flooring. Also, I was worried about it clashing with the gold handles on the appliances, but nope – it looks great.
The Details – Light Fixture, Shelving, Hardware:
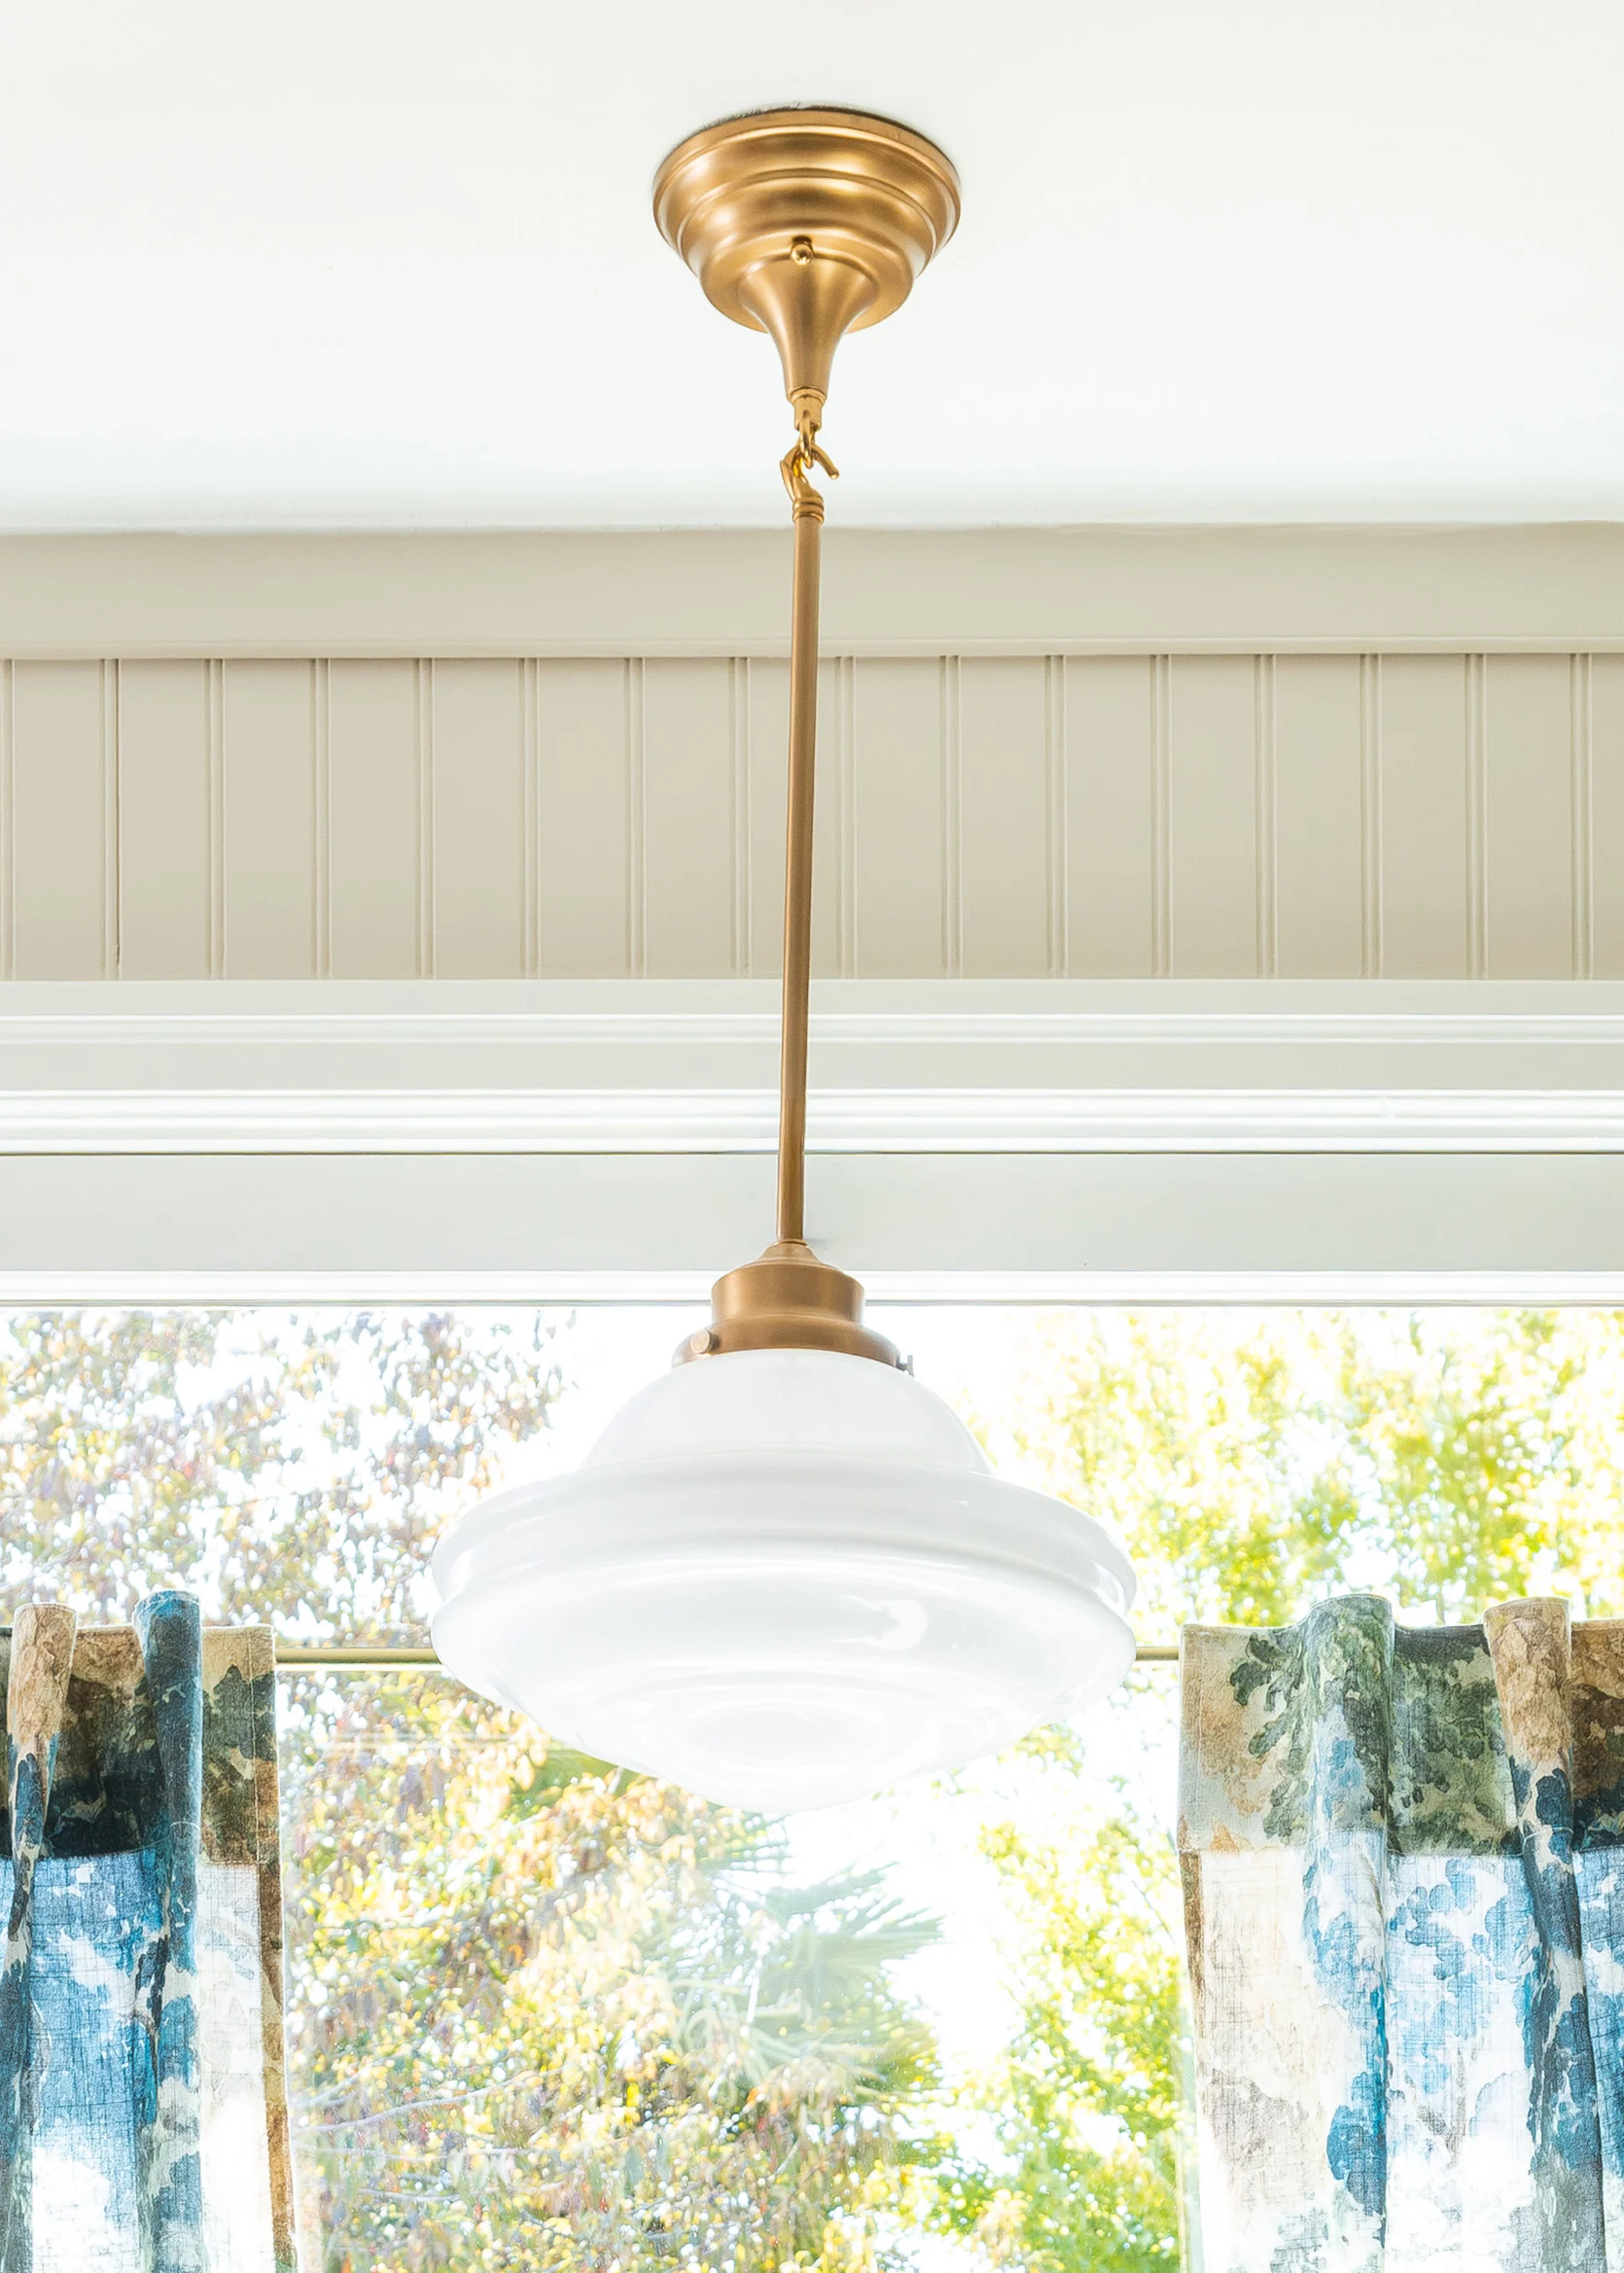
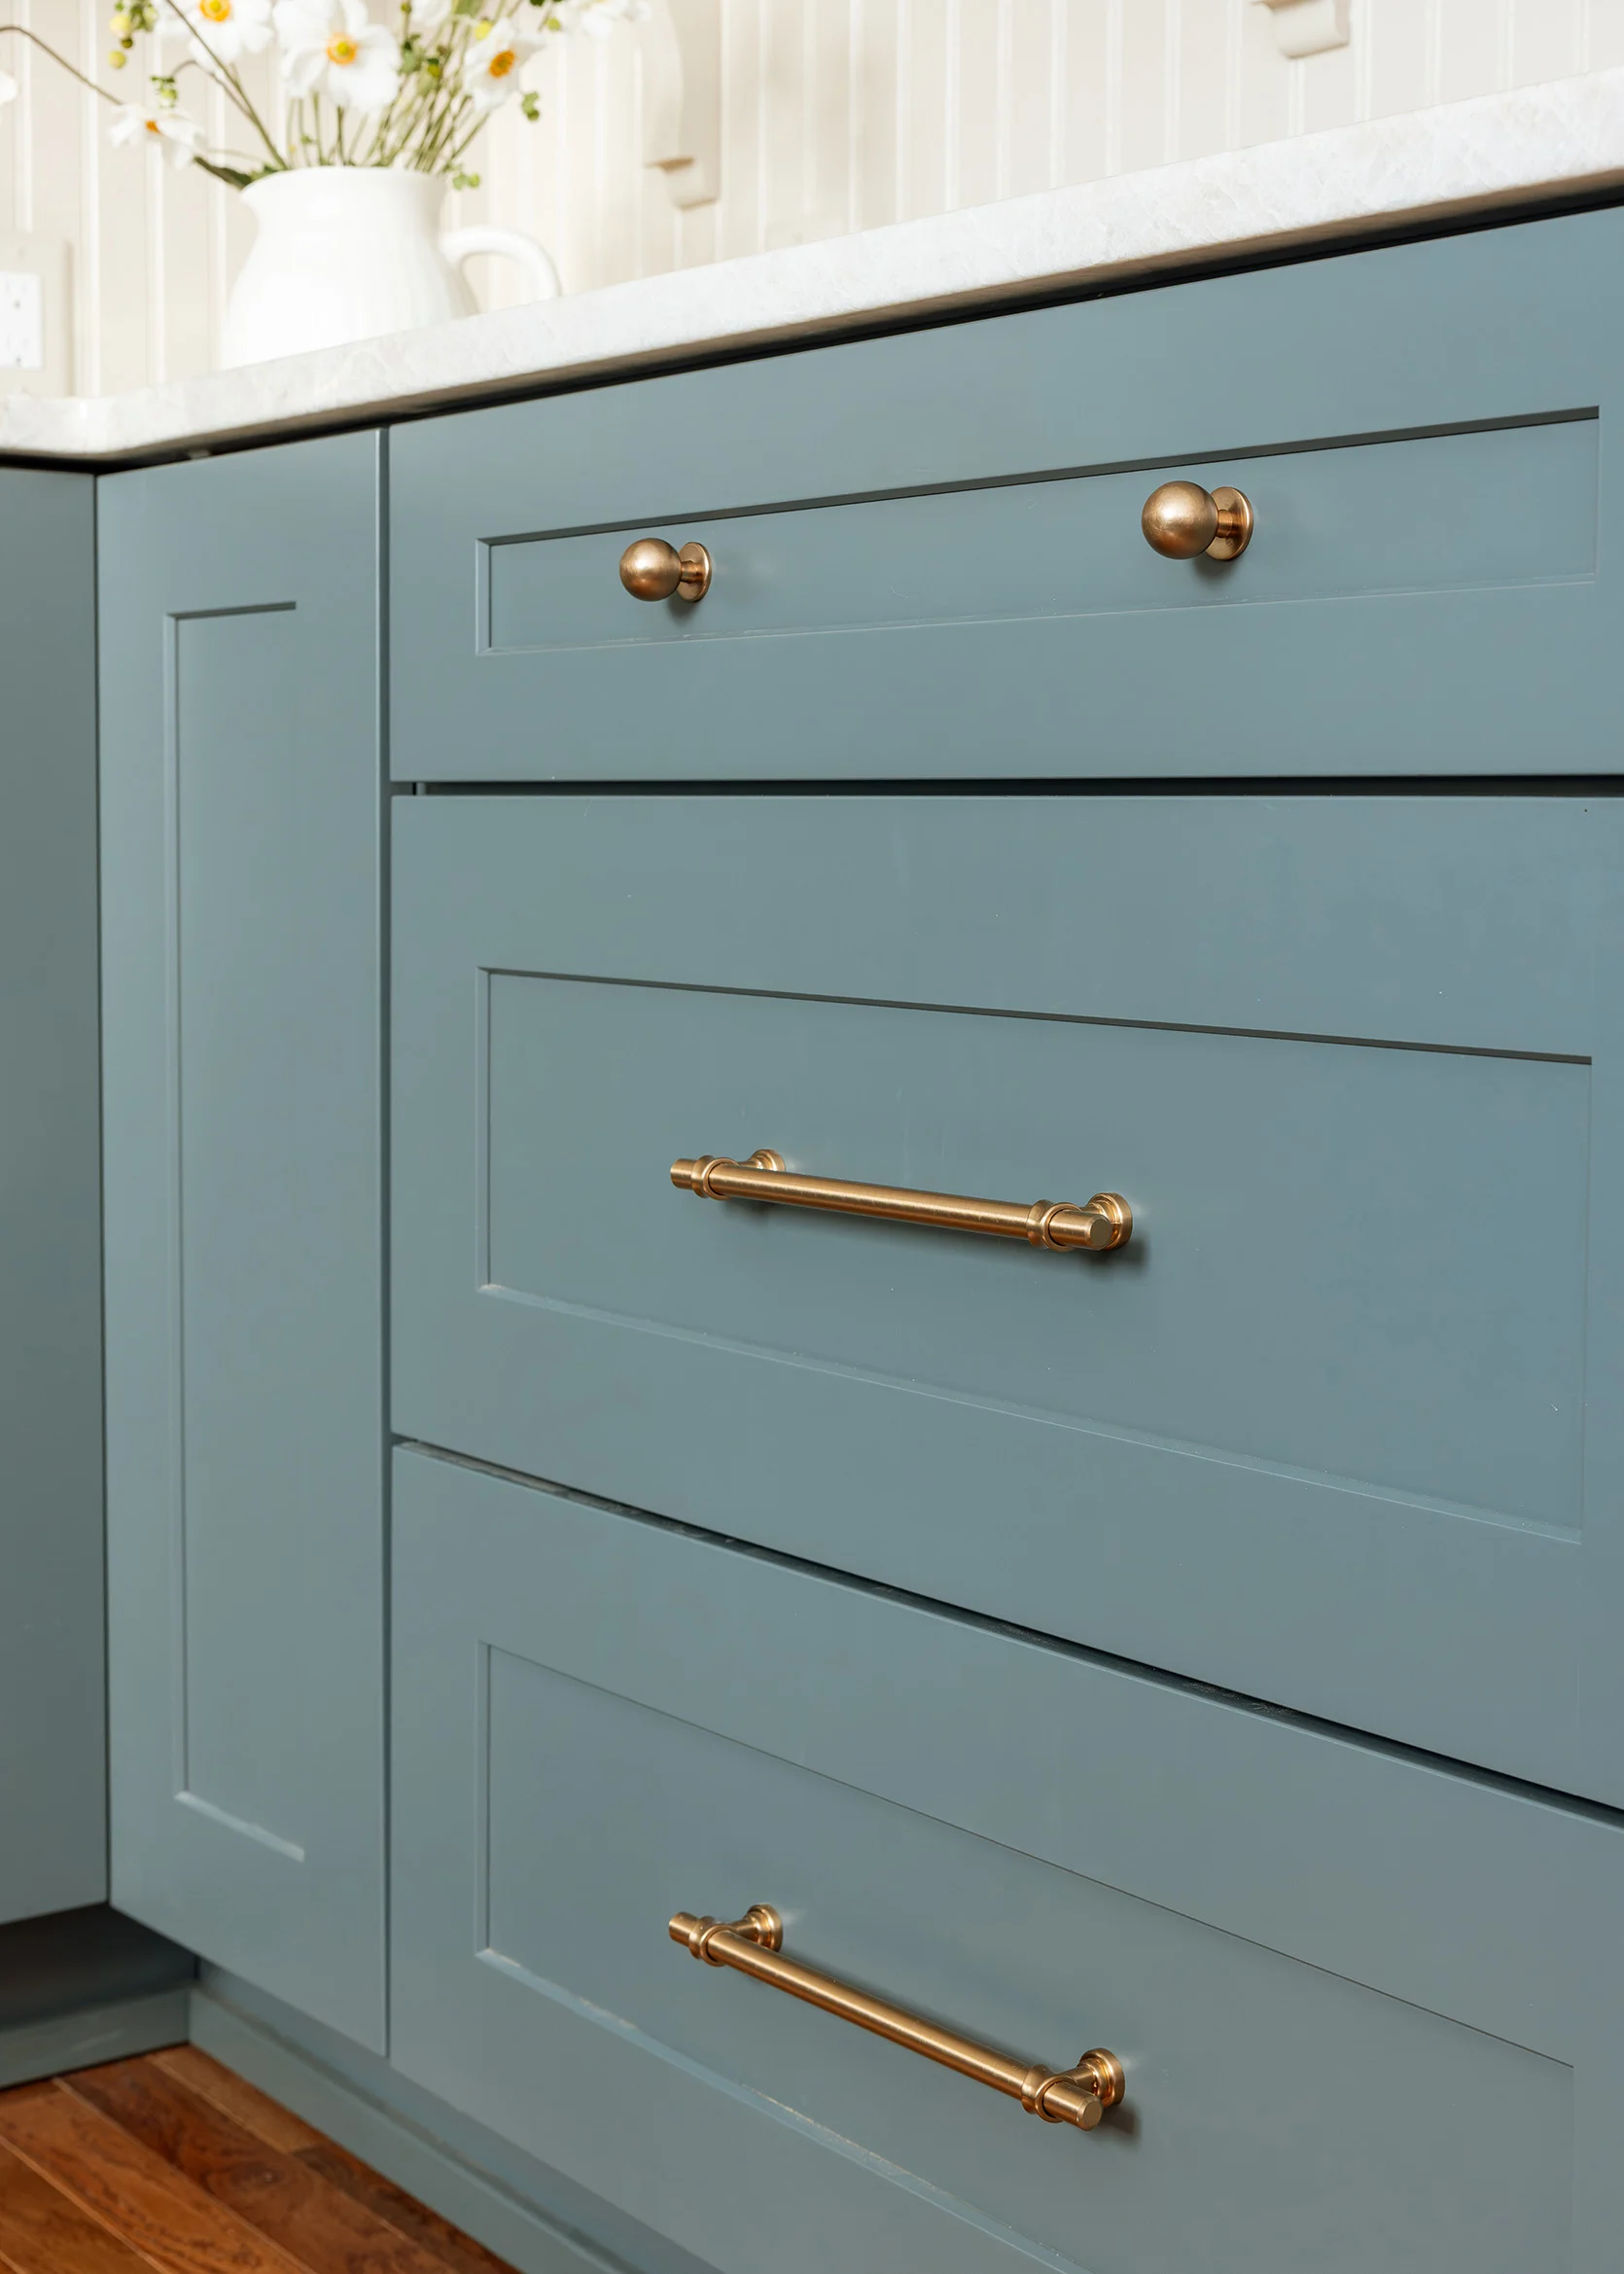
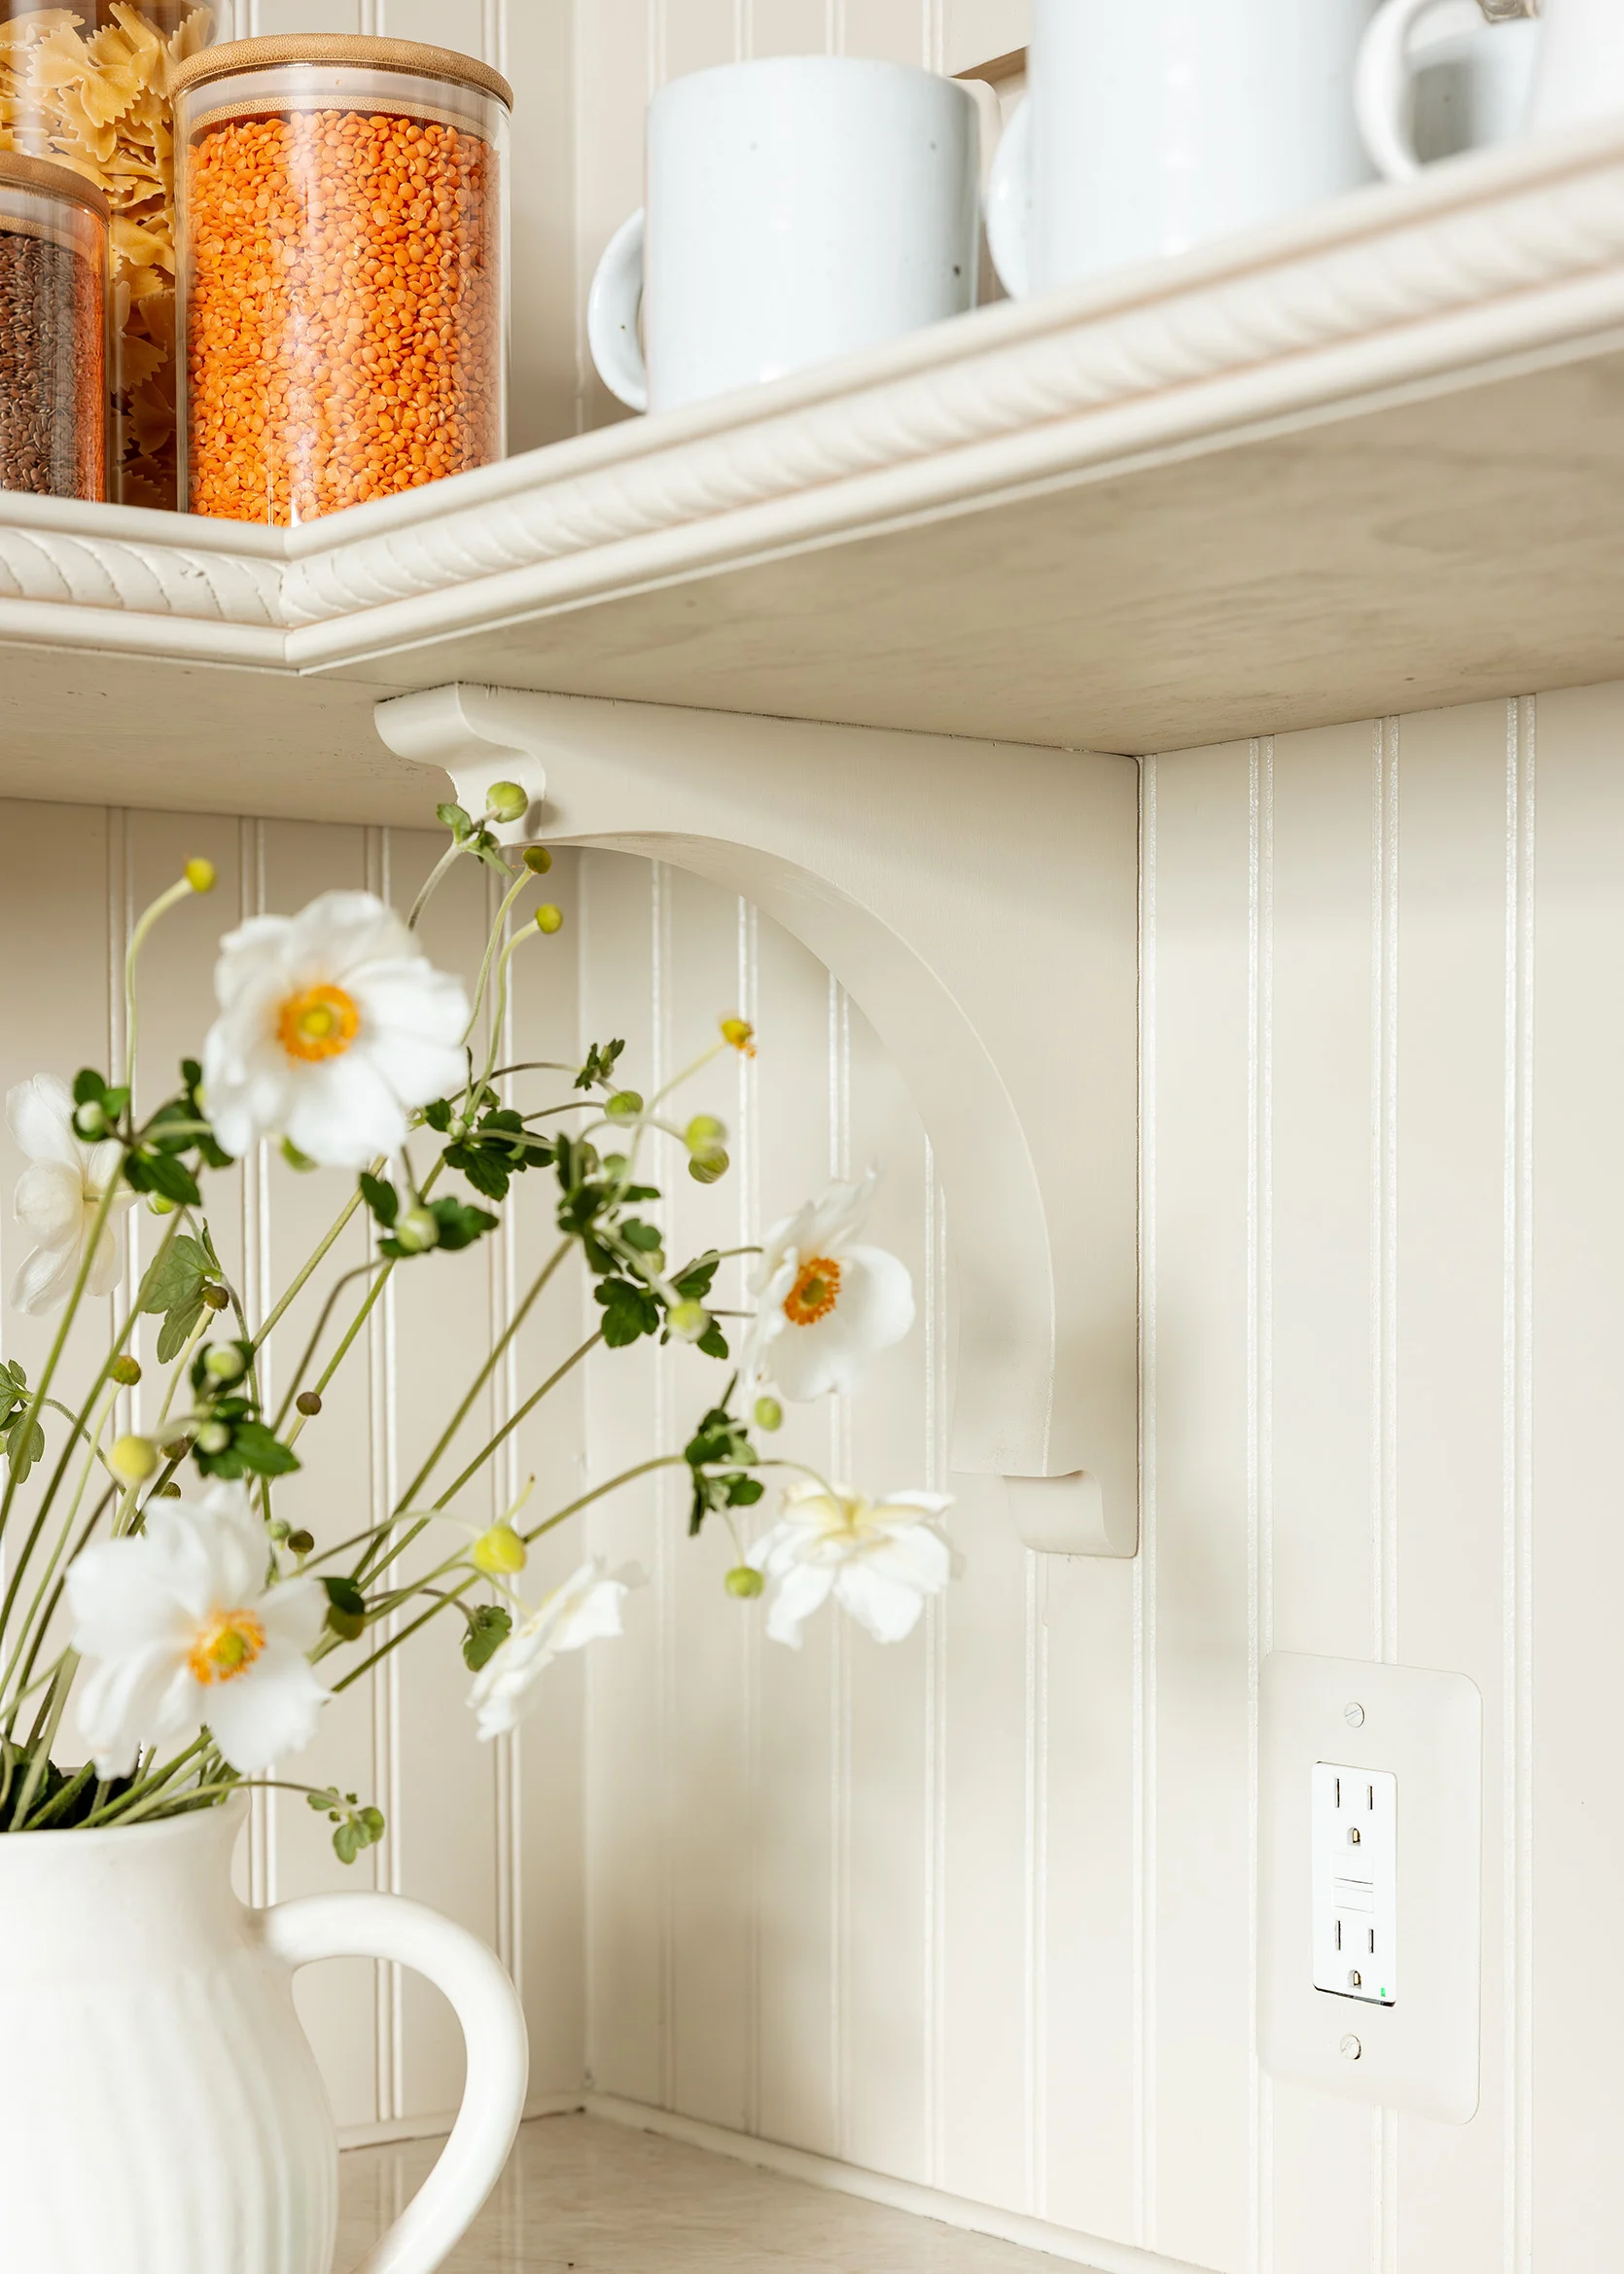
Pendant Light | Knobs | Short Drawer Pulls | Long Drawer Pulls | Shelf & Island Brackets | Decorative Shelf Trim | Beadboard Panels | Beadboard and Shelving Paint Color
Not having shopped so in-depth at Lowe’s for design elements, I didn’t know how the rest of the details would play out. But their selection is really robust. They had so many options for hardware that we genuinely loved. We ordered a lot so that we could look at it in person with the plumbing fixtures and then got creative with some of their building elements (beadboard paneling, wood brackets, and trim).
Oh, and we painted the vintage cabinets to look more built-in to the house, matching the window and door trim (which was my sister’s idea and she nailed it). I got to style it all out, which is both my favorite part and also where I get nervous because not enough stuff can look so sterile and cold, and too much stuff can go sooooooo clutter-y. It’s hard to be Nancy Meyers, y’all. I tried, and you’ll see in a few days how I did 🙂
A huge thanks to Lowe’s for being our exceptional design partner on this one. We worked directly with our local store, and I was treated like a normal person – i.e., no faster service or extra help. So I can truly attest to how easy they made it. I was communicated with 1-2 times a week via text to let me know updates, and they coordinated directly with their installation partners to schedule everything (which we approved, but it was so awesome to not have to try to find the subs ourselves). Knowing that Lowe’s had our back and recommended these contractors gives a lot of long-term peace of mind. It didn’t feel cobbled together; it felt extremely streamlined.
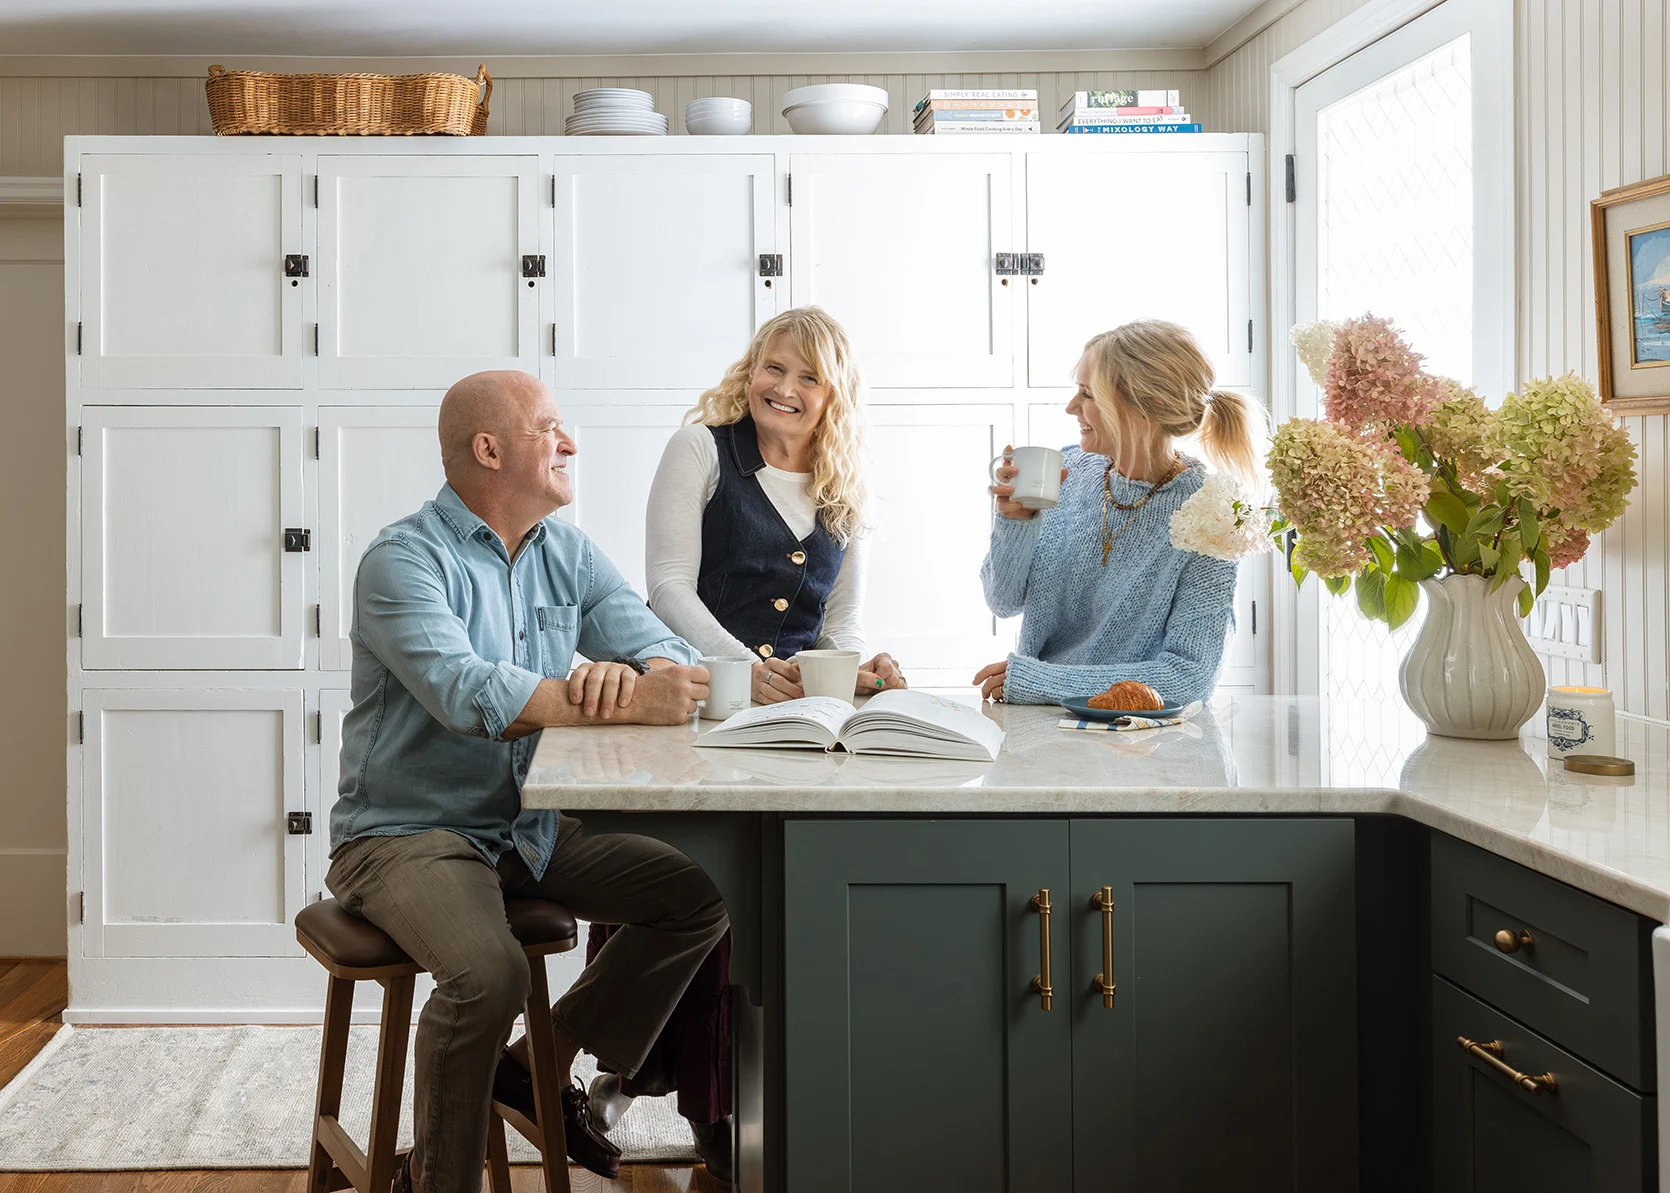
So come back for the reveal in a few days. I’m just so excited for this one. I’ll give you one more tiny sneak peek here:
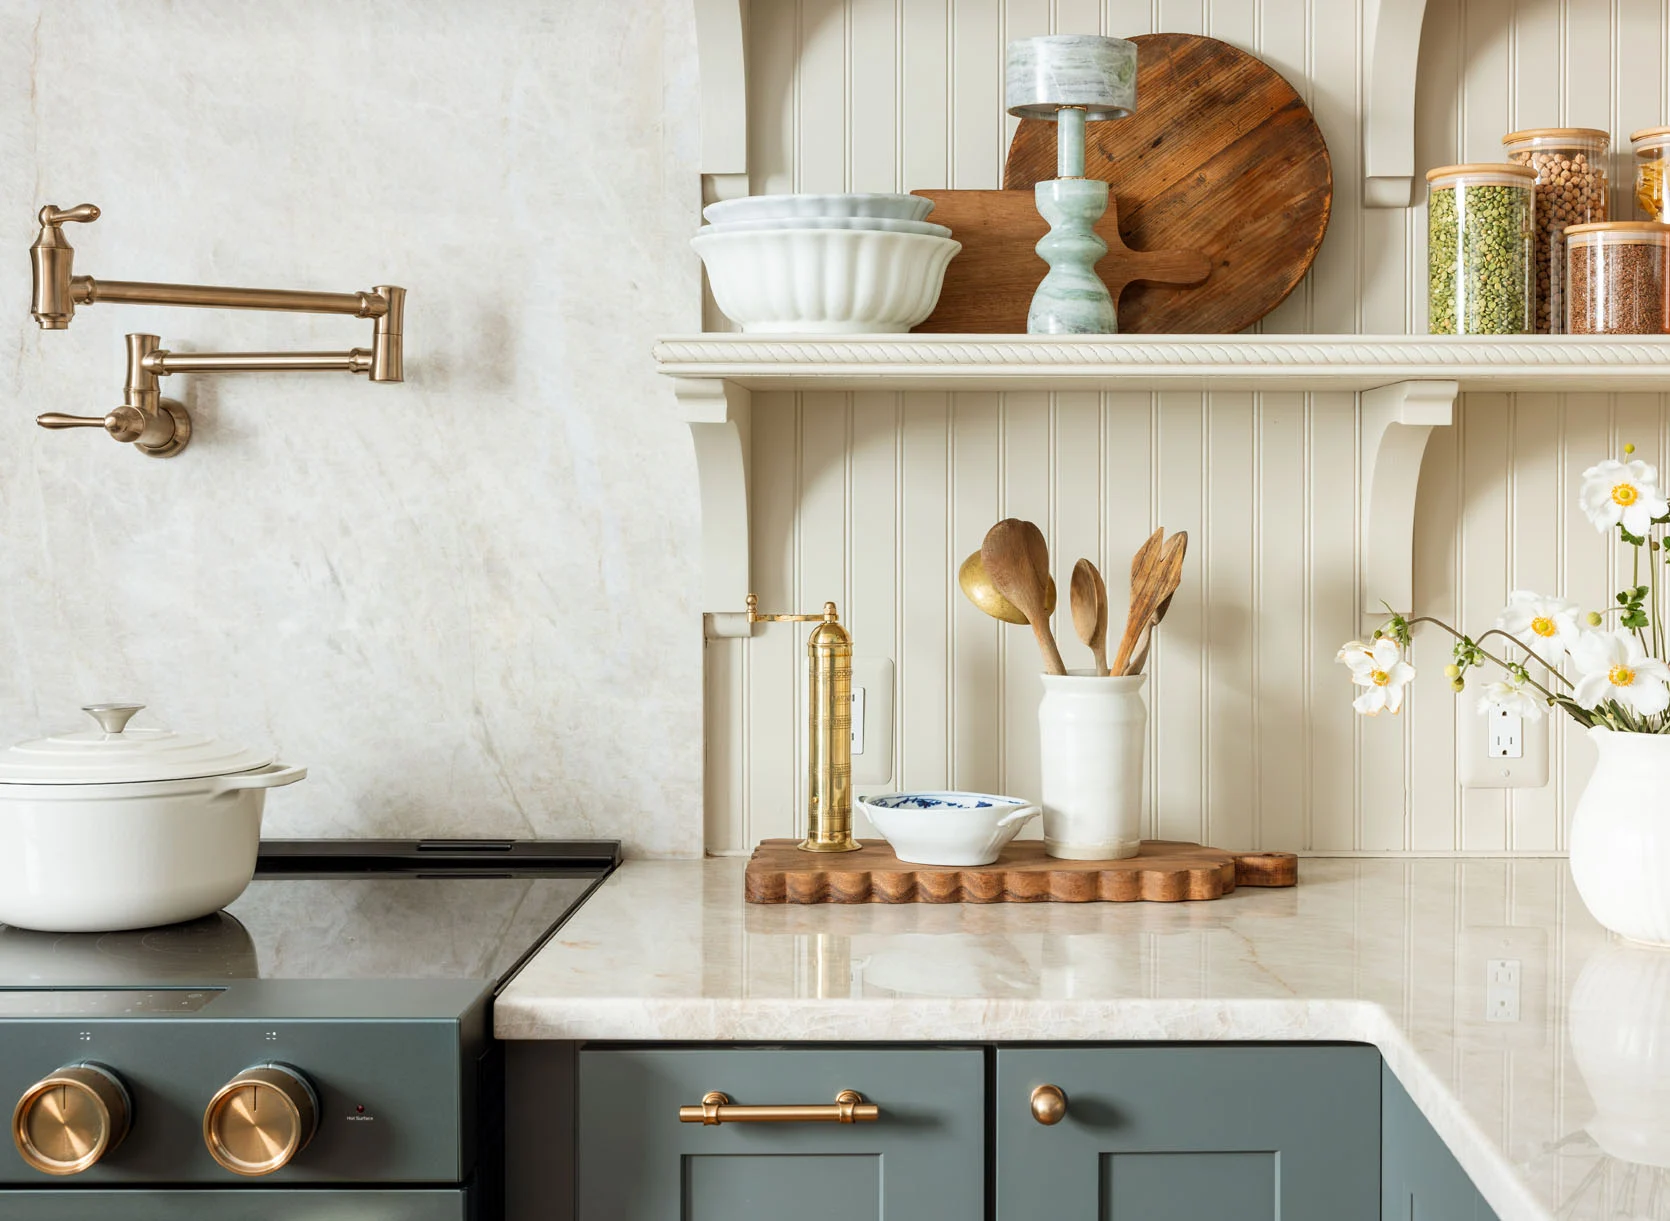
I’m so happy to say that “builder-grade” can look high-end and custom. I genuinely hope this kitchen and a lot of its design elements and ideas get copied all over the internet for those of you who want an upgrade but don’t have the budget for a full-on custom remodel. xx
*Thank you to Lowe’s for partnering with us on this blog post.
*Sneak Peek Photos by Kaitlin Green


GAH! I am so excited to see this come together. I’ve been so impressed with Lowe’s on a few small projects for our house, too, and have wondered about their kitchen cabinets. And those Juniper appliances…swoon!