
Design
How We Are Using Quilt Mini Splits To Heat And Cool The Guest Cottage
Ready for some sneak peeks?? But first, I’m so happy to be alive (and designing homes) during the era of the Quilt mini splits’ invention. A true innovation that solves visual ugliness while providing legitimately fantastic, efficient, highly functional localized heat and AC. I first saw this product on my feed (Brady Tolbert had one), and it stopped my scroll immediately. I needed a mini split for our mini gym because we never installed the ugly unit that we had. The gym was super hot in the summer and cold in the winter. In case you aren’t super familiar with mini splits, they are also known as ductless heat pumps and are an all-electric way to heat and cool spaces without needing ductwork. Once we put in a Quilt, I was sold. It heats and cools so fast; it’s extremely intuitive and easy to use, and stylistically just disappears.
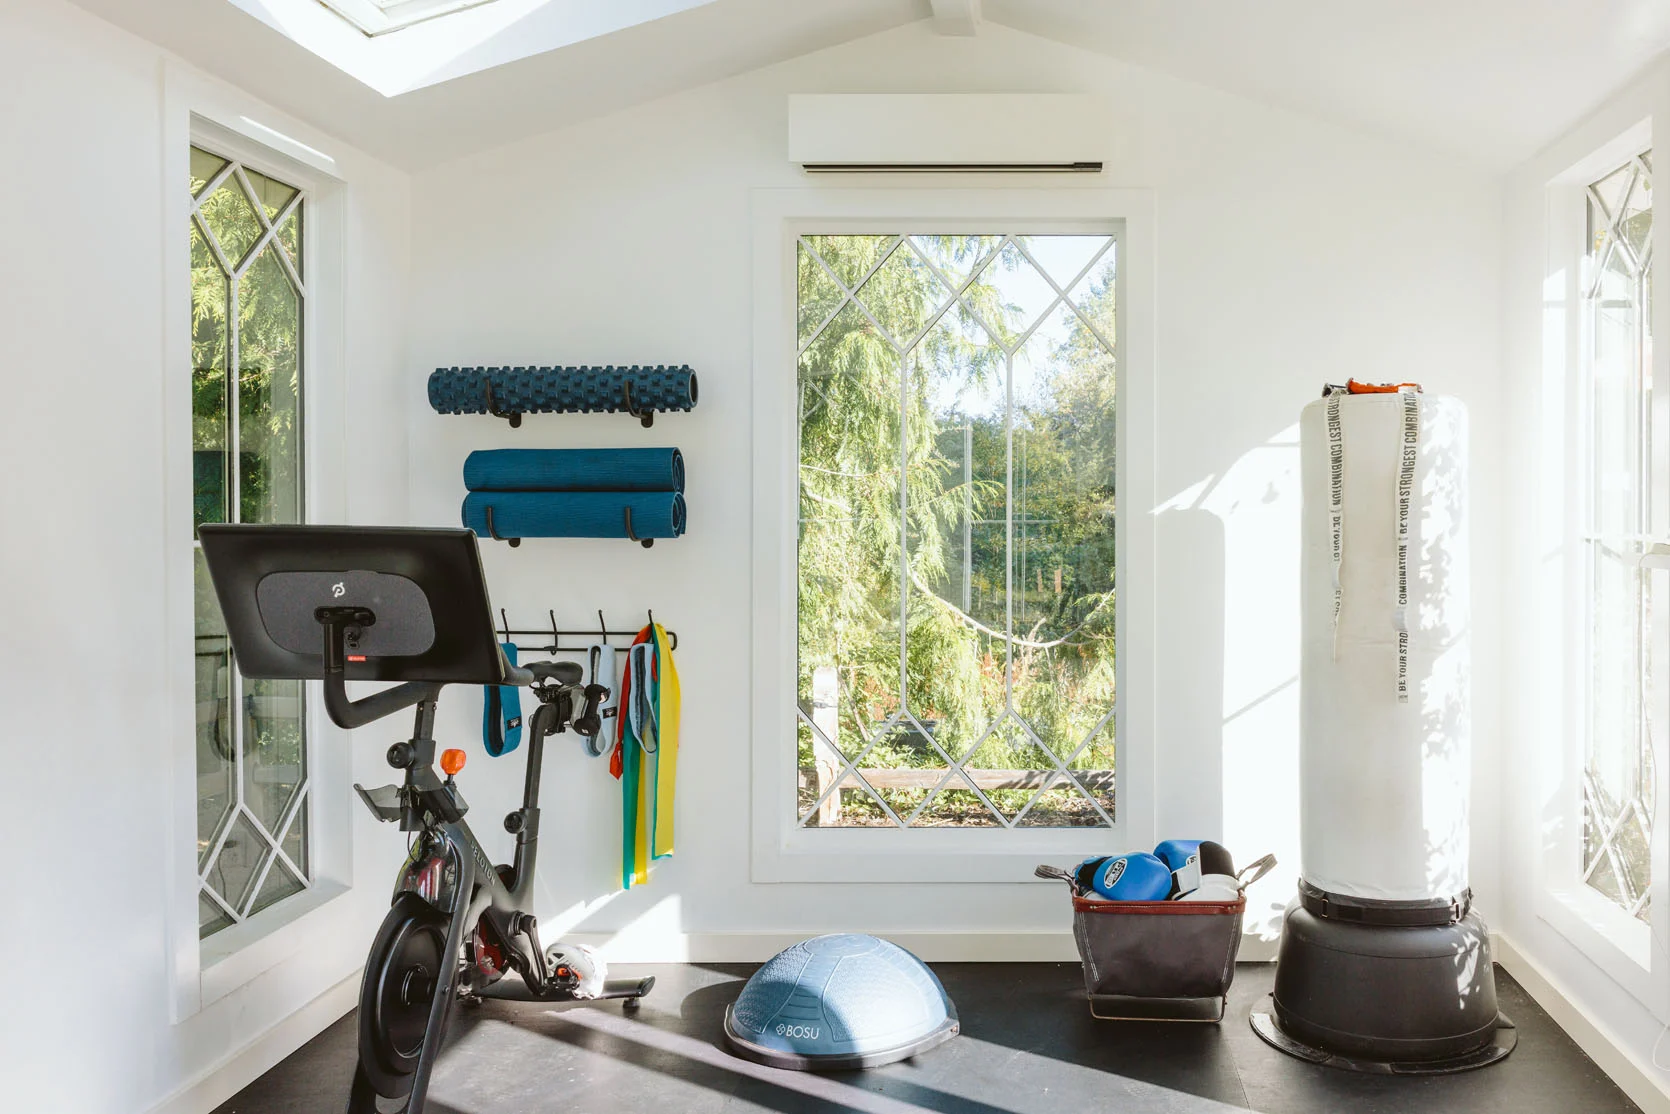
That white rectangle above the window is our Quilt mini split. And it made me a real Quilt enthusiast, real fast. I put it in the mini gym to test it out personally and make sure it was the right product before committing to installing them in the guest cottage. Unlike traditional mini-splits, Quilt heat pumps are not only the most efficient way to heat and cool a home; they look great, which is clearly very important to me.
As a reminder, our guest cottage is from the mid 1800s with a lot of cobbled-together additions. Like a lot of older homes, there is no AC or heat; there is no HVAC, no ducting system, and frankly I’m not sure if there is even a crawl space or wall space to put one in. It was built before electricity or plumbing. More importantly, though, we wanted to keep the original charming wood paneling throughout the house, and adding a full ducted HVAC unit tears apart your walls. We also knew that we wouldn’t be using the entire house all the time, so our needs were more localized and time-specific. A couple of days a week, my team shoots there and meets upstairs; our kids will be playing in the future game room on winter afternoons, and eventually we could see it being a guest house for someone, which would require heating and cooling abilities. So no, we didn’t want to install a central system that would keep everything at one temp. We wanted something that could efficiently heat when it’s cool and cool when it’s hot. Room-by-room control, on demand.
So Greensavers (our local Portland installation company) came out and helped us determine where these units should go, including how many indoor units versus how many condensers outside we’d need. I’m so grateful for their knowledge and expertise – they did a fantastic and swift job (shout-out to Double Jakes; they were so great).
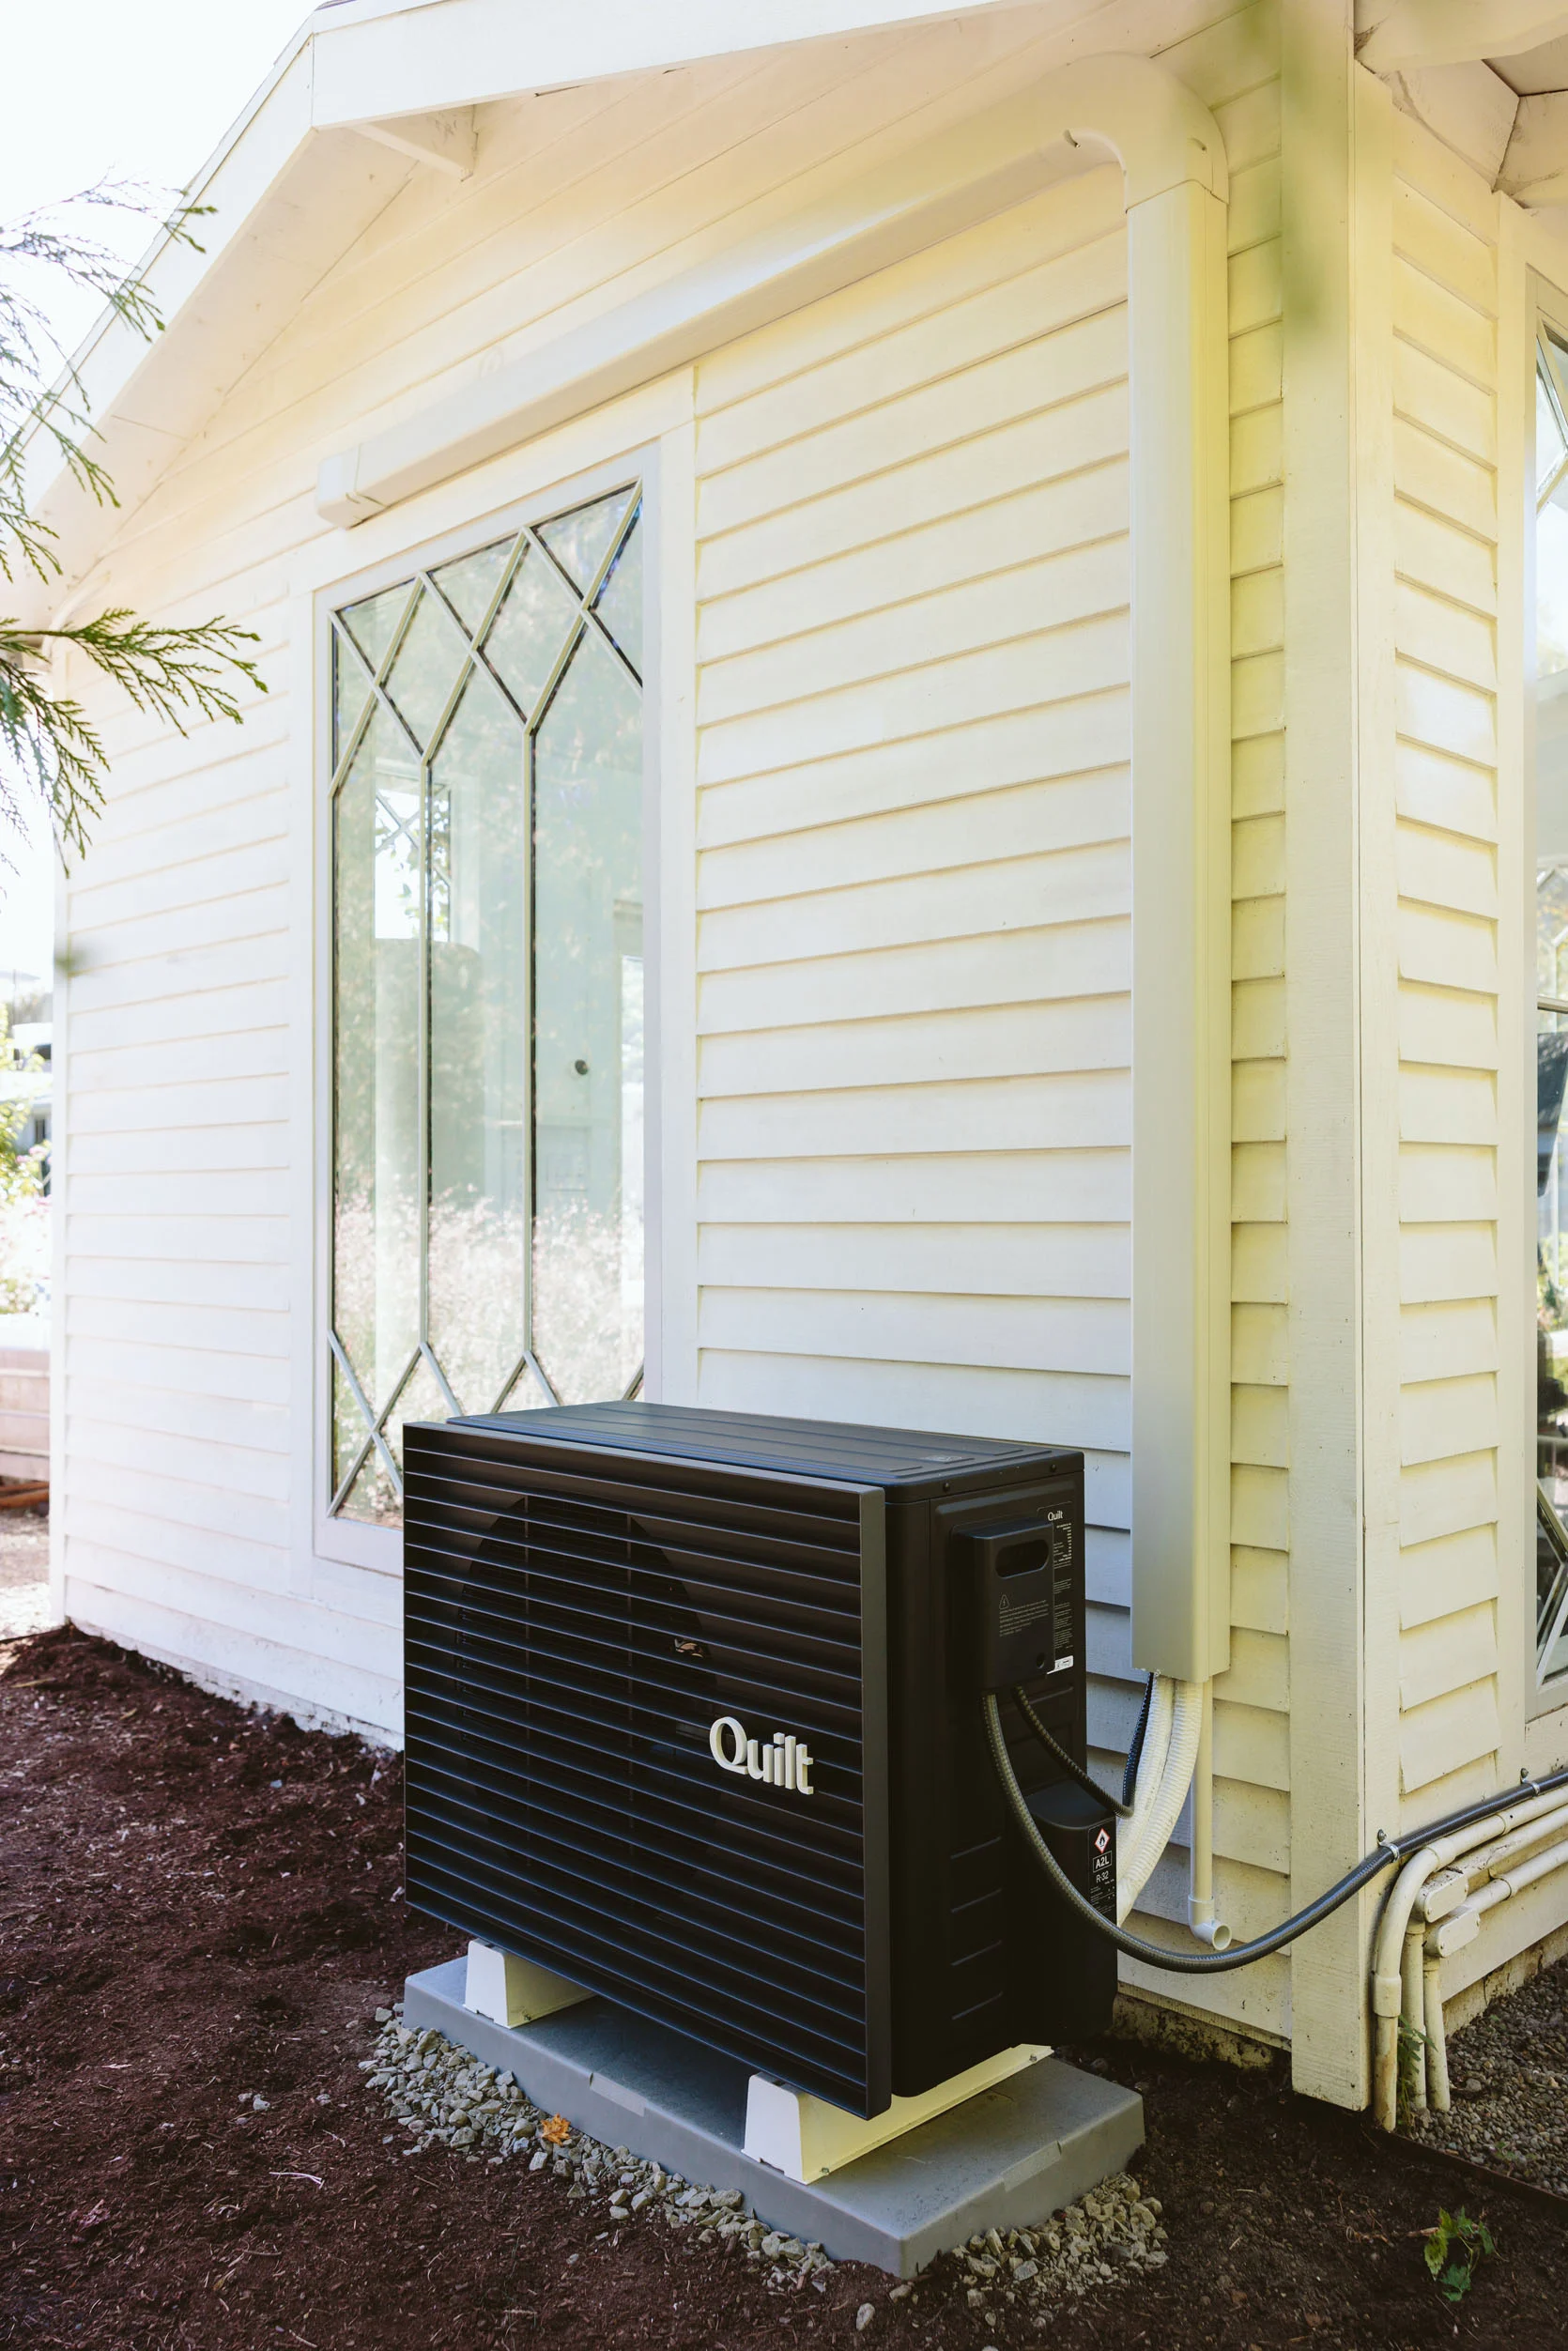
This is what the exterior unit looks like outside our mini-gym. We have two of these behind the guest house (but it’s so overgrown and kind of a dumping ground, so we couldn’t shoot it). But know that, depending on where your installers put it, you will have these “linesets” that house the mechanism that might snake around your house. Greensavers was extremely considerate of where these were placed (none in front by the driveway or on the big lawn side of the house). They were able to snake all four units to the south side of the house that no one will ever see. Oh, and get this: these can also be painted to match your exterior walls. So well thought out.
A Fun Quick FAQ:
- Quilt mini splits are easiest to install on exterior walls; however, they were able to figure out how to put one in our main living and kitchen and snake the conduit through the attic space to the heat pump unit.
- For us, it made sense to get 2 exterior units since we have 4 Quilt mini splits inside. However, they now have a 3 indoor units to 1 outdoor unit option too.
- The cost is dependent on your installation team and very much contingent on your house and how much work it will be to get the air from the heat pump to the interior unit. They are comparable to other high-efficiency cold-climate systems, but if you are into design at all, know that it’s 100% worth it. Four units, like ours, could cost between $20-$30k including the units and install. That is far less than a full ducted HVAC system, but probably more than four ugly, less efficient mini splits. It’s money well spent, I PROMISE.
- Heat pumps are 400% efficient at heating and cooling, and Quilt is 20% more efficient than comparable systems. They heat and cool fast, without using nearly as much energy.
- These are also a great way to electrify your home and move off fossil fuels. No natural gas needed.
- You can schedule the temperature of every room on the app on your phone (which is so easy to use, I promise) so you aren’t heating or cooling if you aren’t using the room. For the guest cottage, I’ll make sure the upstairs room is scheduled to cool when I know that my team works up there.
- There are still wall dials that are so easy and intuitive, so if you find yourself phoneless in the room, you can easily adjust up or down on a small, attractive Dial.
Quilt #1: Future Guest Room, With Cladding On Front

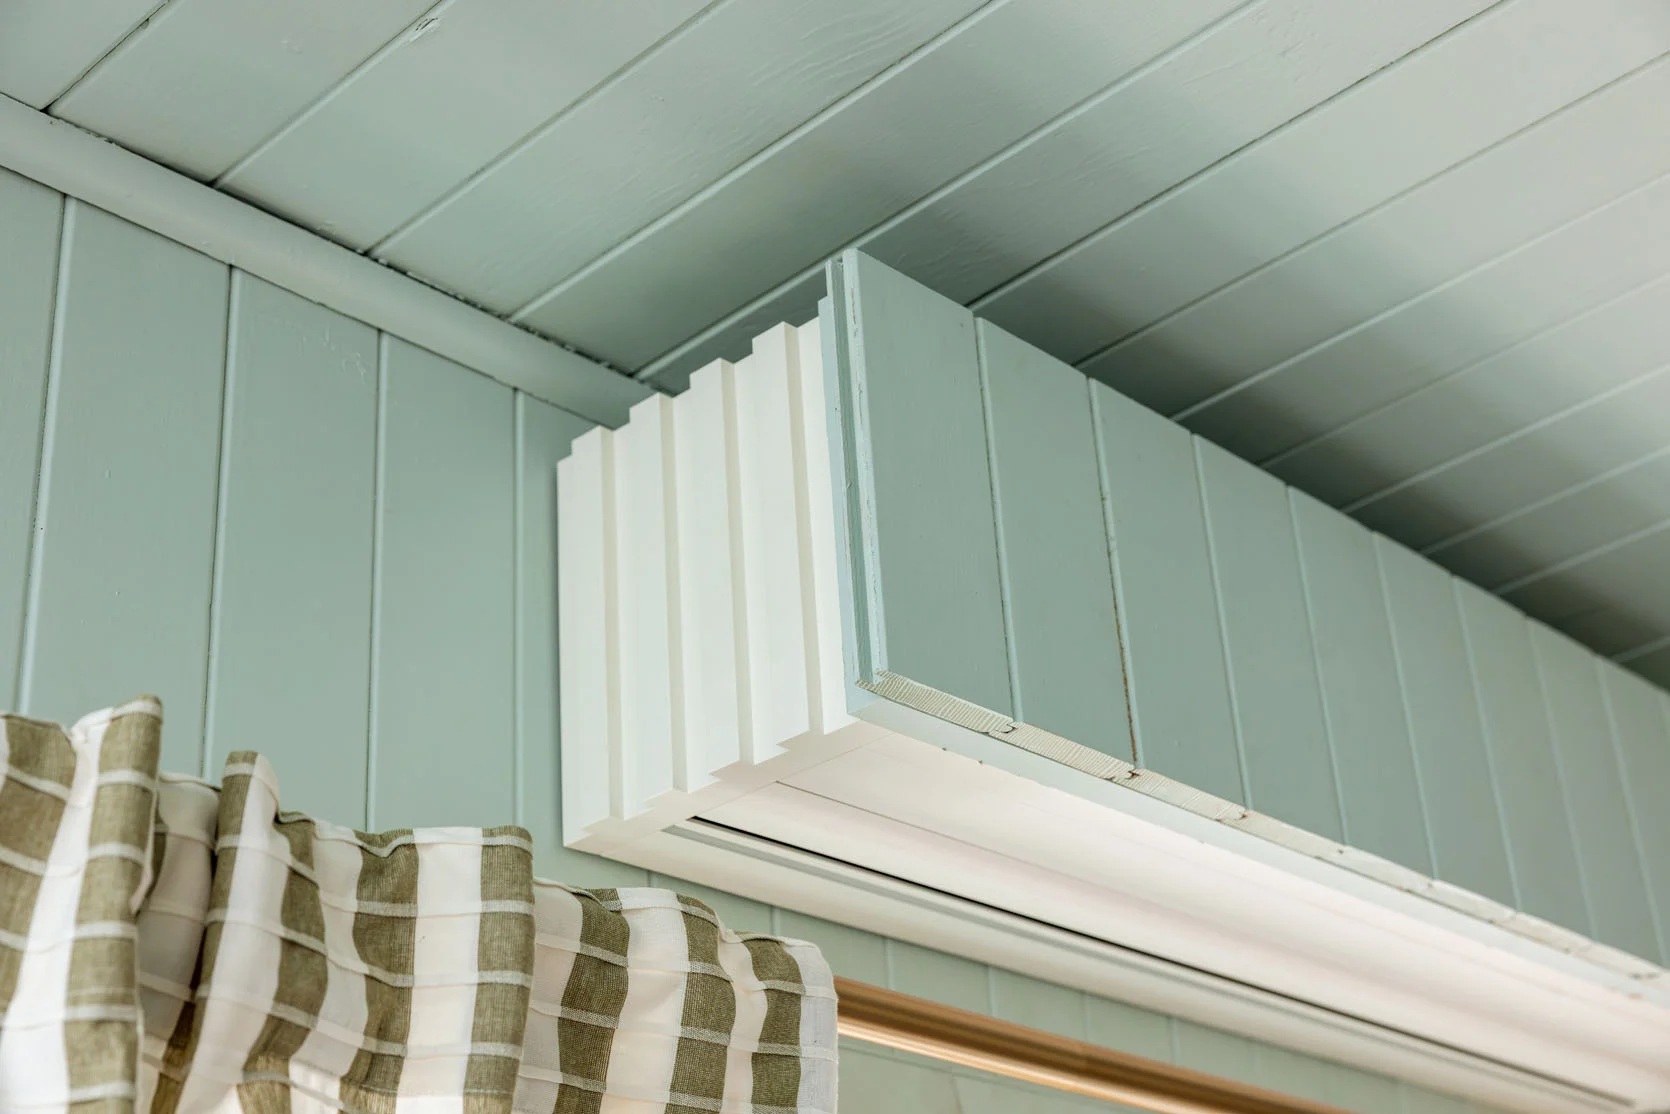
How incredible is that?… Let’s thank the design gods. First of all, mini splits usually don’t fit above windows and doors, but this one is <8″ tall, so it works. The photo on the left shows the white front panel that the Quilt mini splits typically come with, which is actually simple and streamlined. But as you can see, it gets even better, as the photo on the right is how I clad it to match the walls. It was so easy; we just took one of the tongue-and-groove boards that we had demo’d out (while reconfiguring a window in the room) and chopped it into smaller lengths, shoved them together, and glued them down with construction adhesive. It was so easy, and our wood (which is admittedly old-growth heavy 1/2″ planks) held perfectly. The front panel attaches with four heavy magnets, and once it snapped on, that thing is going nowhere. Now, obviously it could just be painted the same wall color and disappear, which is the typical Quilt recommendation, but we were excited to do this application. It worked and looks fantastic.
**Note: A lighter and easier option would be to buy the thin sheets of “shiplap” or “beadboard,” which are super lightweight. I don’t think it’s crucial that it matches perfectly. It’s more important that the color is the same than the exact profile or material.
For this room, they were able to put it directly above the window, which allows for nice symmetry (not just an awkward placement that ruins all my shots :)).
The heat and AC come from the bottom and work so instantly, effectively, and efficiently; it’s shocking. These units are made to heat and cool quickly, and they sure do. There are even settings where, when you walk into the room, it senses you and turns on and heats or cools to the desired temperature. So smart (but not intimidatingly high-tech, I promise).
Quilt #2: The Game Room – Painted Green To Match The Door
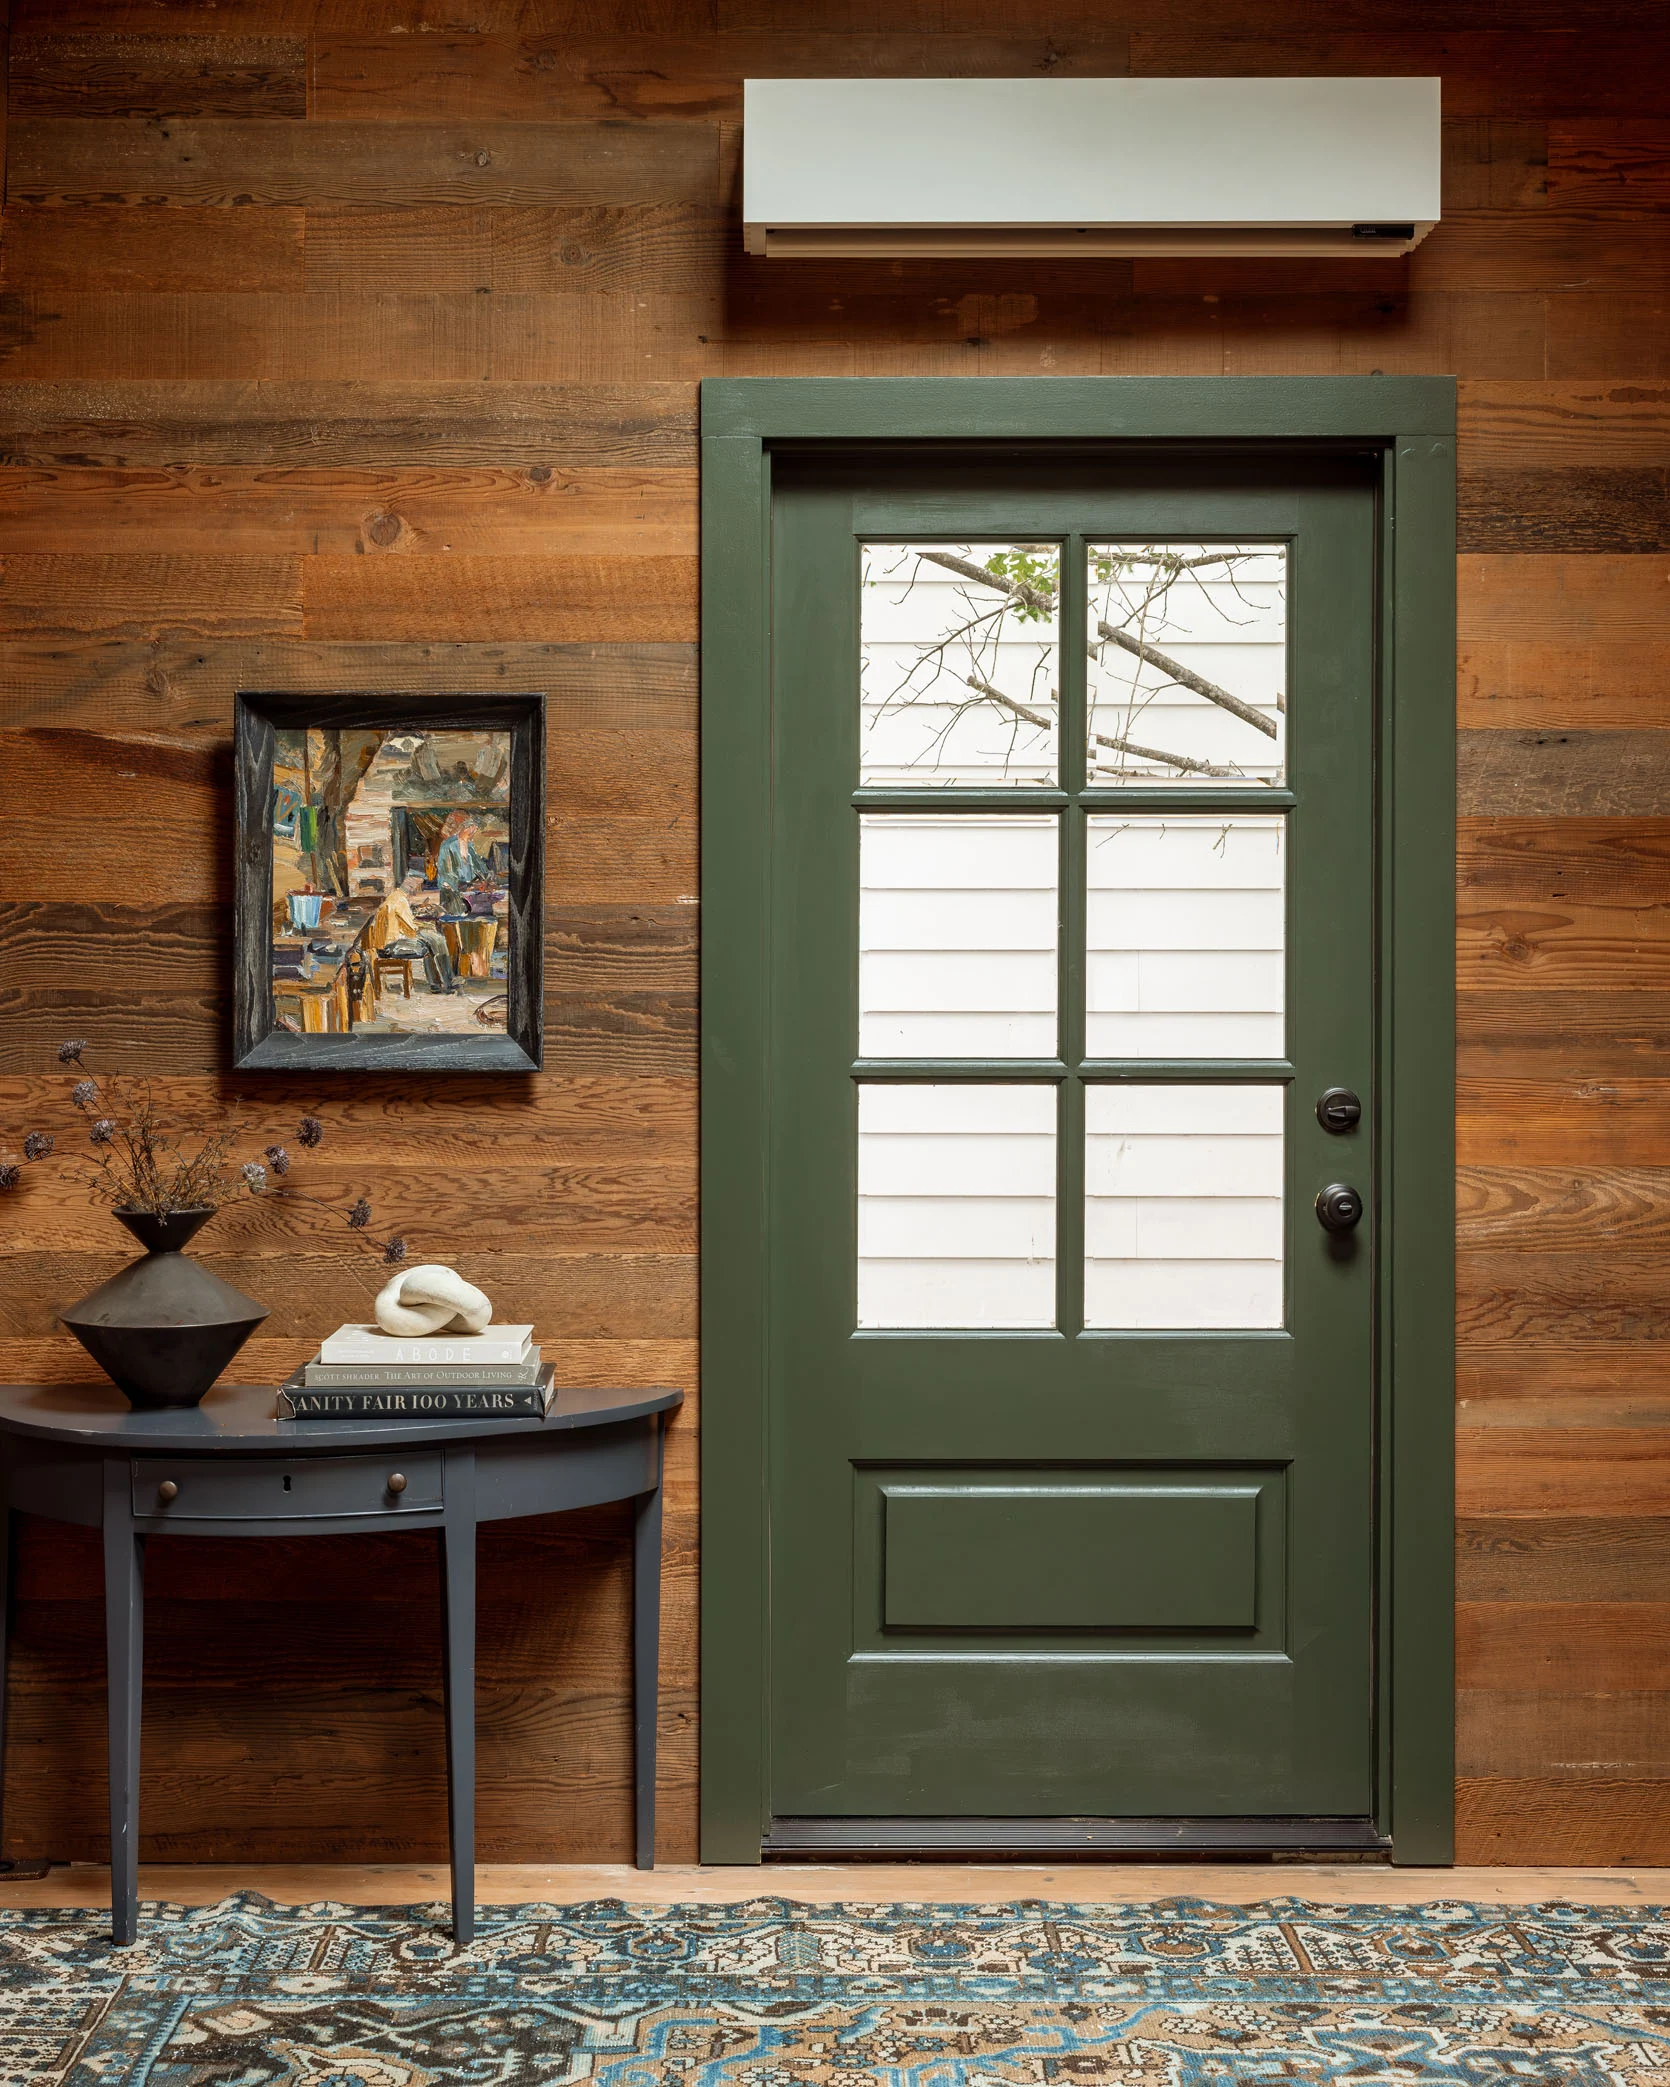
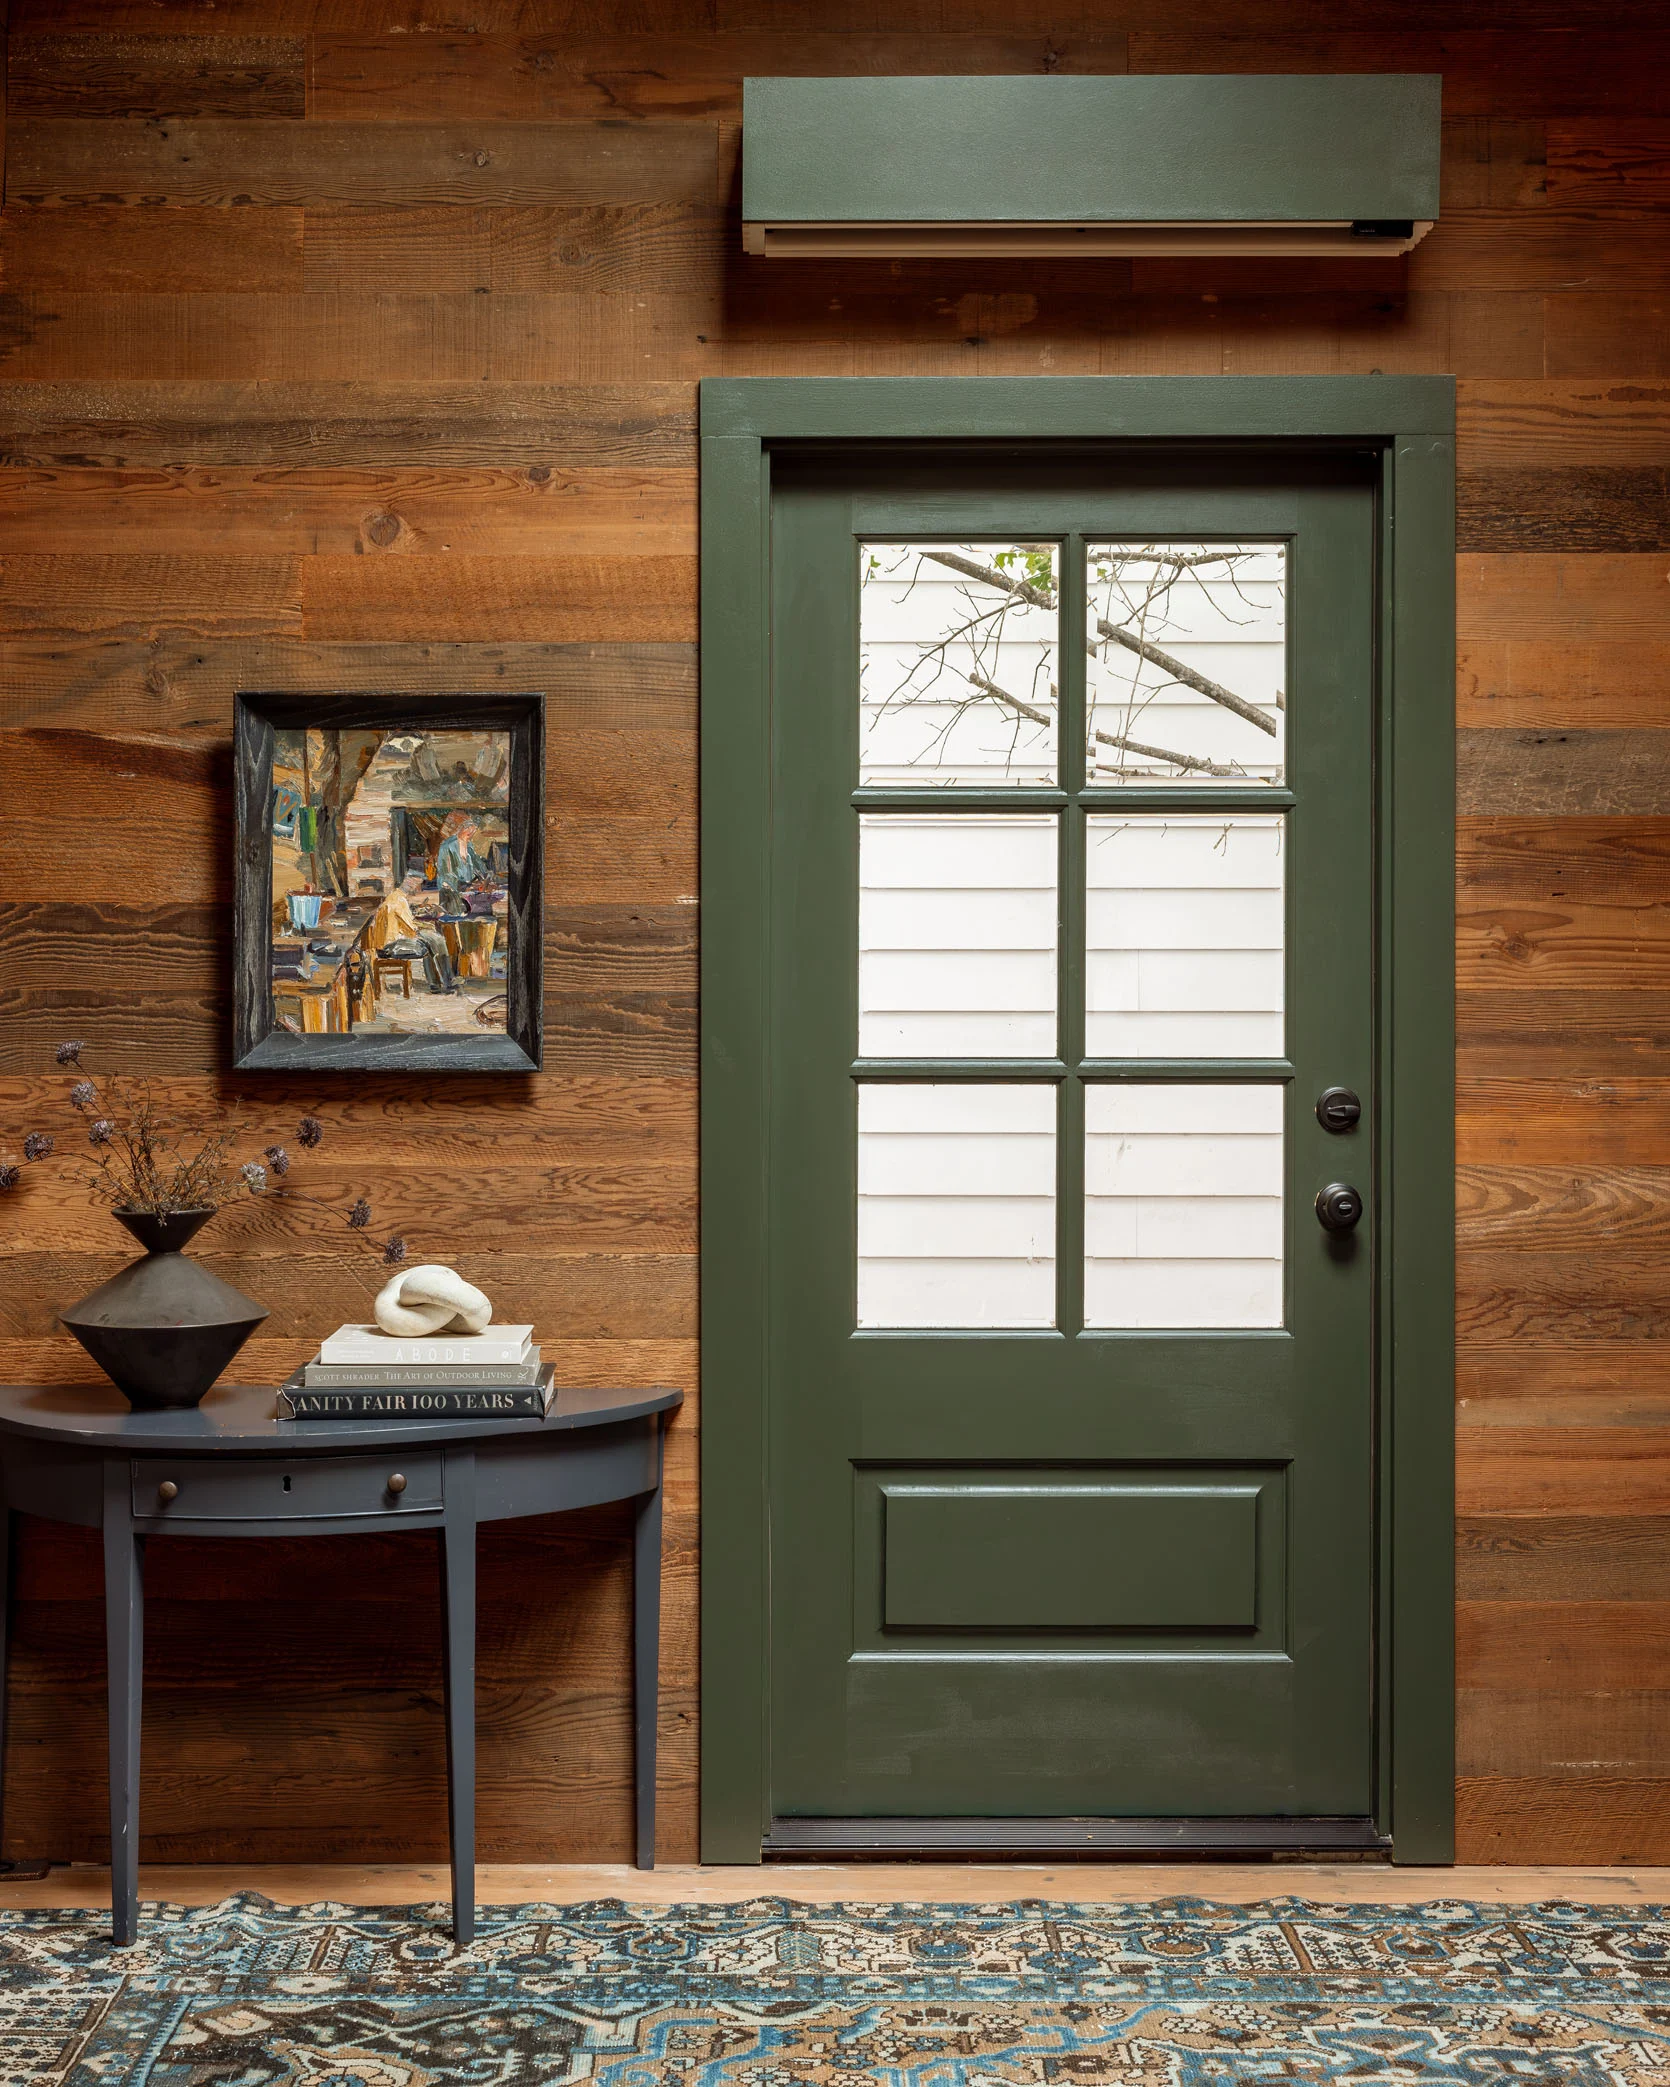
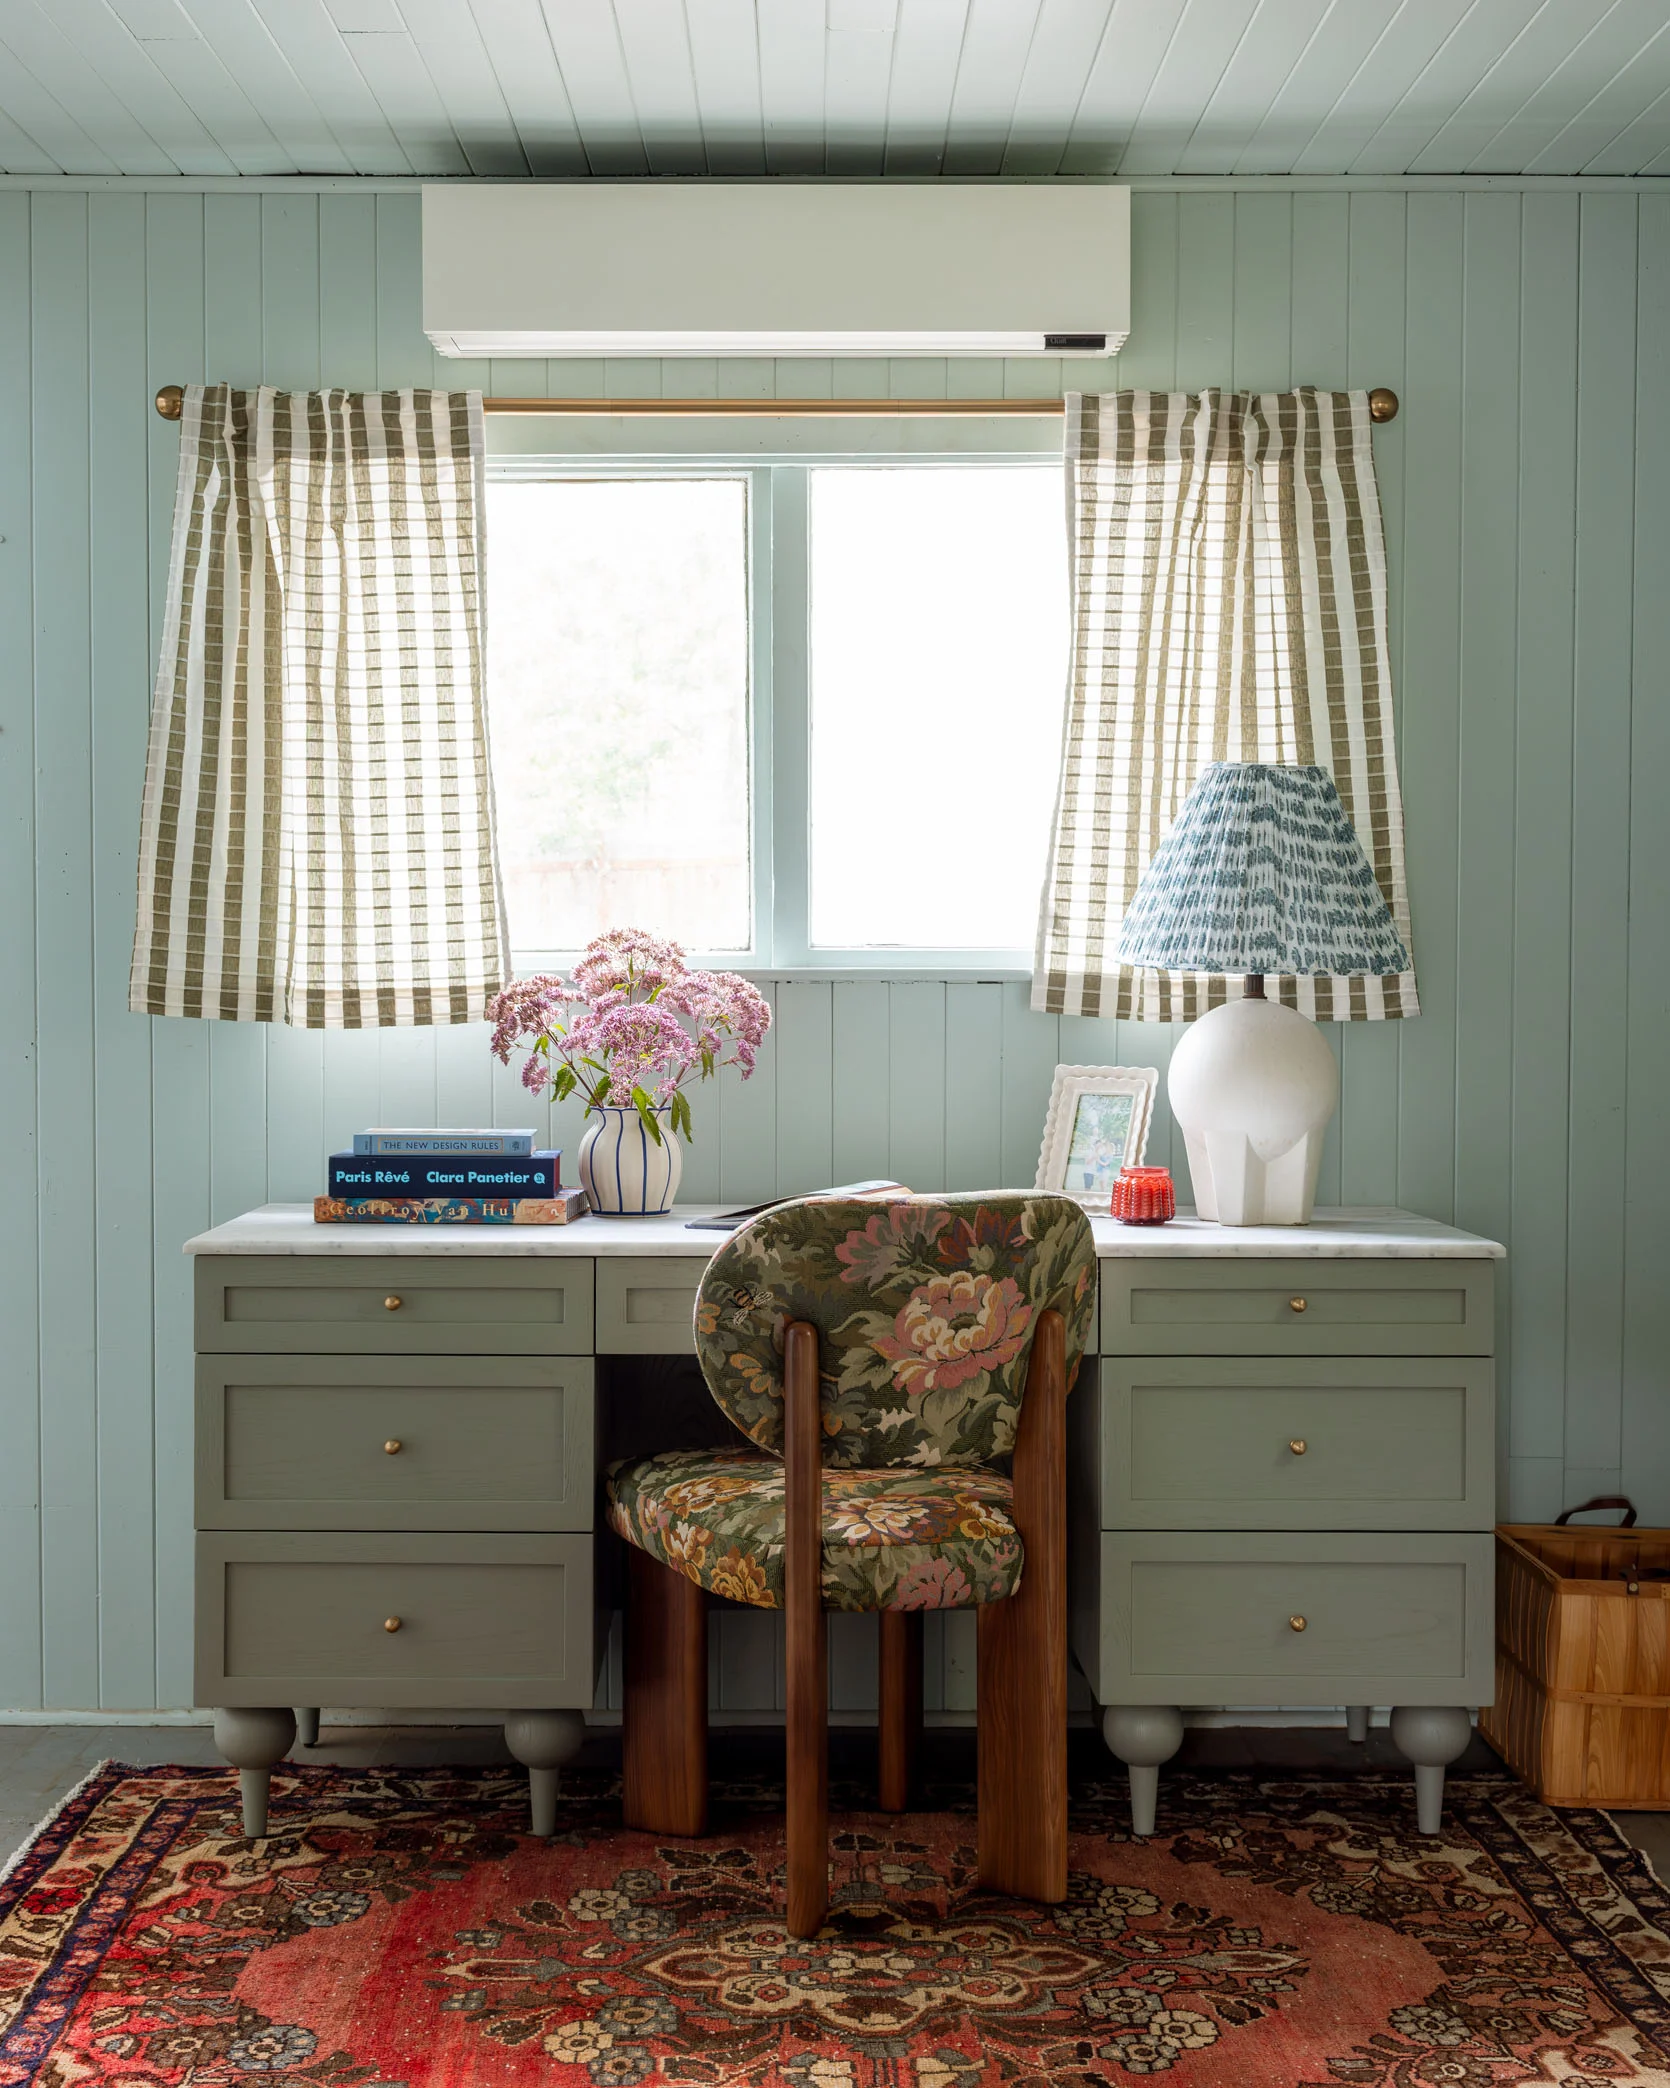
For this one, we chose directly above the door just to keep it visually simple and not have a weird 3-dimensional box sticking out somewhere. I painted the door and window the weekend before and easily slapped the front panel with a coat of paint. It’s so easy it’s stupid. We wanted to show how easy it was to paint, but we might panel it in the reclaimed wood later (but honestly, I really love how this looks, so I’m not that motivated to alter it more, but we’ll see).
**Note: As a reminder, you can wallpaper the panel as well. Or if you wanted to do something fancy like plaster or lime paint, you can do the same treatment to the panel that you can your walls. It’s genius.
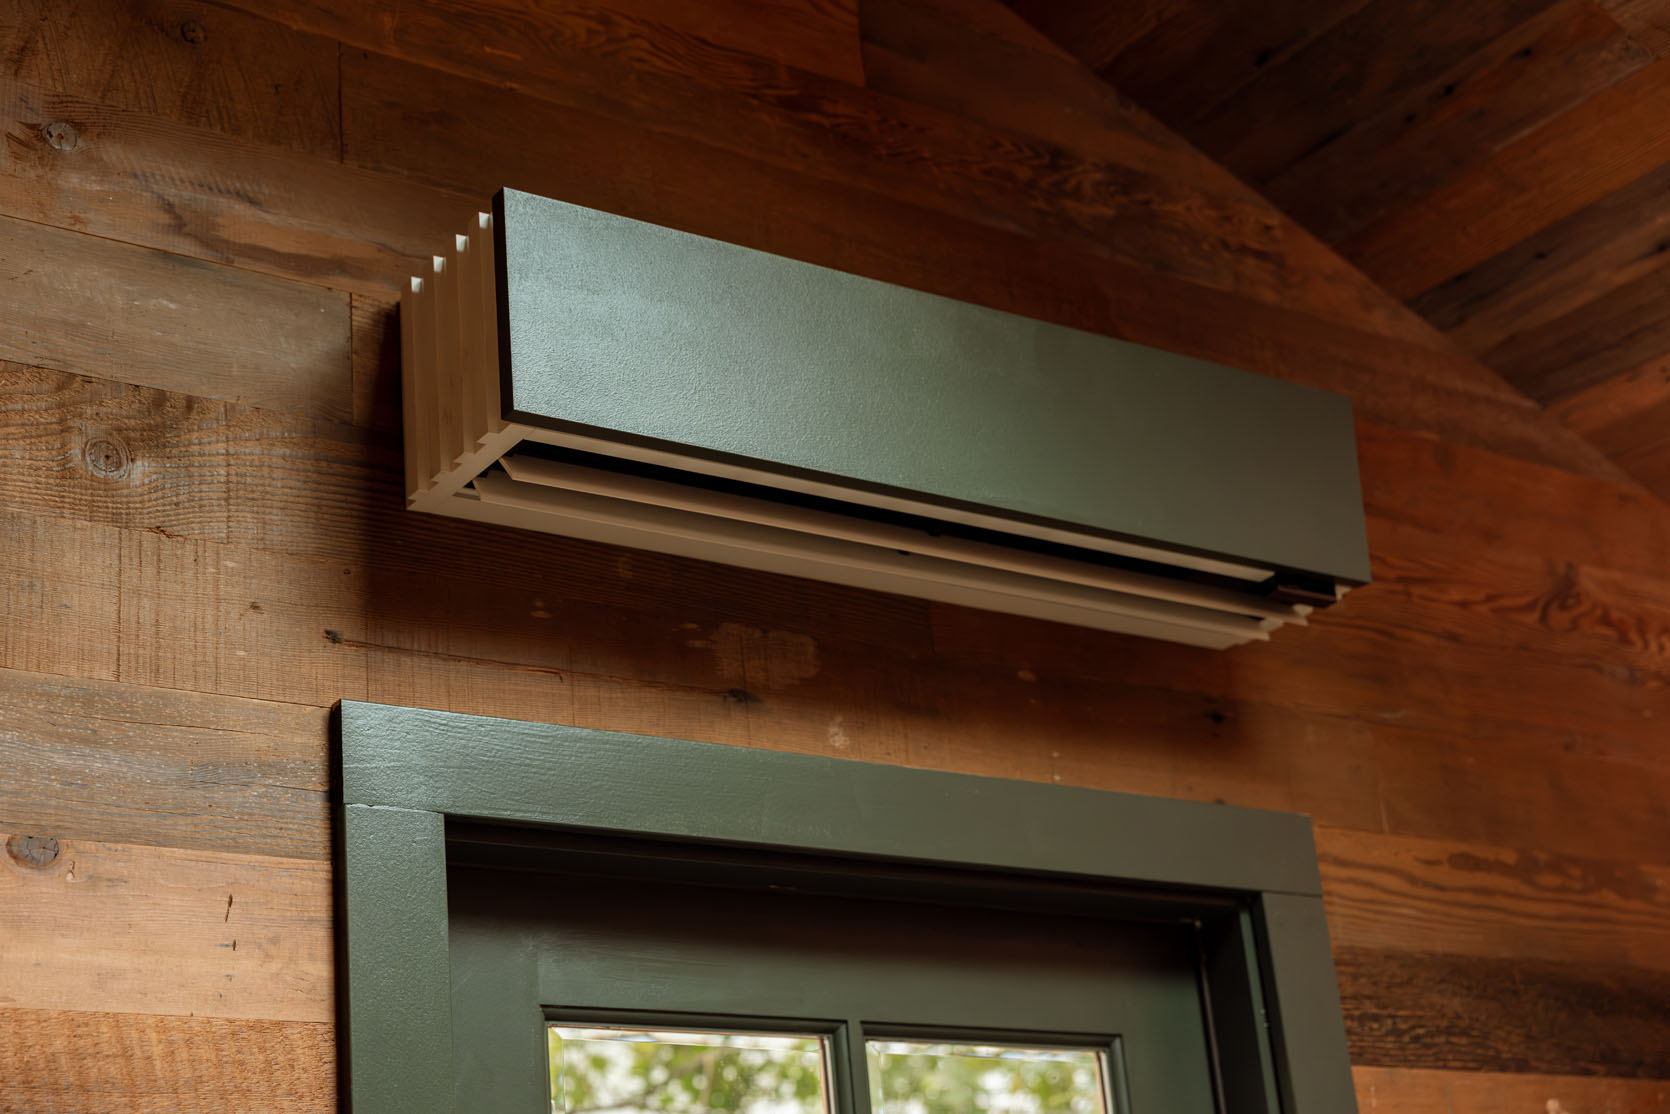
A Quilt unit this size can easily heat or cool this huge room (15×19) in 15 minutes. It’s so impressive. This room stays super cool in the summer, but it’s so cold in the winter that it would be unusable without the Quilt unit.
Quilt #3: Our HOT AS HECK Upstairs Meeting Room
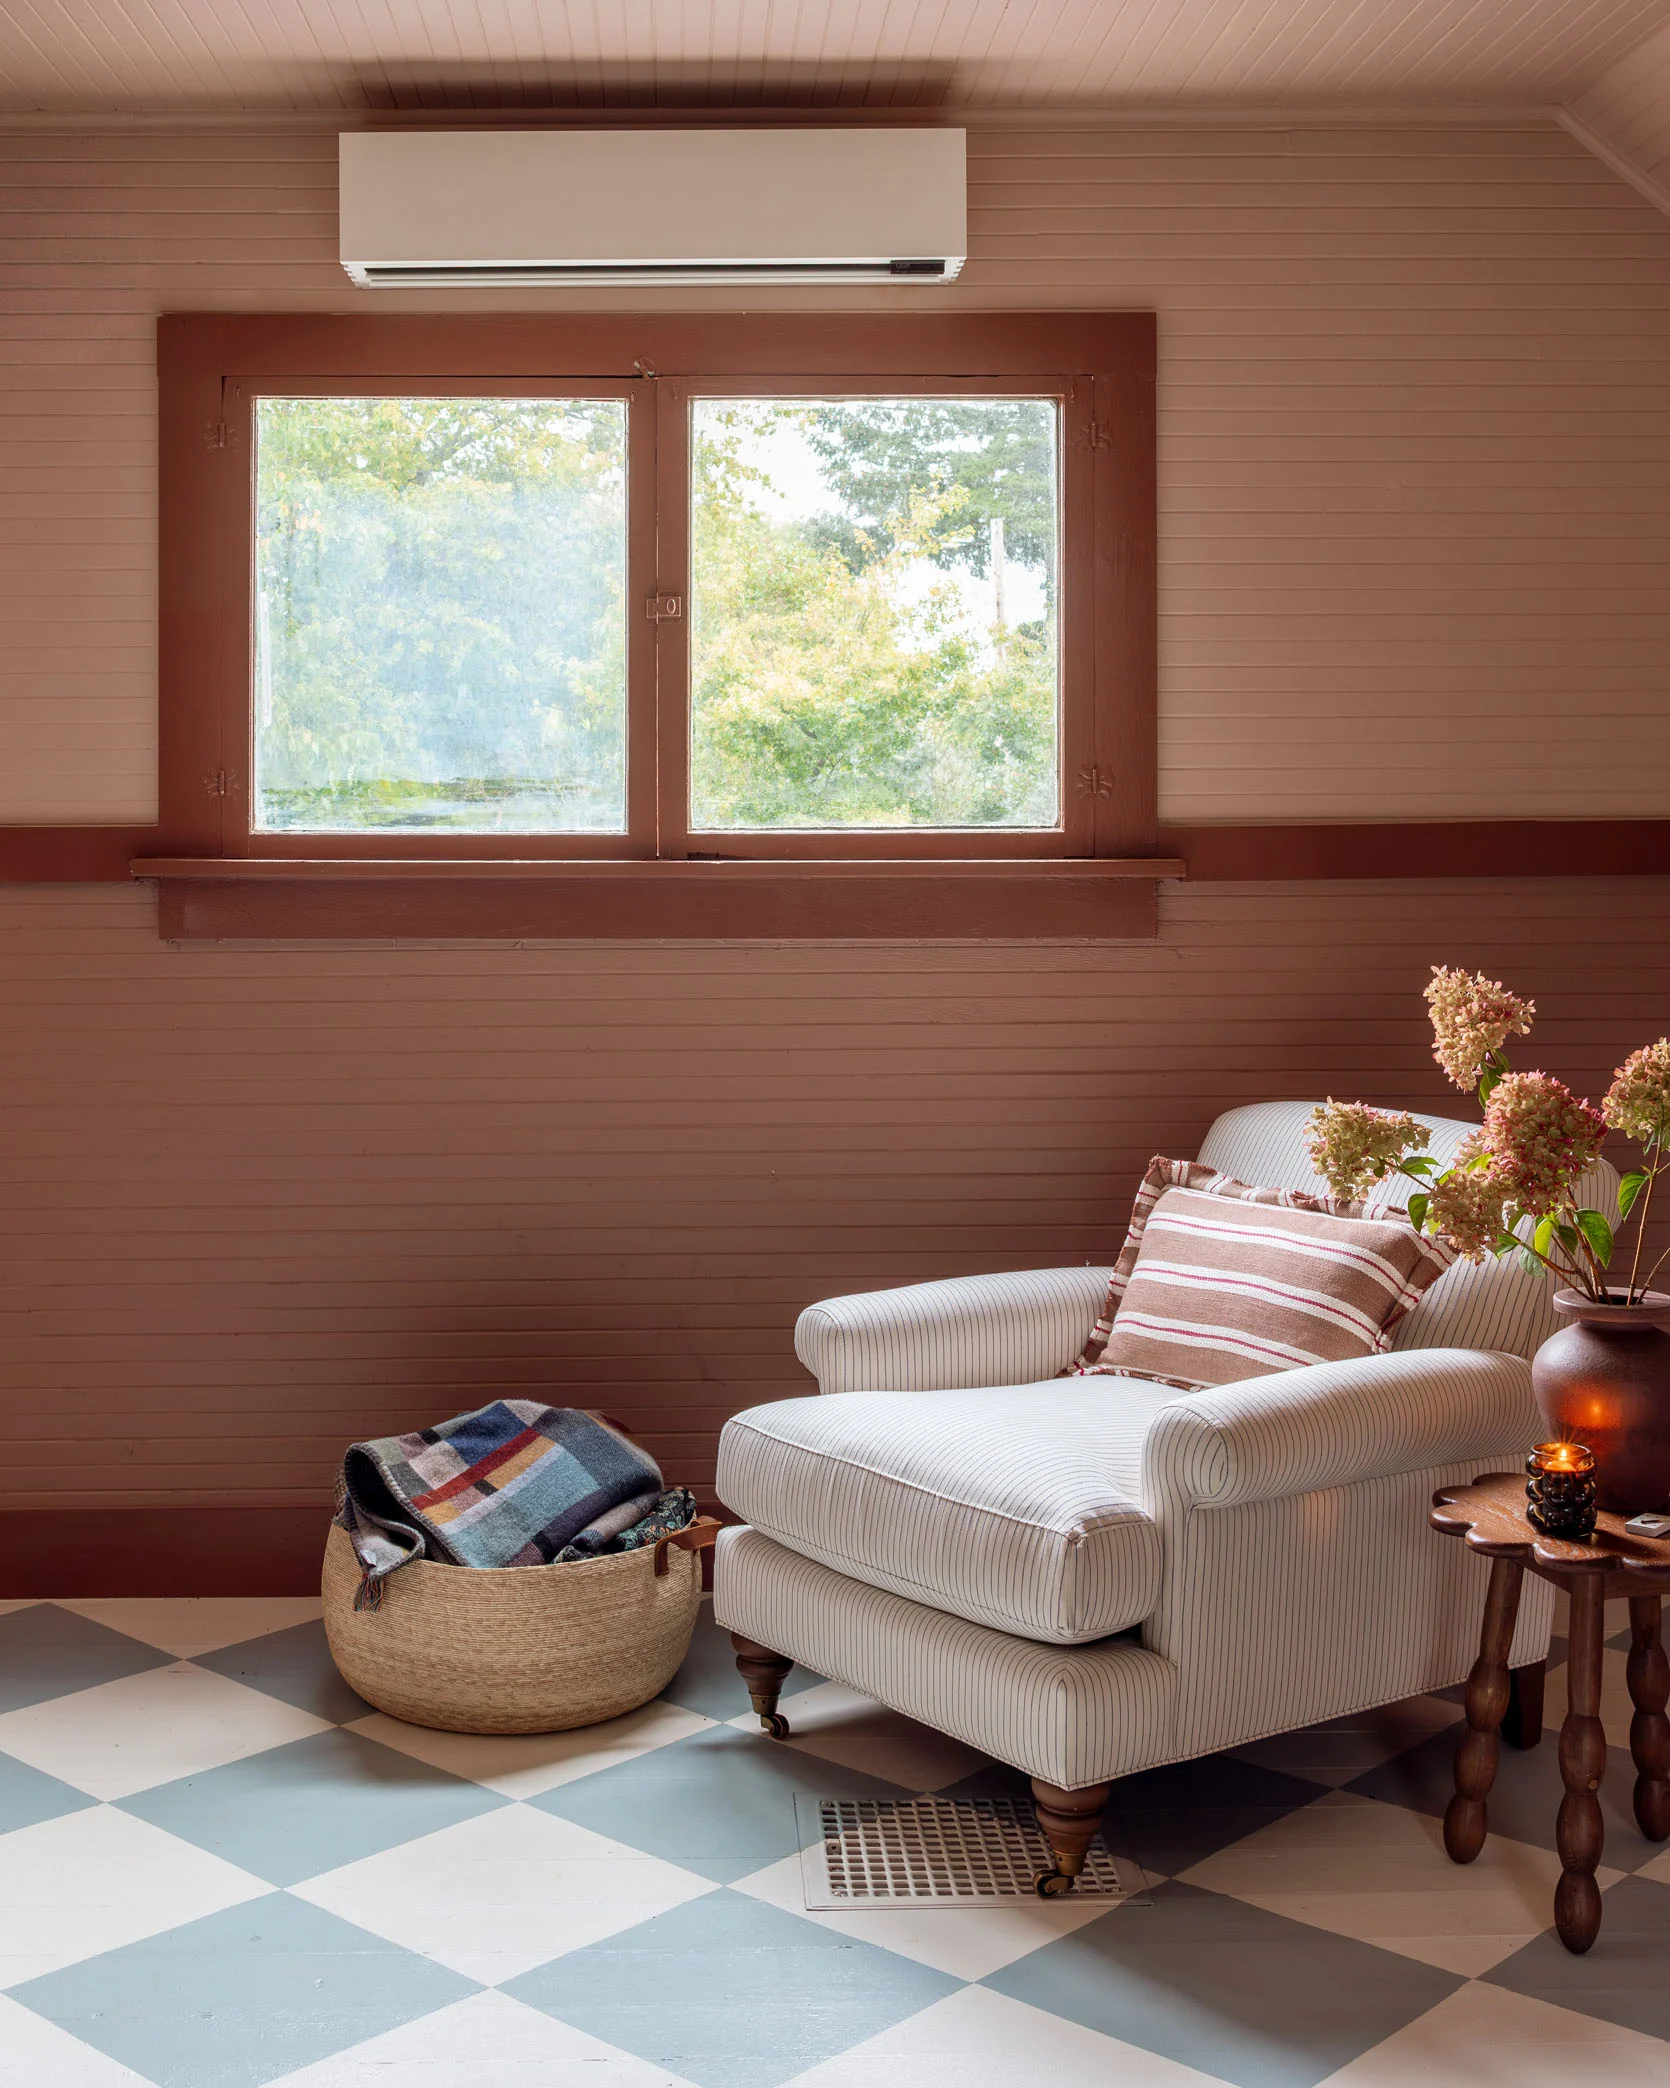
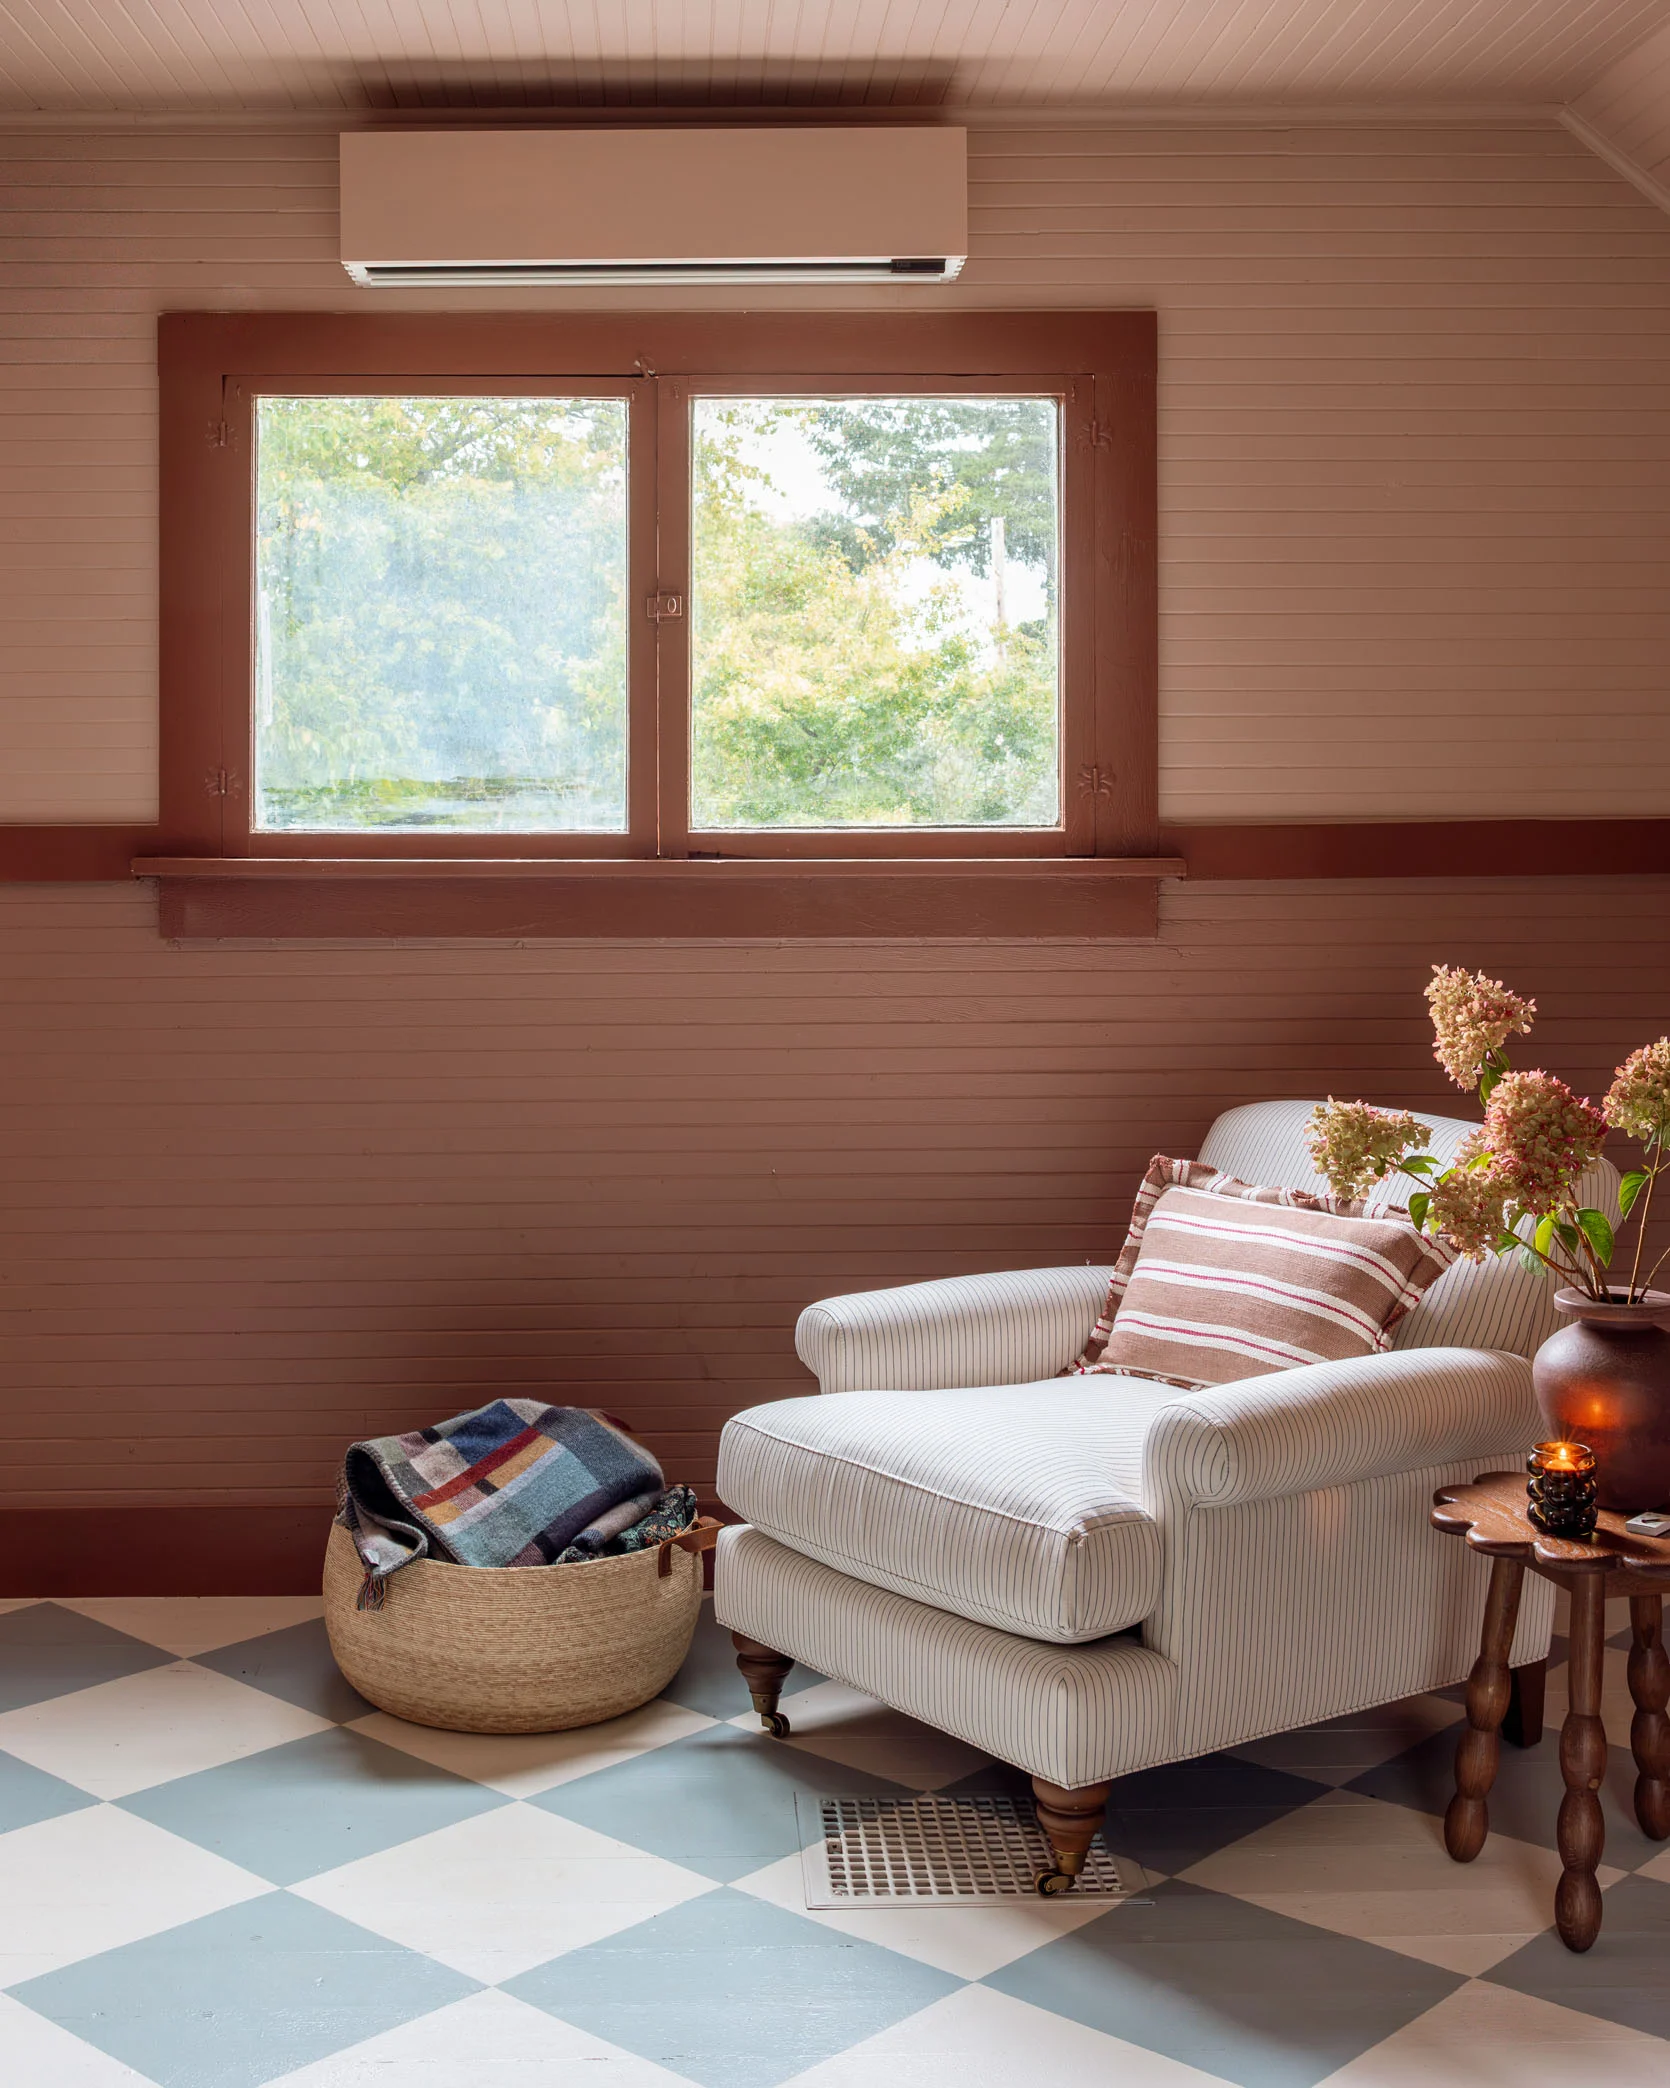
Our upstairs meeting room gets extremely hot in the summer. And if I’m being totally honest, after spending time up here, I think this room feels more like a bedroom than a team meeting room (I don’t love working up here!), so we are thinking of turning this into a guest room, which would make this Quilt unit even more important. But my goodness, it works so fast. It was a solid 90 degrees up here the other day, a couple of days after the Quilt was installed, and I forgot to turn it on in advance. Within 20 minutes, it was 70 degrees. So impressive.
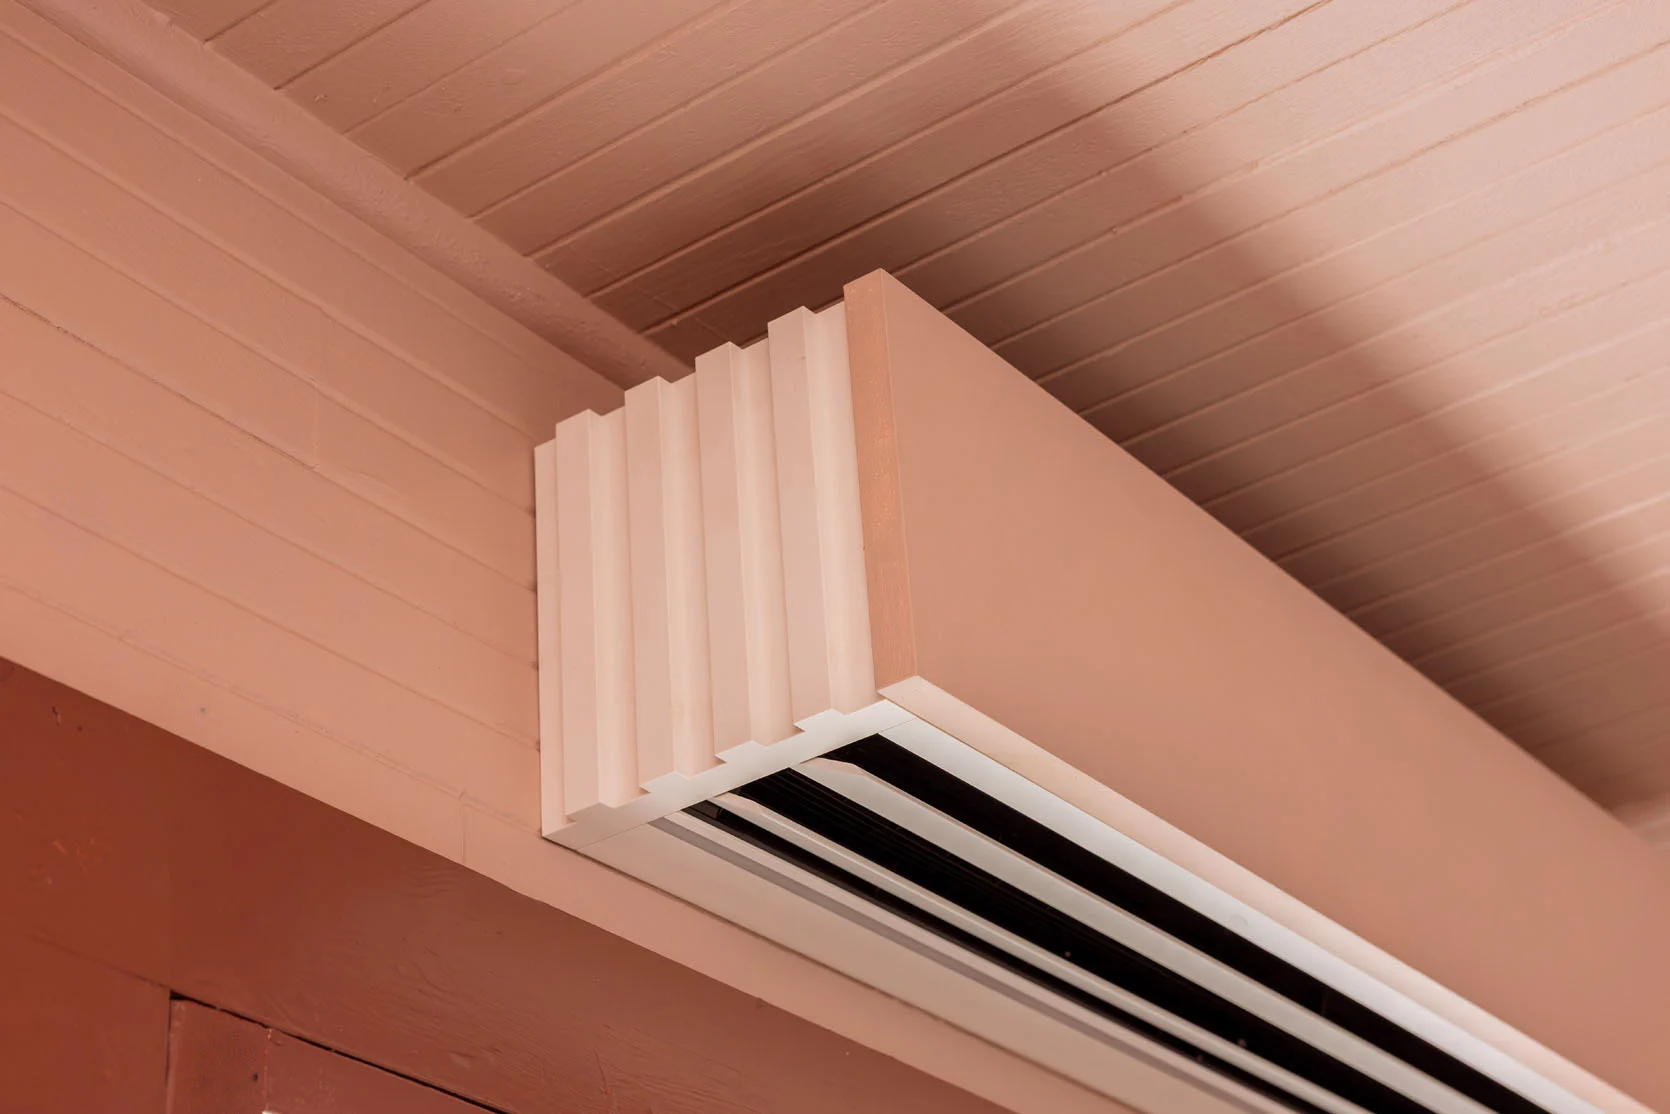
If you are wondering if you can paint the sides, we asked, and as of now they aren’t made to be painted. I requested that you can, of course, and also suggested making a darker/black version for darker rooms. So more to come, hopefully.
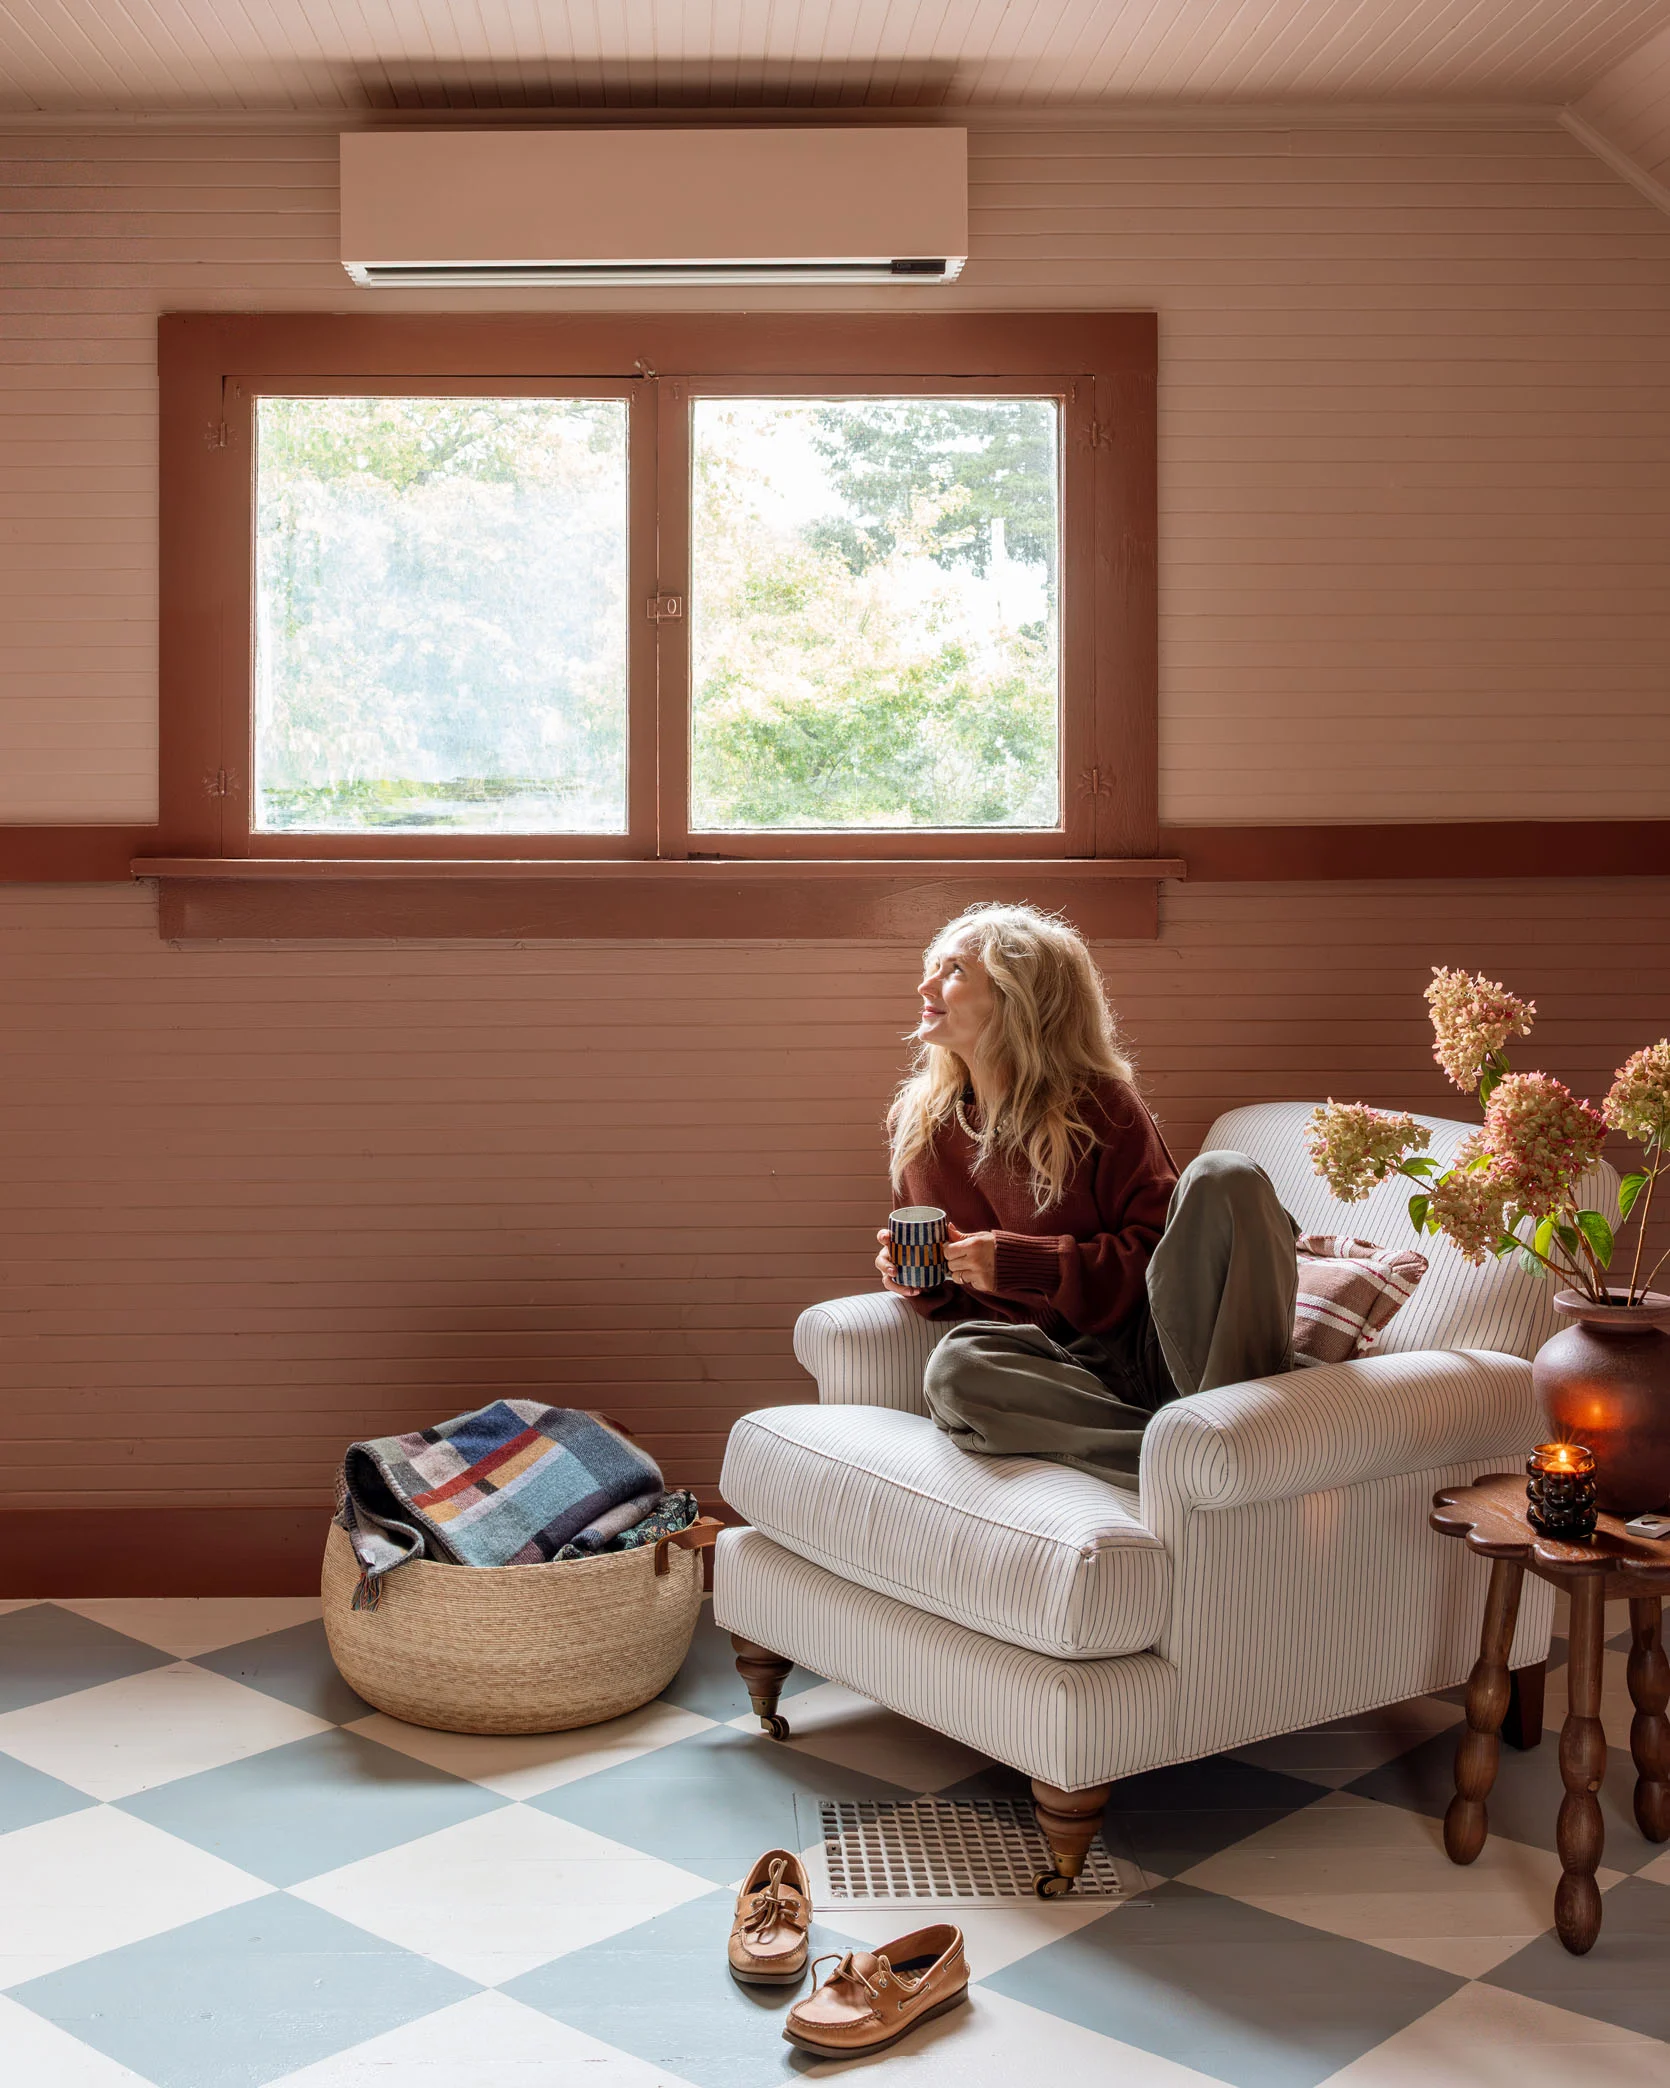
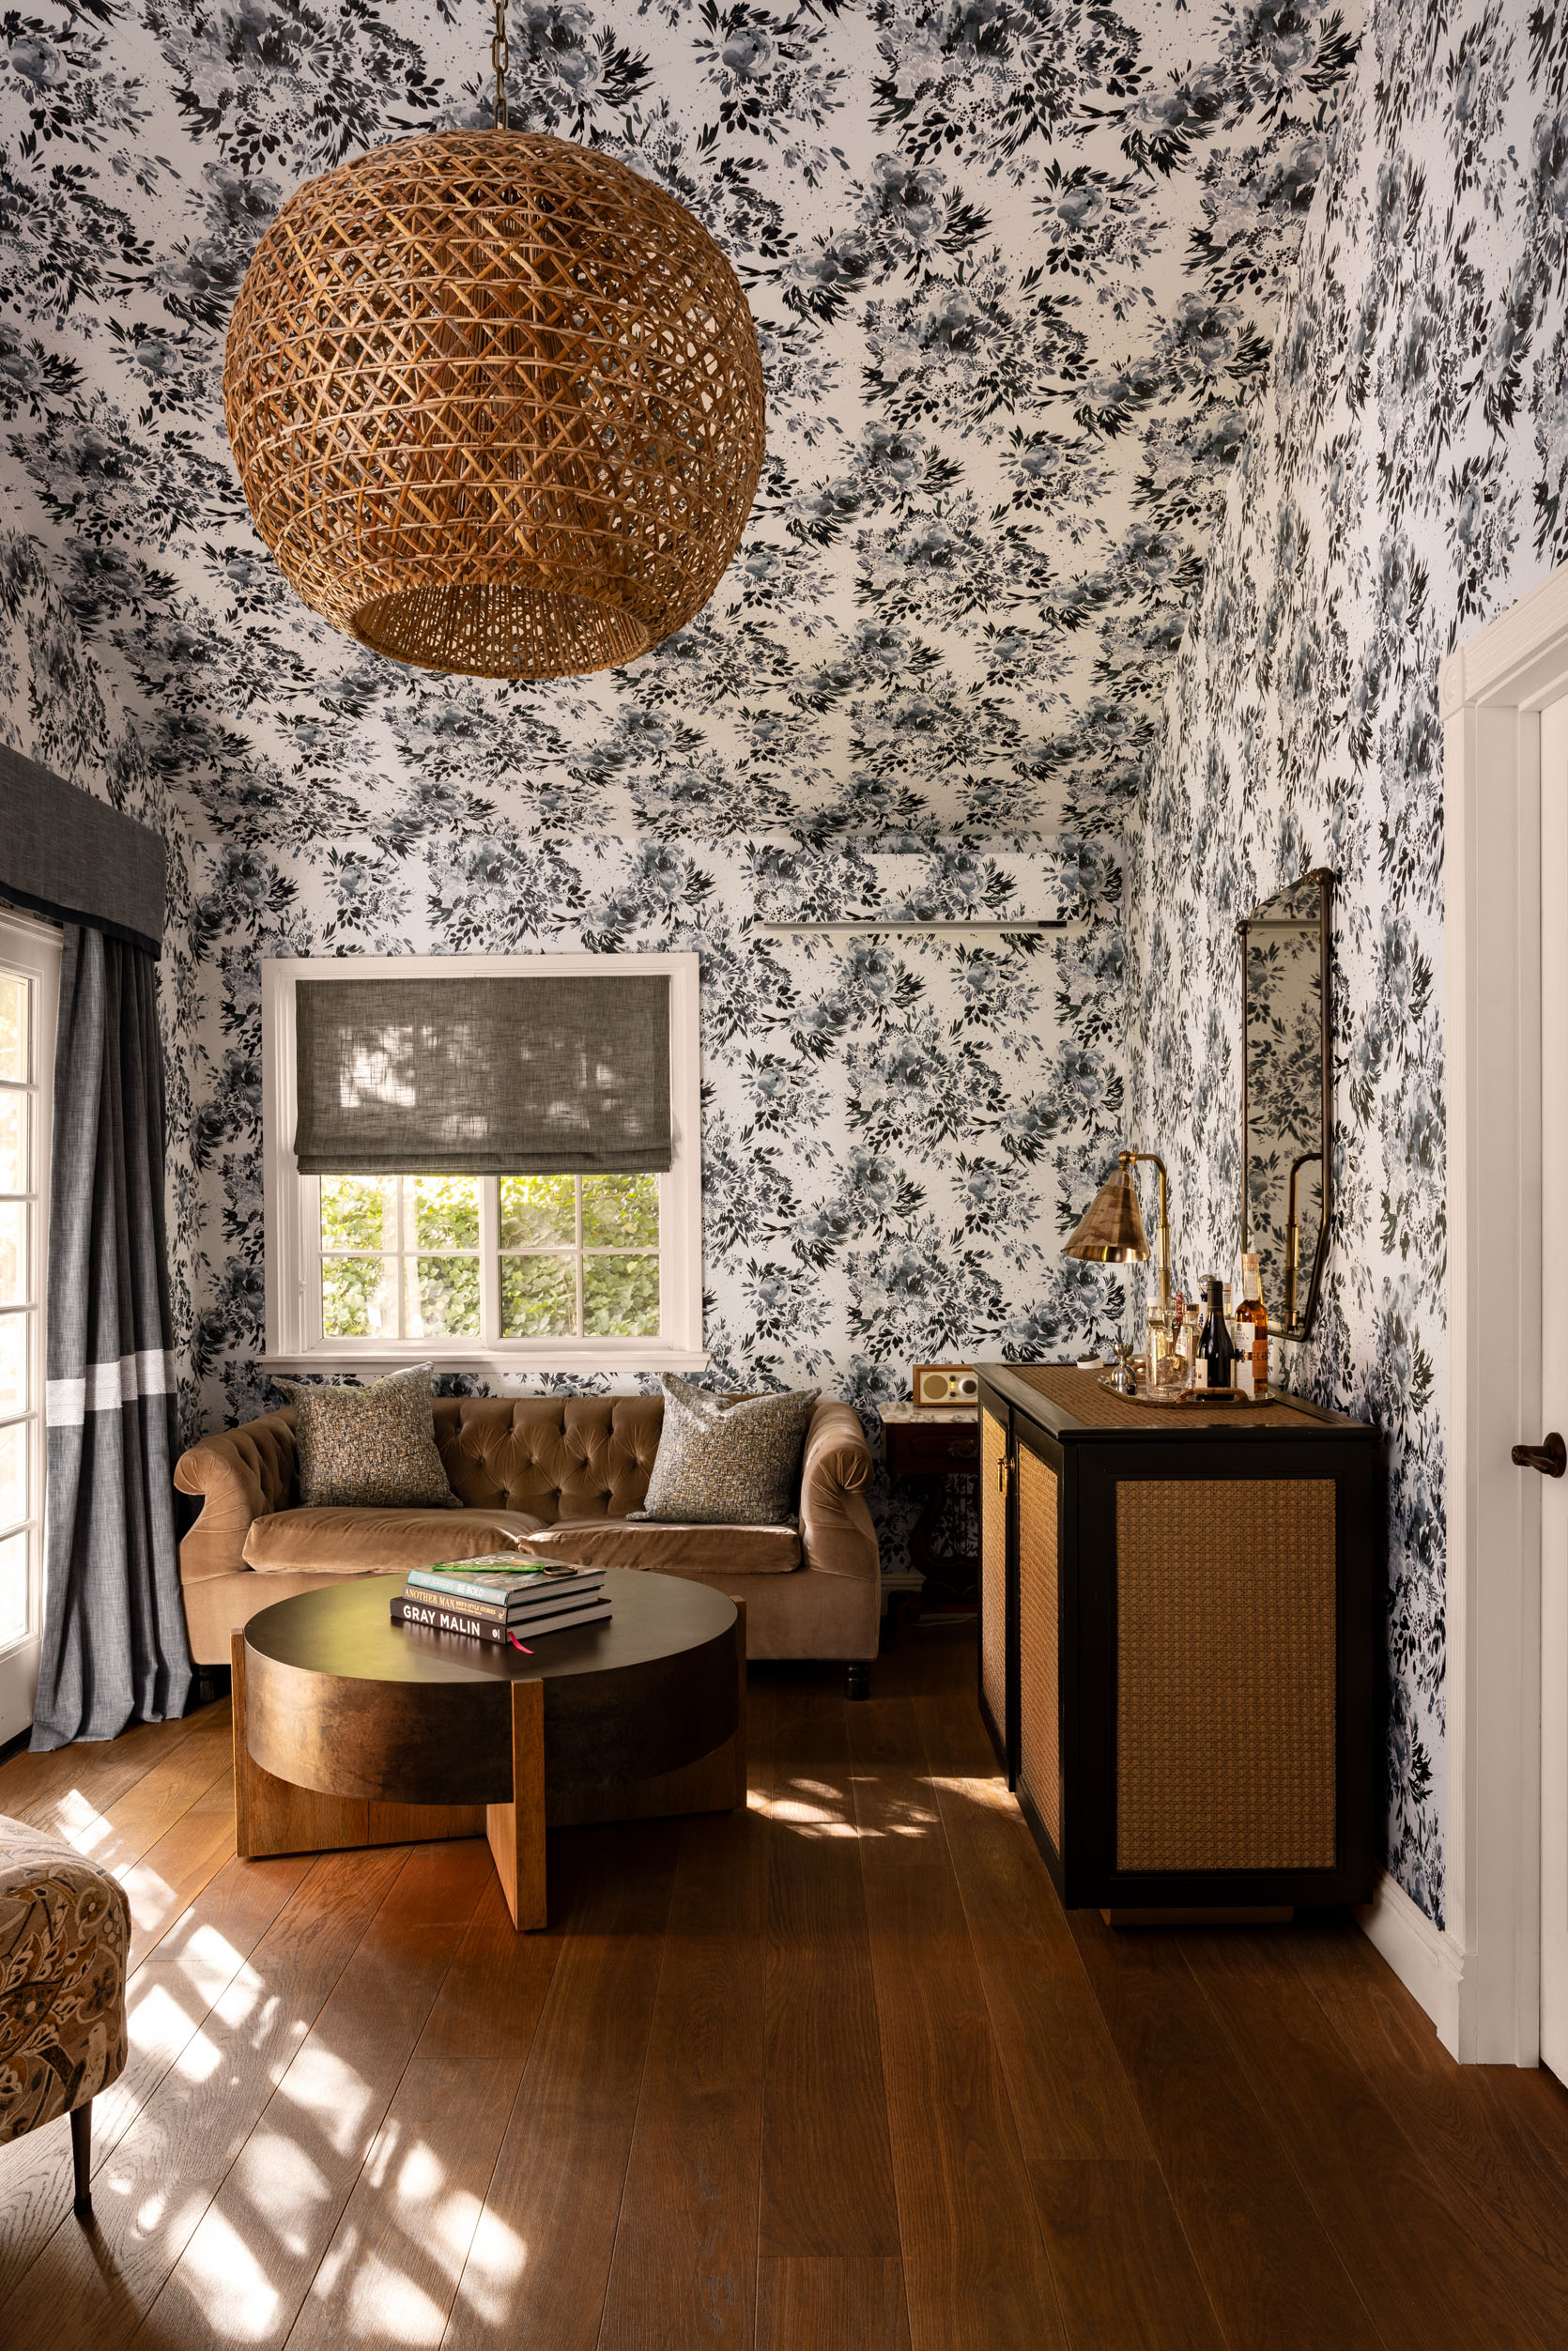
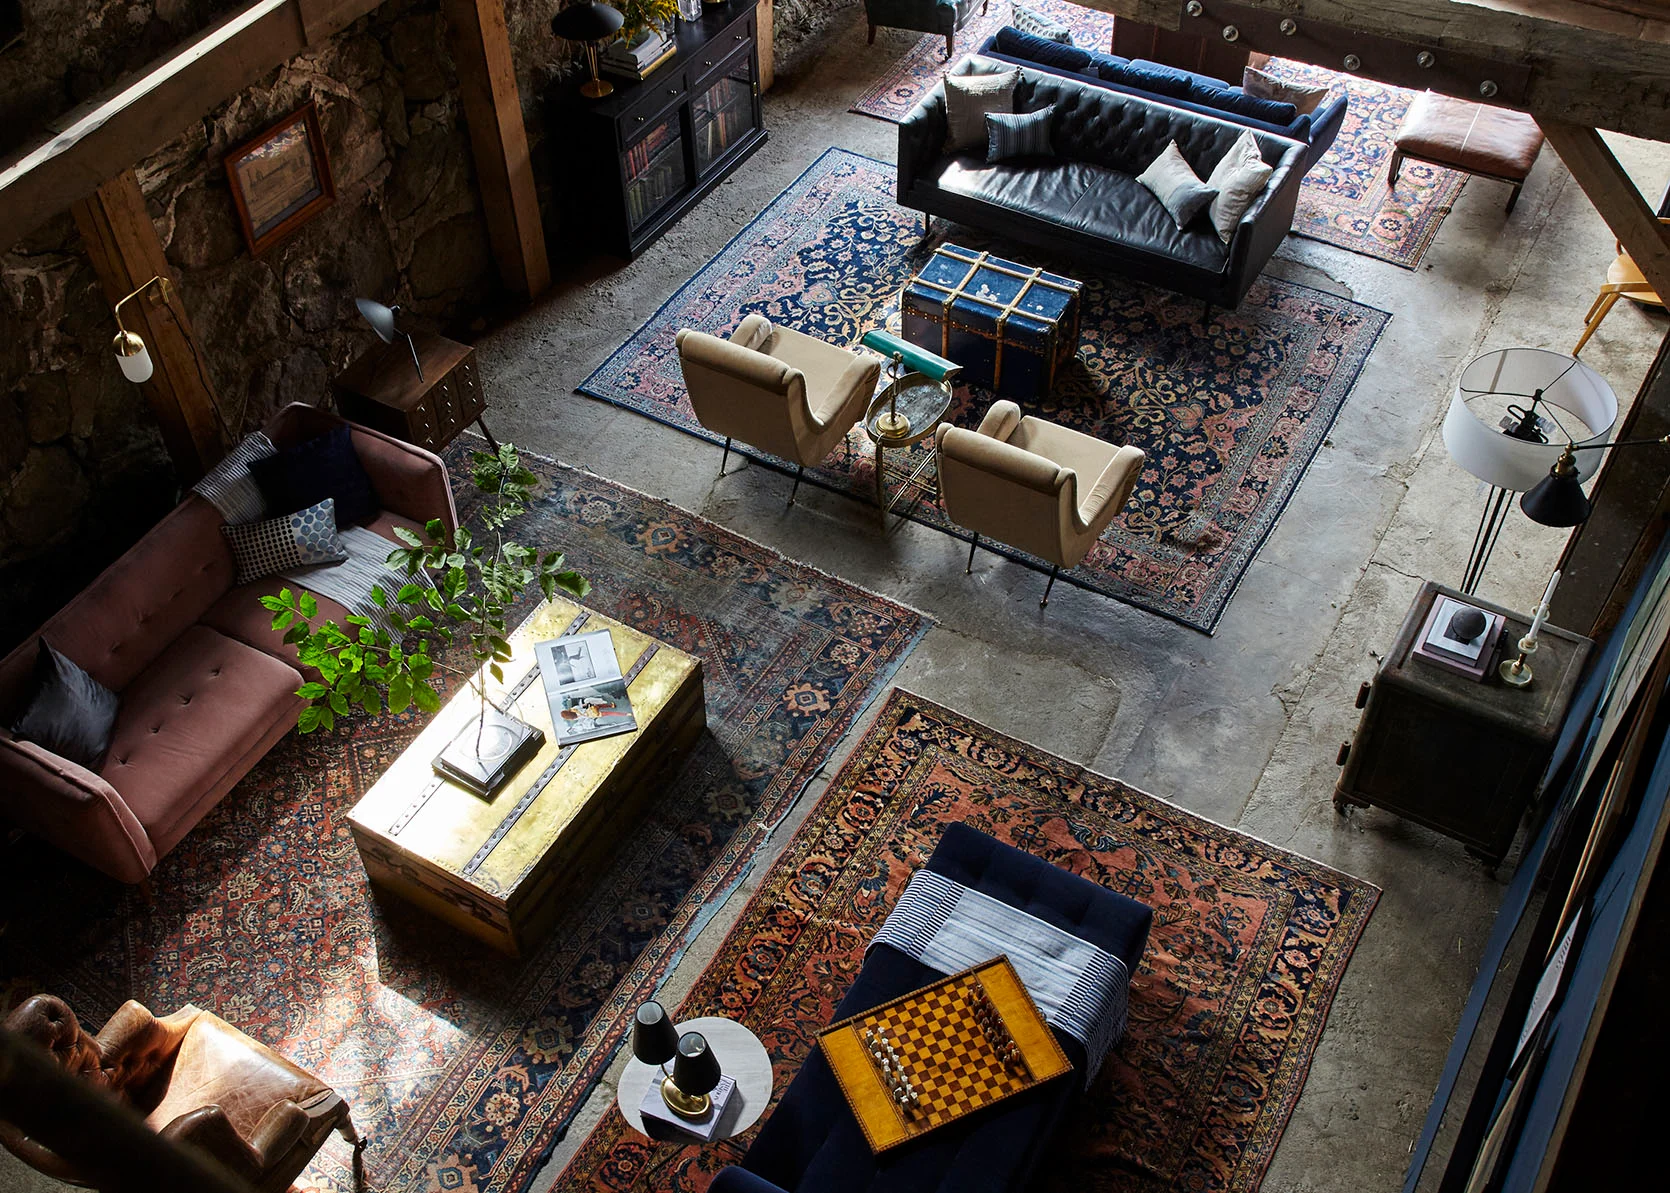
Now our last Quilt unit is in our main living/kitchen, which is still a construction zone, so it’s not included here. But I think you get the idea – it’s the most flexible-looking, simple, efficient, and streamlined all-electric mini split in existence. And I love how they didn’t try to design it for you. So many design brands try to “solve” ugly problems by shoving their “designs” on them, when really most of us just want a simple blank slate that we can easily modify to work with our taste, style, and home. Here are some incredible other examples:
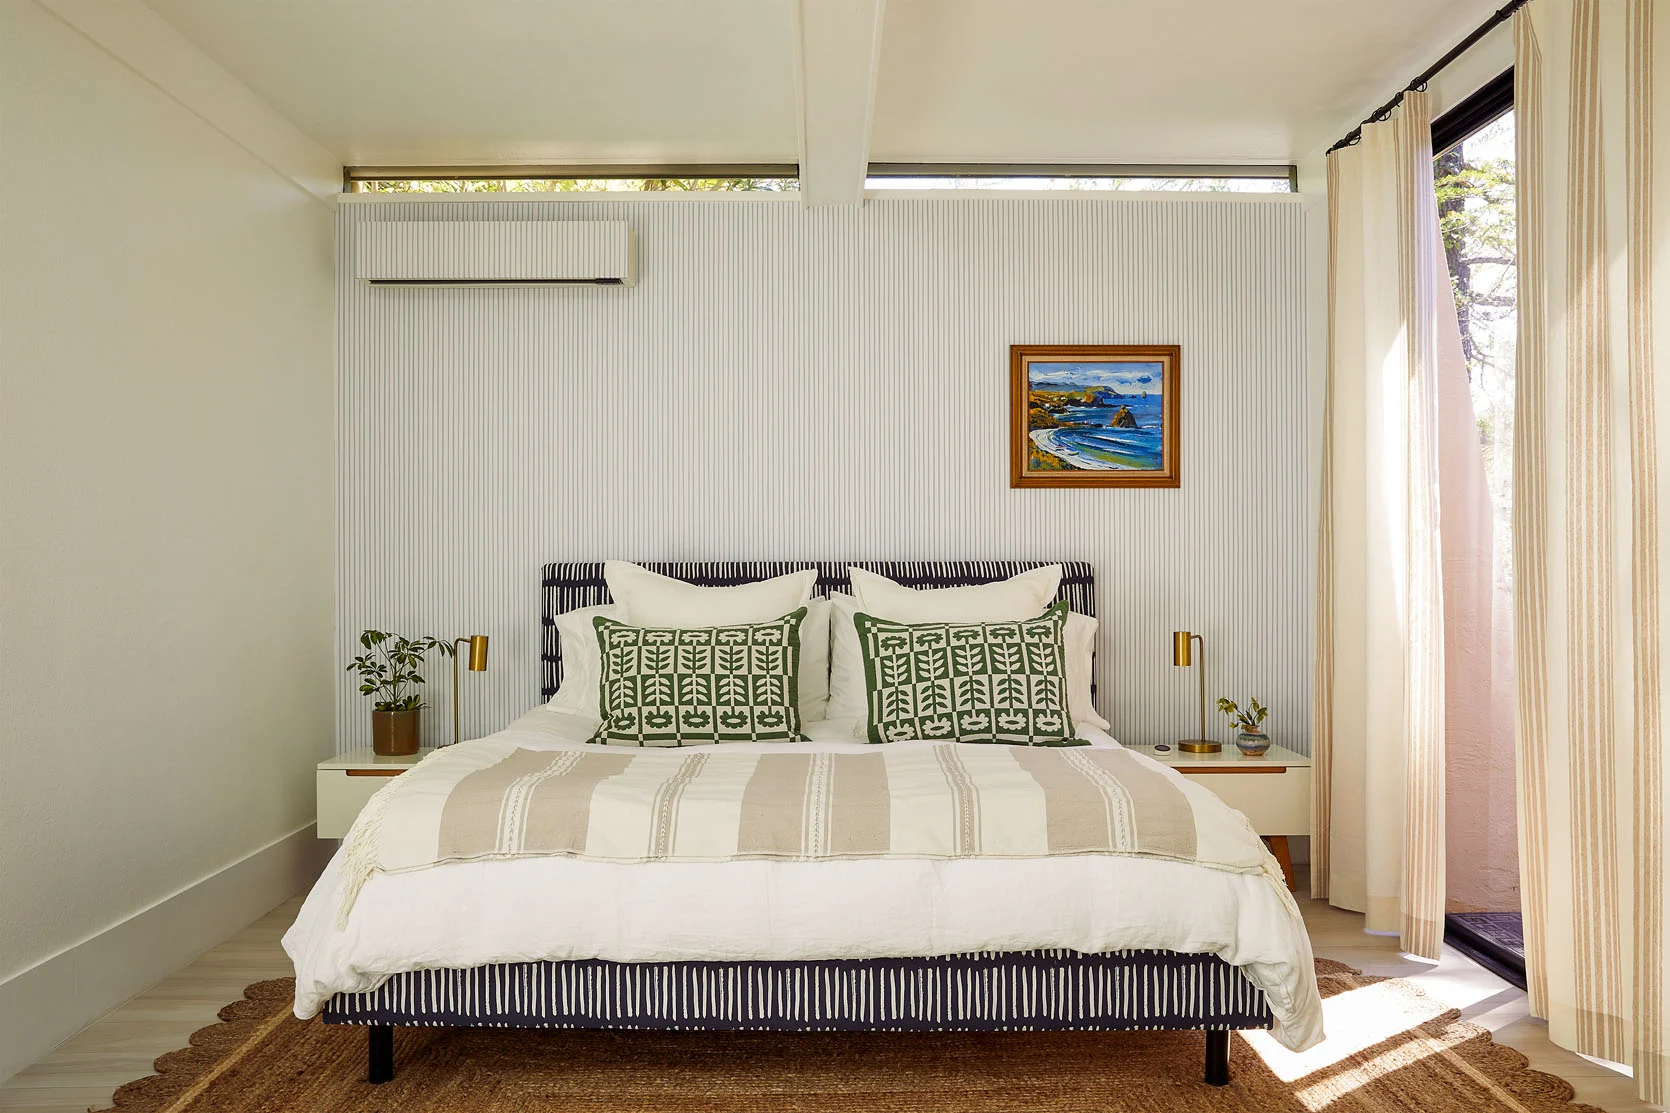
One panel option that we didn’t end up using or needing is their white oak front. I wish I had ordered one in time to shoot to show you, but it’s so lovely and would work specifically with a lot of contemporary clad walls. We are going to try it in our living room and see if it can be integrated enough into our wood. It’s so good.
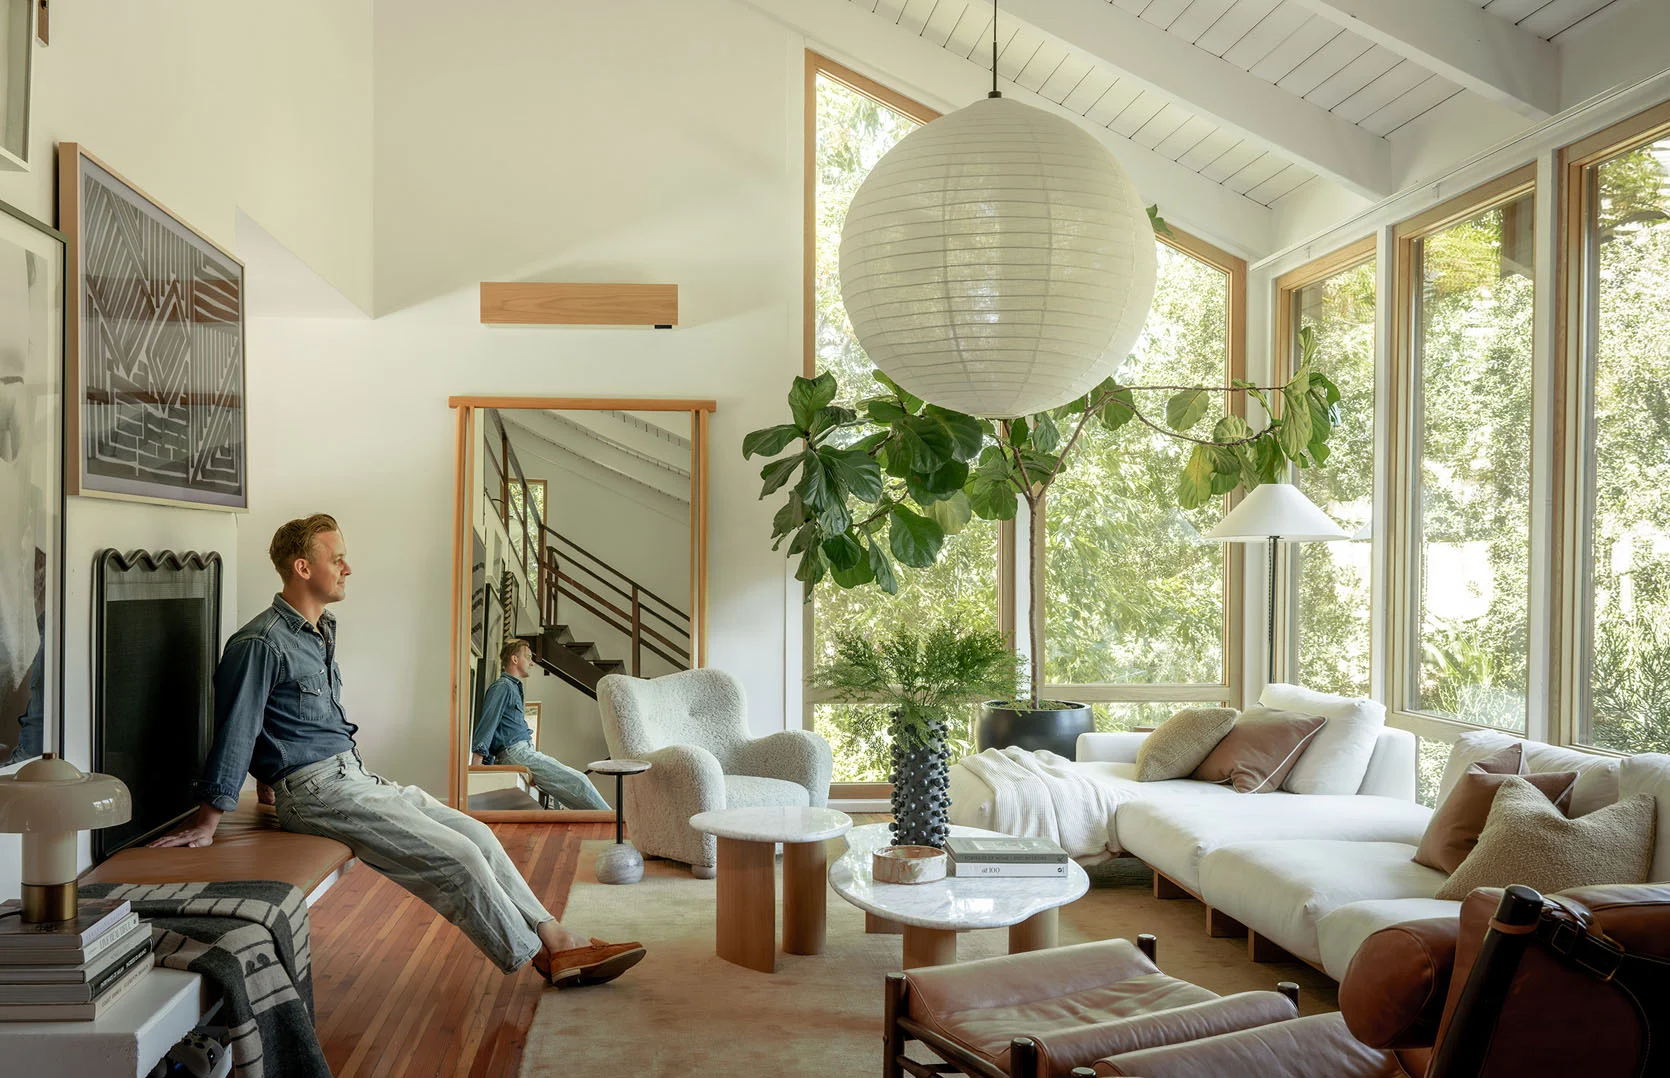
Hi, Brady! In case you are unfamiliar, Brady Tolbert worked for me for 5 years and is now killing it in the industry. His home is where I originally saw my first Quilt and couldn’t believe it was a mini split.
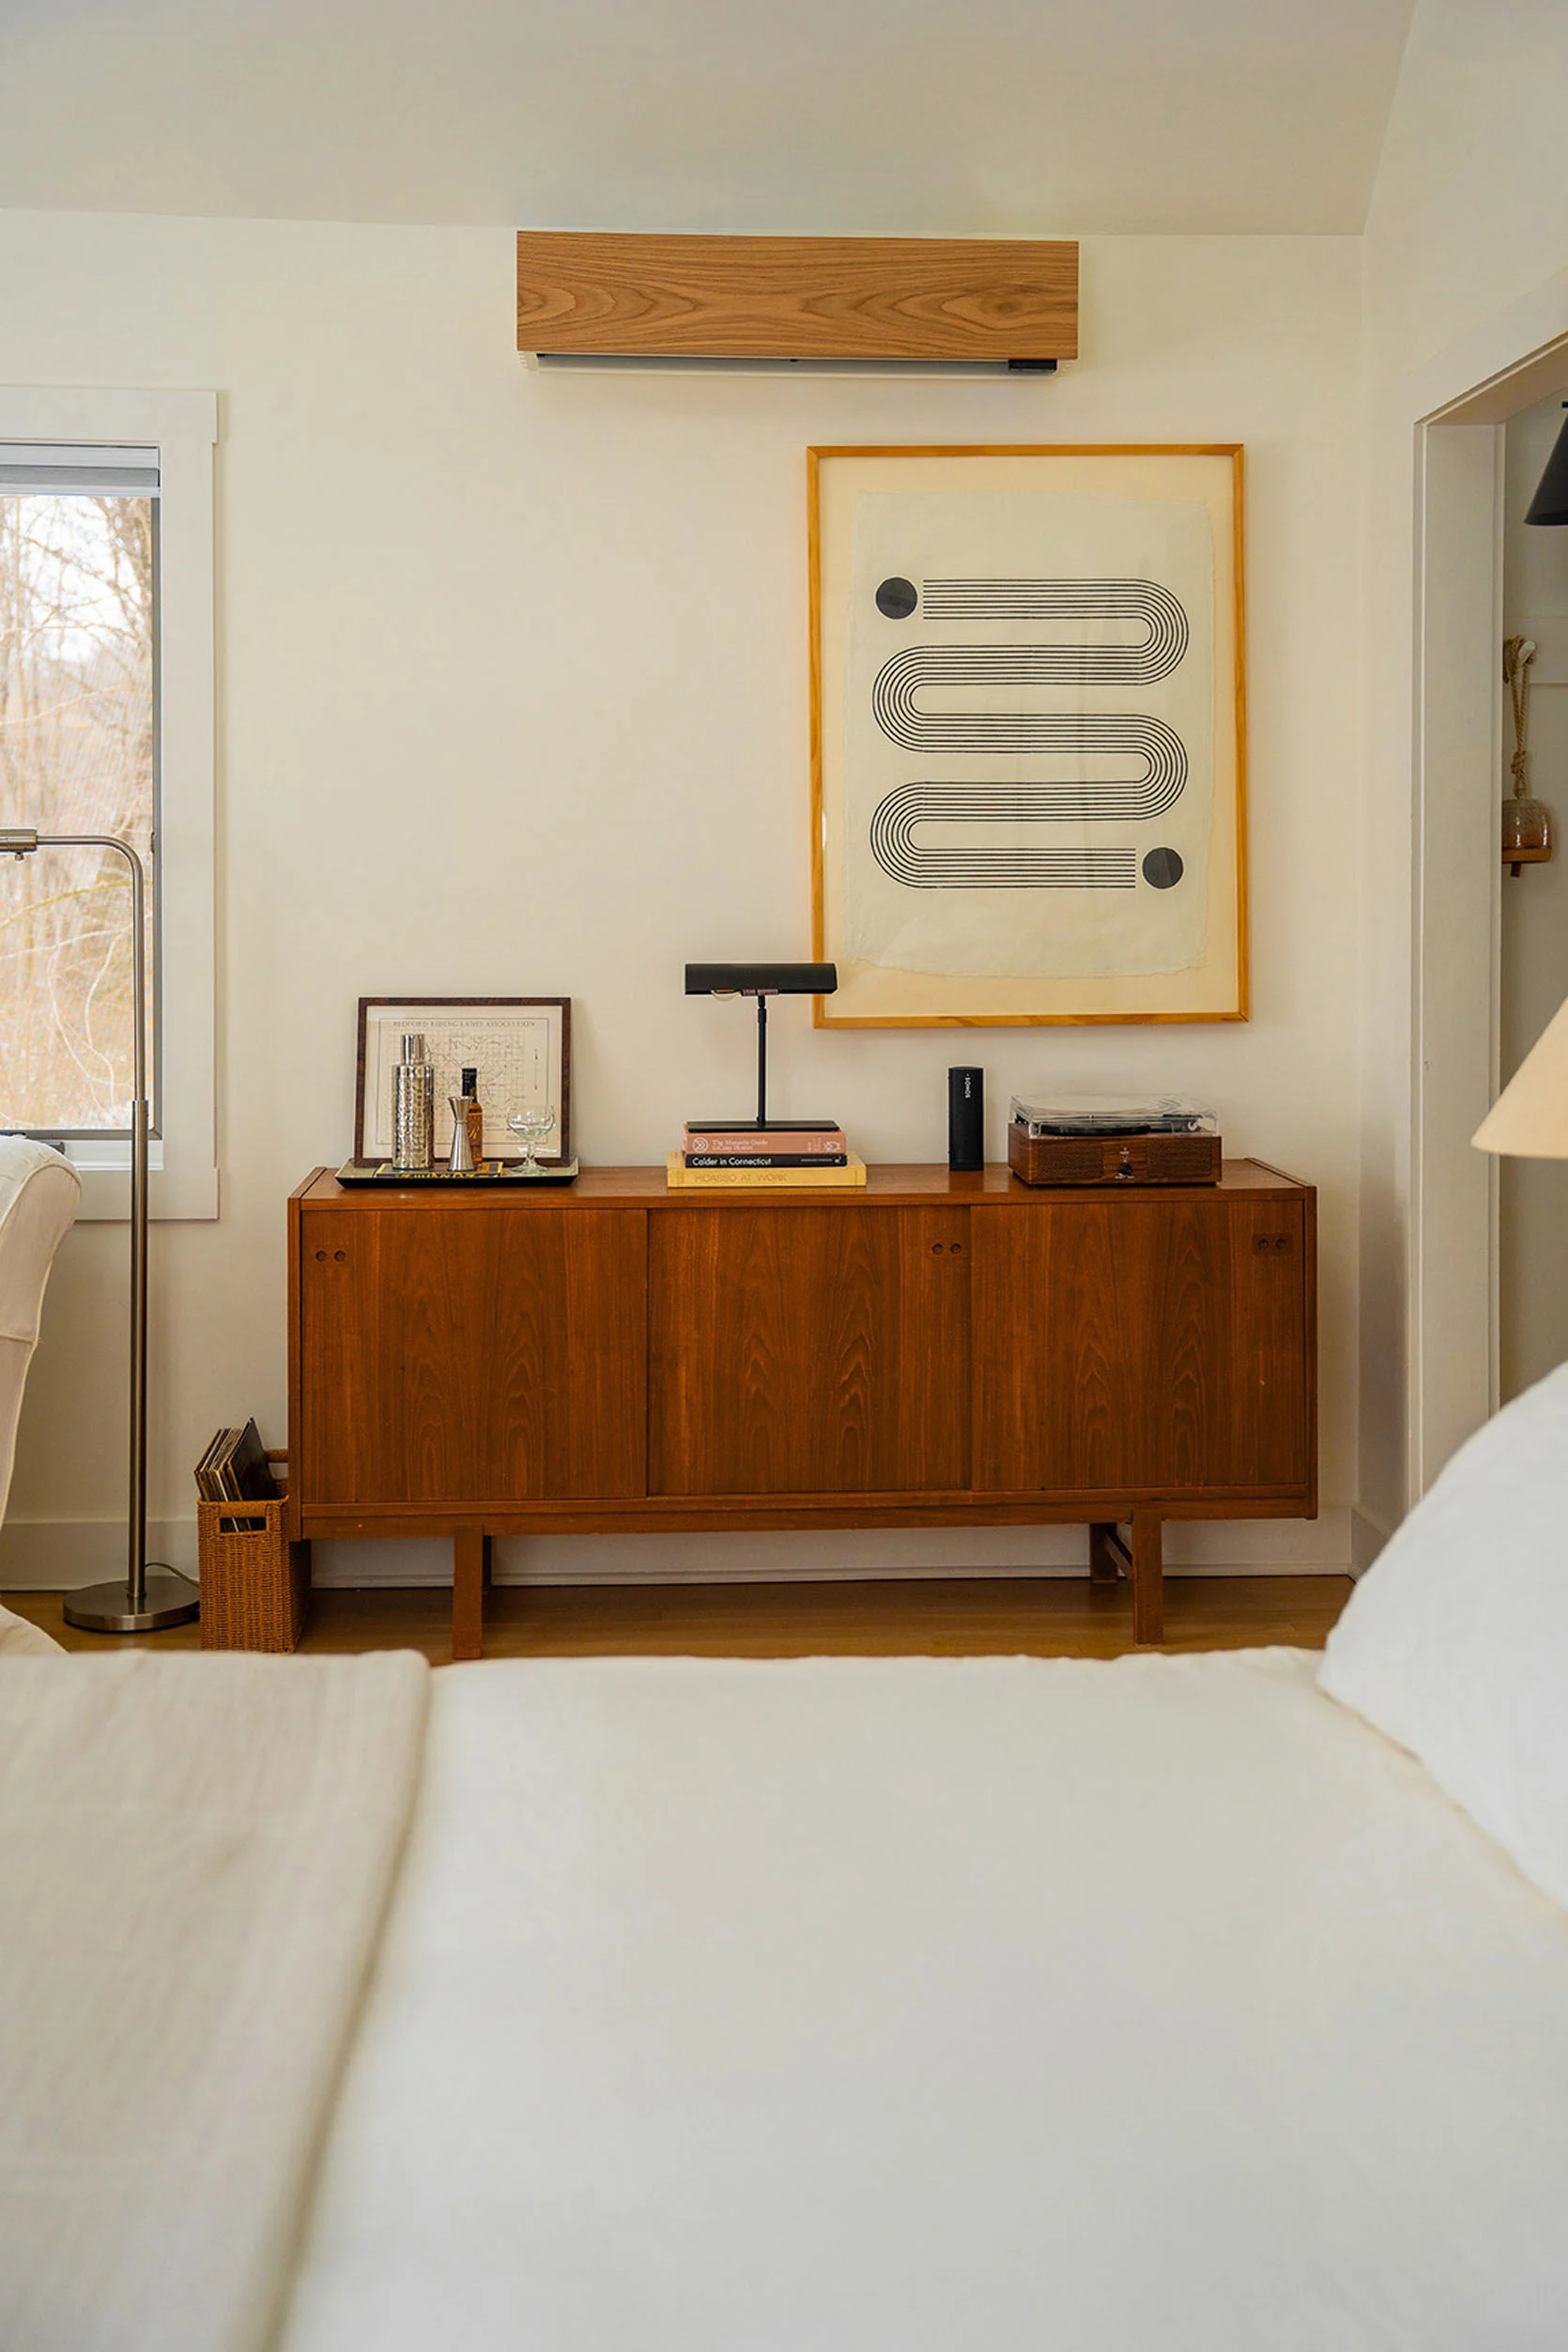
Quilt mini-splits truly are an HVAC revolution. It serves the needs of the designated room so perfectly, heating and cooling in such a smart, efficient, and intuitive way, while allowing streamlined design flexibility. It’s absolutely the perfect choice for any livable outbuildings, ADUs, any new additions, or vintage remodels like ours. Let’s again thank the design gods on this one. xx
*Photos by Kailtin Green


Hi! Could you share the paint color that was used in the guest room? Thank you!
What changed to make the upstairs meeting room feel more like a bedroom? Was that hard to anticipate?
FWIW I have been getting bids in the PDX area for mini splits vs ducted heat pumps all week, and have been told the ducted is cheaper by many people, for both short and long term. And this is for a house that has no previous ductwork or vents. Plus the maintenance cost of servicing 1 unit vs 4-5 regularly.
It seems like the biggest benefit of mini splits is the option for zoned heating and cooling, which I would be bummed to lose if we do go with ducted. Just wanted to chime in as someone entrenched in decision making on this rn.
Do keep in mind ducted HVAC can have zones too! We bought our old home already ducted and upgraded to a heat pump system for all the efficiency reasons Emily listed. When doing the upgrade, we added one zone so that the upstairs could be on a different setting than downstairs. It works great honestly. Far better than I anticipated for “just” two zones. Each room’s vent can of course be adjusted for more airflow if you have dampers on them. Mini splits have come a long way, but you do not need to scrap your existing ductwork, and ductwork can still provide zones.
I love that you can decorate the Quilt and will be looking into them for the ADU we are building next year for both beauty and efficiency. But I am not sure I’d use the word revolution? 🙂 Maybe once you can also decorate the sides? Lol.
Wait! How do I get one for myself? Do I have to find an installer for our third floor attic finished space myself, or can I find that information online?
Hi! You can get connected to one of our vetted installers at Quilt.com/find-installer and they will come check out your attic and give you a free quote!
I can’t wait to see the guest cottage reveal! The sneak peek is exciting!
Possible to know where Emily’s cardigan is from in the first couple pics, I’ve been on the hunt for one in that type of berry colour!
Great and informative post. With heat pumps starting to move more mainstream here in the US it will be interesting to see how the over HVAC landscape changes, even with traditional ducted systems. Glad the Quilt is going to work so well for your needs, and I was pleasantly surprised by how nice the green one above the green door looks! Somehow matching it in that way makes it disappear; I think matching it to the wood cladding would have had the opposite effect, which is counterintuitive. Thanks for showing us several different rooms and goodness, I am getting excited to keep seeing the cottage come to life!
We have Bosch heat pump HVAC traditional size for our home. We replaced two conventional units with these efficient units. They are fantastic! Heat and cool with variable fan speeds keeping the house cool or warm as needed. Since there is no natural gas needed that was capped off and we have solar so the electric comes from our panels in the daylight. Last 12 months total gas and electric bill was $350 For The Year! Previously with the traditional gas/electric our monthly bills in the summer would hit $700 per month while December with the natural gas heating would cost the same. The cost to replace the two units and replace the ductwork was about $25000. It will pay for itself in just a few years.
The sneak peeks of the cottage are so fun. They look joyful and I am here for it!
About the upstairs getting very hot, did you not add any insulation as part of the reno? That’s a big missed opportunity.
That’s a very good point. Without insulation in the walls, heating and cooling that space is flushing $$ down the drain!
Heat pumps are the future! Get on board everyone!
You just gave me the answer for our quest bedroom located behind our garage. What a novel idea and it works!!!